Troubleshooting Your Jewelry Box Build: 5 Common DIY Disasters
Discover how to fix common issues in your jewelry box build, from wood tarnish and flocking failures to hinge alignment and warping.

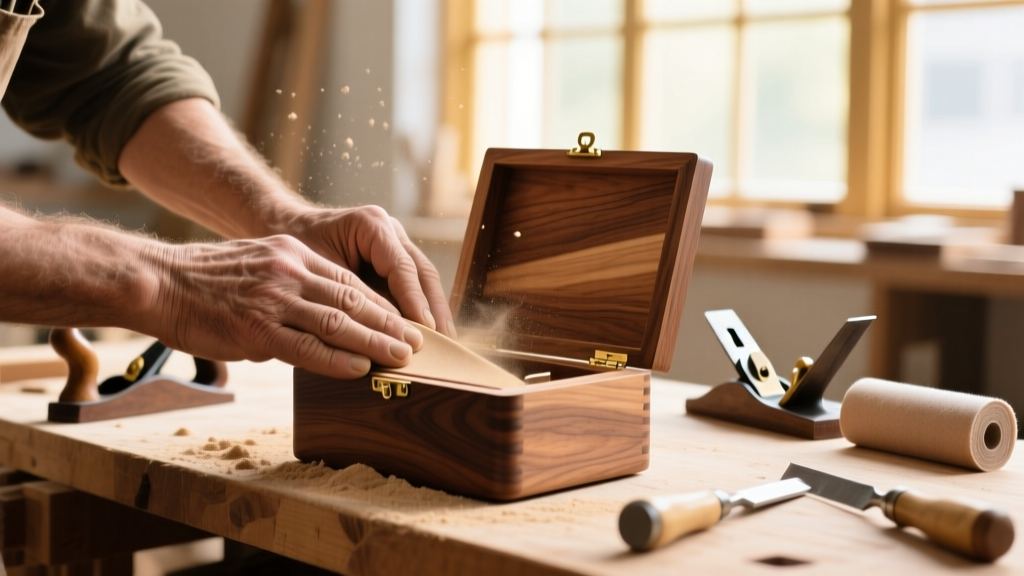
Embarking on a custom jewelry box build is a rite of passage for many woodworkers and DIY enthusiasts. It demands precision joinery, flawless finishing, and an eye for micro-details. However, the transition from a beautiful wooden vessel to a safe, functional storage environment for fine jewelry is fraught with hidden chemical and mechanical traps. A box that looks stunning on the outside might be actively destroying the treasures inside due to off-gassing finishes, acidic wood tannins, or improper humidity control.
In this comprehensive troubleshooting guide, we will diagnose and resolve the five most catastrophic failures encountered during a jewelry box build, ensuring your final piece is as safe for pearls and silver as it is beautiful.
The Tarnish Trap: Choosing the Wrong Finish and Glue
The most insidious problem in any jewelry box build is invisible: chemical off-gassing. Many standard woodworking adhesives and oil-based finishes release volatile organic compounds (VOCs) and acetic acid as they cure. When trapped in a closed box, these gases react with silver, copper, and brass, accelerating tarnish exponentially. Furthermore, the Gemological Institute of America (GIA) warns that acidic environments can permanently etch the delicate nacre of pearls and degrade porous gemstones like turquoise and opal.
Troubleshooting the Finish
If you have already applied an oil-based polyurethane or a traditional spar varnish, your box is likely off-gassing acetic acid. The Fix: You must seal the interior with a barrier coat. Dewaxed shellac (such as Zinsser Bulls Eye) is the gold standard for trapping VOCs and odors. Apply two thin coats of a 1.5-lb cut shellac over the fully cured oil finish. Shellac dries in minutes, seals in acids, and provides a neutral, safe surface for jewelry.
Troubleshooting the Adhesive
Standard PVA (polyvinyl acetate) wood glues and traditional hide glues are mildly acidic. If you are laminating interior trays or attaching dividers, switch to a pH-neutral adhesive. Two-part epoxies or specialized pH-neutral PVA formulations (often marketed for archival framing) will prevent acid migration into your velvet linings.
Flocking and Lining Adhesion Failures
Nothing ruins the premium feel of a jewelry box build faster than peeling velvet or clumpy, uneven flocking. Flocking failures usually stem from poor substrate preparation or the wrong adhesive choice, exacerbated by the hygroscopic nature of wood expanding and contracting with seasonal humidity.
- The Clumping Problem: If your spray flocking is clumping, your wood is too porous. Wood fibers absorb the liquid carrier in the flocking adhesive before the fibers can stand up. Solution: Sand the interior to 220-grit, then apply a dedicated sanding sealer or a thin coat of shellac. Scuff it lightly with 320-grit sandpaper before applying the flocking glue.
- The Peeling Problem: If pre-cut velvet or suede linings are peeling at the edges, you likely used a standard spray adhesive (like 3M Super 77) which dries brittle and fails under the tension of stretched fabric. Solution: Use a flexible contact cement or a specialized fabric-to-wood adhesive like 3M Hi-Tack 90, which remains slightly pliable to accommodate wood movement.
Hinge Alignment and Lid Warp Troubleshooting
Mechanical failure in a jewelry box build is most visible at the lid. If the lid does not close flush, or if it binds when opening, the issue is usually improper mortising or a failure to account for wood movement. Quadrant hinges, the hallmark of a high-end box, are notoriously unforgiving.
| Hinge Type | Best Application | Mortise Depth Tolerance | Common Failure Mode |
|---|---|---|---|
| Brass Quadrant | Heavy lids, premium boxes | Exact (e.g., 1/4" or 3/8") | Binding if mortise is 1/64" too shallow |
| Butt Hinge | Lightweight lids, simple boxes | Forgiving (+/- 1/32") | Lid gap if leaves are not fully recessed |
| Piano Hinge | Wide, heavy lids | Continuous surface mount | Warping if wood expands against brass |
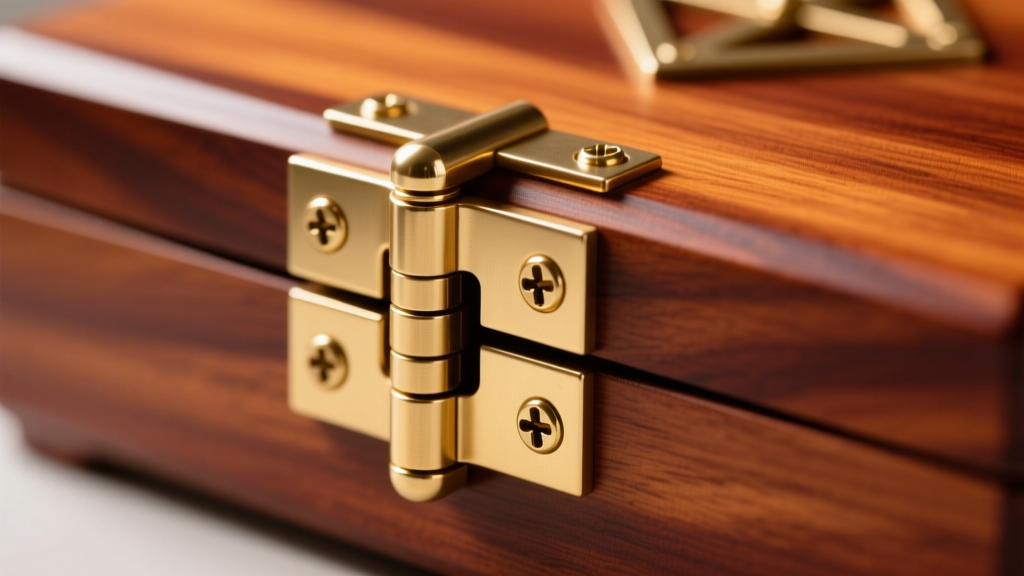
According to experts at Fine Woodworking, the secret to flawless quadrant hinge installation is using a router jig with a template guide rather than attempting to chisel the mortises by hand. If your lid is warping and pulling away from the base on one side, you have likely glued a solid wood panel into a cross-grain frame. Always use a floating panel or a veneered MDF core for large lid panels to eliminate seasonal warping.
Wood Selection: Avoiding Acidic and Oily Species
The very material you choose for your jewelry box build can be the enemy of your jewelry. While we often select woods for their grain and color, their chemical composition is paramount for jewelry storage.
"Never store silver directly in contact with oak or cedar. The tannic acid in oak and the aromatic oils in cedar will cause rapid and severe silver sulfide tarnishing, even in low-humidity environments." — Archival Storage Guidelines
Woods to Avoid (Or Seal Heavily)
- Red Oak & White Oak: High tannic acid content. Emits acetic acid vapor that corrodes silver and lead.
- Aromatic Cedar: Contains natural oils and acids that are great for repelling moths in a closet, but disastrous for pearls and soft metals.
- Rosewood & Cocobolo: These exotic woods contain natural resins and oils that can bleed through finishes and stain light-colored fabrics or porous gemstones.
The Safest Woods for Jewelry Boxes
Stick to neutral, stable hardwoods. Black Walnut, Hard Maple, Cherry, and Mahogany are chemically stable, easy to finish, and do not emit harmful vapors once properly sealed. If you absolutely must use oak for its aesthetic, you must seal the interior with at least three coats of dewaxed shellac to encapsulate the tannins completely.
Anti-Tarnish Integration for Custom Builds
A successful jewelry box build goes beyond passive safety; it should actively protect its contents. Even with the perfect wood and finish, opening the box introduces ambient humidity and sulfur compounds from the air, which cause tarnish. To elevate your build from a simple wooden box to a true preservation vault, integrate active anti-tarnish solutions.
Practical Integration Methods
- Pacific Silvercloth: Instead of standard velvet, line the silver compartment with Pacific Silvercloth. This specialized fabric is embedded with microscopic silver particles that act as a sacrificial anode, absorbing sulfur and moisture before they reach the stored jewelry. It can be stretched and glued just like traditional velvet.
- Activated Carbon Strips: Design a hidden, slotted cavity beneath the main jewelry tray to house 3M Anti-Tarnish Strips or activated carbon sachets. This allows you to replace the anti-tarnish media every 6 to 12 months without altering the visible interior of the box.
- Avoid Airtight Seals: Counterintuitively, you do not want your jewelry box to be 100% airtight. If moisture gets trapped inside an unventilated, sealed box, it can cause localized rust on steel findings and degrade certain organic gems. A slight, natural breathability in the wood joinery is actually beneficial for long-term equilibrium.
By addressing these chemical and mechanical pitfalls, your jewelry box build will transition from a simple woodworking project to a functional, archival-quality heirloom capable of protecting precious metals and gemstones for generations.


