DIY Polymer Clay Jewelry Tray: A Step-by-Step Crafting Guide
Learn how to craft a custom polymer clay jewelry tray for daily wear. Step-by-step guide covering conditioning, baking, and sealing for lasting use.

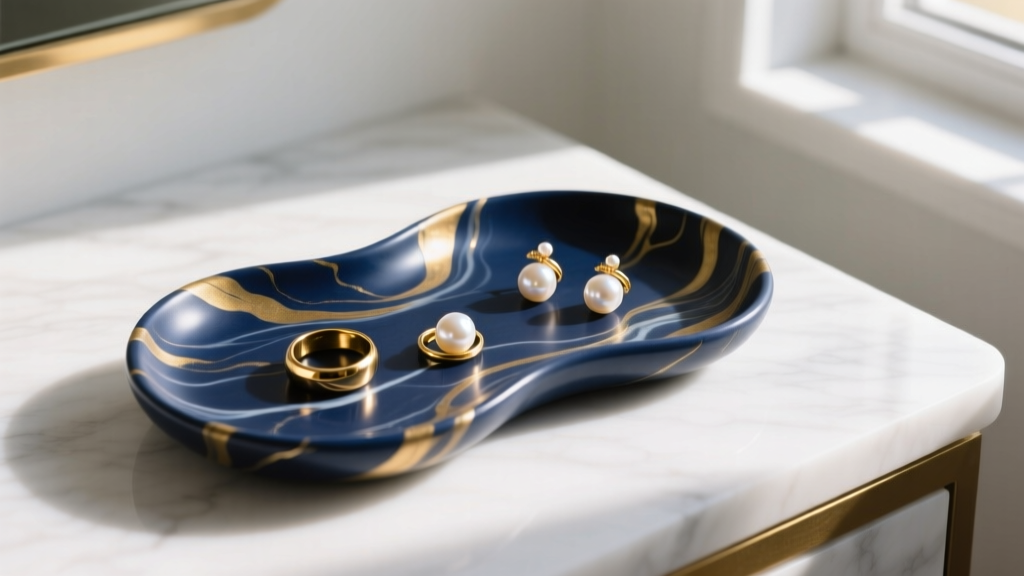
In the modern era of bespoke home organization, the landing zone for your daily wear accessories is just as important as the main jewelry box. A custom polymer clay jewelry tray serves as the perfect micro-storage solution for rings, small hoops, and stud earrings that you take off at night or while working. Unlike mass-produced plastic or ceramic dishes, crafting your own tray allows you to engineer the exact dimensions, lip height, and aesthetic needed for your specific vanity space.
This comprehensive guide will walk you through the precise material science, structural shaping, and chemical sealing required to create a durable, anti-tarnish clay jewelry tray that will protect your precious metals and gemstones for years to come.
The Science of Polymer Clay for Jewelry Storage
Polymer clay is not actually clay; it is a pliable, oven-hardening modeling material based on polyvinyl chloride (PVC). Because it contains plasticizers to maintain flexibility before baking, uncured or improperly sealed polymer clay can react with certain metals and finishes. When storing sterling silver (925), unsealed PVC can trap ambient moisture and sulfur compounds against the metal, accelerating the tarnishing process.
According to the Gemological Institute of America (GIA), silver tarnishes when exposed to sulfur and humidity. Therefore, the final sealing step of your clay jewelry tray is not merely aesthetic; it is a critical chemical barrier that renders the PVC inert and safe for prolonged contact with fine jewelry.
Essential Materials and Tool Stack
Skip the bargain-bin craft clays. For a functional tray that will withstand the daily clatter of gold bands and diamond studs, you need a professional-grade polymer clay with high structural integrity.
| Clay Brand | Hardness (Raw) | Best Application | Avg Price (per 2oz) |
|---|---|---|---|
| Fimo Professional | Very Firm | Structural trays, crisp edges, geometric shapes | $4.50 |
| Sculpey Premo | Medium-Firm | Marbling, color blending, organic shapes | $3.25 |
| Cernit Number One | Medium | Translucent effects, flexible thin lips | $4.00 |
Required Tools:
- Acrylic clay roller or dedicated pasta machine
- Flexible tissue blade for clean cuts
- Oven thermometer (critical for accurate baking)
- Varathane Water-Based Polyurethane (Satin or Gloss)
- Soft synthetic Taklon brushes
Step 1: Conditioning and Slab Building
The most common point of failure in DIY clay projects is under-conditioning. Polymer clay must be mechanically worked to evenly distribute the plasticizers and PVC resins. If skipped, your tray will develop micro-fractures and shatter when dropped.
Run your chosen clay through a pasta machine on the thickest setting (usually setting 1), fold it in half, and run it through again. Repeat this process at least 20 times until the clay drapes over your finger without cracking. Once conditioned, roll the clay out to a uniform thickness of exactly 6mm (1/4 inch). This specific thickness provides the necessary mass to prevent warping in the oven while remaining lightweight enough for a vanity accessory.
Step 2: Shaping the Lip and Base
A flat slab is useless for jewelry storage; round gemstones and pearl studs will easily roll off the edge and onto the floor. You must engineer a structural lip.
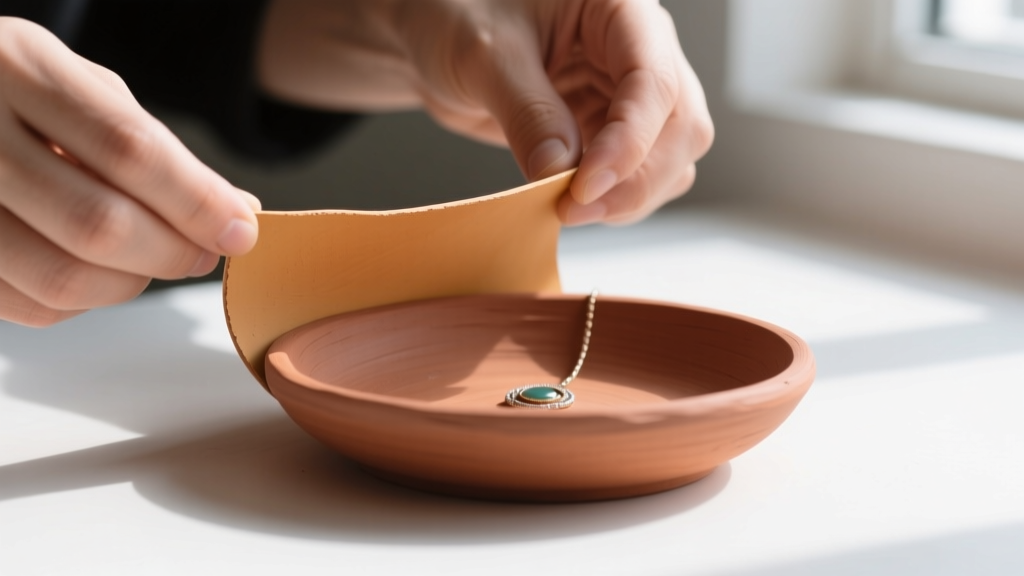
Using a flexible tissue blade, trim your 6mm slab into your desired shape (a 5-inch hexagon or a 6-inch organic oval works beautifully). Next, use your thumb and forefinger to gently pinch and roll the outer perimeter upward, creating a continuous lip that is 1/2 inch high and 4mm thick. Smooth the interior corner where the lip meets the base using a silicone color shaper tool to eliminate any crevices where dust and skin oils could accumulate.
Step 3: The Baking Protocol
Baking polymer clay is a precise chemical curing process, not a drying process. The standard dial on a home oven is notoriously inaccurate, often fluctuating by up to 25 degrees Fahrenheit. An oven spike in temperature will scorch the PVC, turning it brown and brittle.
Always use a standalone oven thermometer. Follow Sculpey's official baking guide and preheat your oven to exactly 275°F (135°C). Place your shaped tray on a ceramic tile lined with parchment paper. To protect the surface from direct radiant heat, 'tent' the tray loosely with a sheet of aluminum foil. Bake for 45 minutes. Once the timer goes off, turn the oven off and let the tray cool completely inside the closed oven. This gradual temperature drop prevents thermal shock and subsequent cracking.
Step 4: Sealing for Anti-Tarnish Protection
Once your tray is fully cured and cooled, it is time to seal it. Never use aerosol spray sealants or standard craft glues (like Mod Podge) on polymer clay. The plasticizers in the PVC will migrate to the surface and react with the propellants and water-soluble polymers in those products, resulting in a permanently tacky, sticky surface that will ruin any jewelry placed upon it.
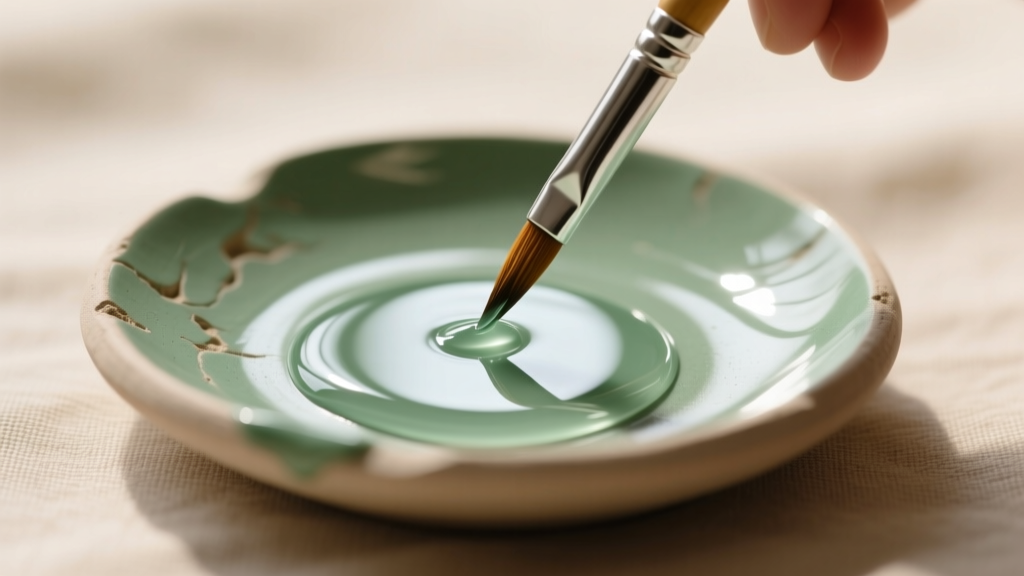
Instead, use a high-quality, water-based polyurethane varnish. Varathane is the industry standard among professional clay artists. Using a soft Taklon brush, apply a thin, even coat to the interior and exterior of the tray. Allow it to dry for two hours, lightly buff it with a brown paper bag to smooth any dust nibs, and apply a second coat. This creates a hard, non-reactive acrylic shell that safely cradles sterling silver, gold vermeil, and porous gemstones like turquoise or opal without risk of chemical transfer.
Troubleshooting Common Clay Tray Failures
Even experienced crafters encounter issues when scaling up from small beads to larger structural pieces. Here is how to diagnose and fix common problems:
- Sticky Surface After Sealing: You used an incompatible sealant. Wipe the tray down with 91% isopropyl alcohol to strip the tacky layer, let it dry, and re-seal with water-based polyurethane.
- Warping or Curling Edges: Your clay slab was rolled thinner than 6mm, or the oven temperature spiked. Always use a pasta machine for uniform thickness and verify heat with an independent thermometer.
- Visible Fingerprints in the Base: Polymer clay records every texture. Always handle your raw clay while wearing nitrile gloves, or lightly dust your fingertips with cornstarch before shaping the lip.
- Brittle Corners: The clay was under-conditioned, or the corners were rolled too thin during the lip-shaping phase. Maintain a strict 4mm thickness around the entire perimeter.
Maintenance and Care for Your Custom Tray
Your finished clay jewelry tray is highly durable but requires basic maintenance to keep it looking pristine. Clean the tray weekly by wiping it with a damp microfiber cloth and a drop of mild dish soap. Never submerge the tray in water or place it in a dishwasher, as prolonged moisture exposure can eventually degrade the polyurethane sealant at the microscopic level.
By taking the time to properly condition, bake, and seal your polymer clay, you create a bespoke, anti-tarnish landing zone that elevates your daily jewelry routine and protects your most cherished accessories from the hazards of the bathroom counter.


