How to Build a Do It Yourself Jewelry Organizer for Fine Pieces
Learn how to build a do it yourself jewelry organizer using walnut wood and anti-tarnish felt to protect fine silver and gold pieces from oxidation.

Why Build a Custom Do It Yourself Jewelry Organizer?
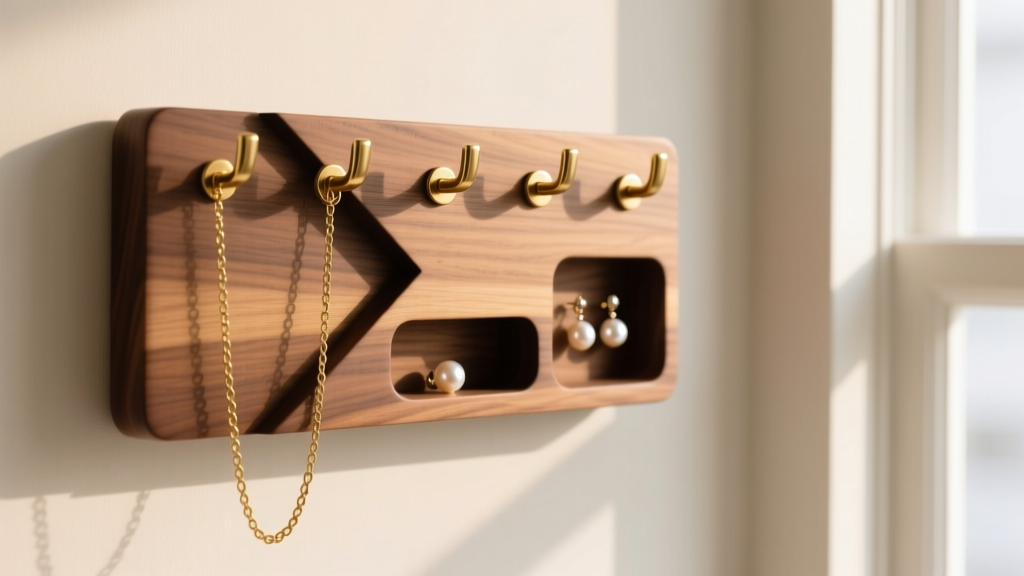
Most commercial jewelry storage solutions fail fine jewelry collectors in two critical ways: material off-gassing and improper weight distribution. Mass-produced organizers frequently utilize MDF (medium-density fiberboard) and synthetic felts bonded with sulfur-rich rubber cements. According to the Smithsonian Institution's archival guidelines, sulfur and acidic off-gassing are the primary catalysts for silver sulfide formation—the black tarnish that degrades sterling silver and dulls porous gemstones like pearls and opals. When you build a do it yourself jewelry organizer, you control the material science. By selecting kiln-dried, low-tannin hardwoods and archival-grade adhesives, you create a micro-environment that actively inhibits oxidation rather than accelerating it. This guide details the exact specifications for constructing a wall-mounted, anti-tarnish organizer tailored for high-value chains, heavy pendants, and delicate ear wires.
Materials and Tools: The Archival Standard
To ensure your DIY organizer protects rather than damages your collection, you must source materials that meet museum-level conservation standards. Avoid oak and cherry woods, which contain high levels of tannic acid that can off-gas and corrode metals over time.
- Backing Board: 3/4-inch kiln-dried American Black Walnut (low tannin, tight grain). Cut to 24x36 inches.
- Anti-Tarnish Lining: Pacific SilverCloth or equivalent zinc-nanoparticle-impregnated flannel. (Zinc acts as a sacrificial metal, absorbing hydrogen sulfide before it reaches your silver).
- Adhesive: 3M 468MP Double-Sided Adhesive Transfer Tape. This is an archival-safe, solvent-free acrylic adhesive that will not off-gas VOCs or degrade the silver cloth.
- Hardware: 18-gauge solid brass wire (uncoated). Brass is softer than gold and platinum, preventing micro-scratches on delicate chain links.
- Sealant: Water-based polyurethane (matte finish). Oil-based sealants yellow over time and emit prolonged VOCs.
- Tools: Orbital sander (120 to 220 grit), flush wire cutters, needle-nose pliers, a French cleat mounting kit, and a rubber mallet.
Step 1: Preparing and Sealing the Walnut Board
Even low-tannin woods like walnut contain trace moisture and natural oils that can transfer to porous jewelry. Begin by sanding your walnut board progressively from 120-grit to 220-grit sandpaper. This ensures a glass-smooth surface that won't snag delicate fabrics or chain links. Once sanded, vacuum the dust and wipe the board with a tack cloth. Apply two thin coats of water-based polyurethane, allowing 4 hours of drying time between coats. This seals the wood's pores, locking in any natural acids and creating an inert barrier. Do not skip this step; raw wood fluctuates with ambient humidity, which can cause the board to warp and pull the anti-tarnish lining taut, eventually tearing it.
Step 2: Installing the Anti-Tarnish Lining
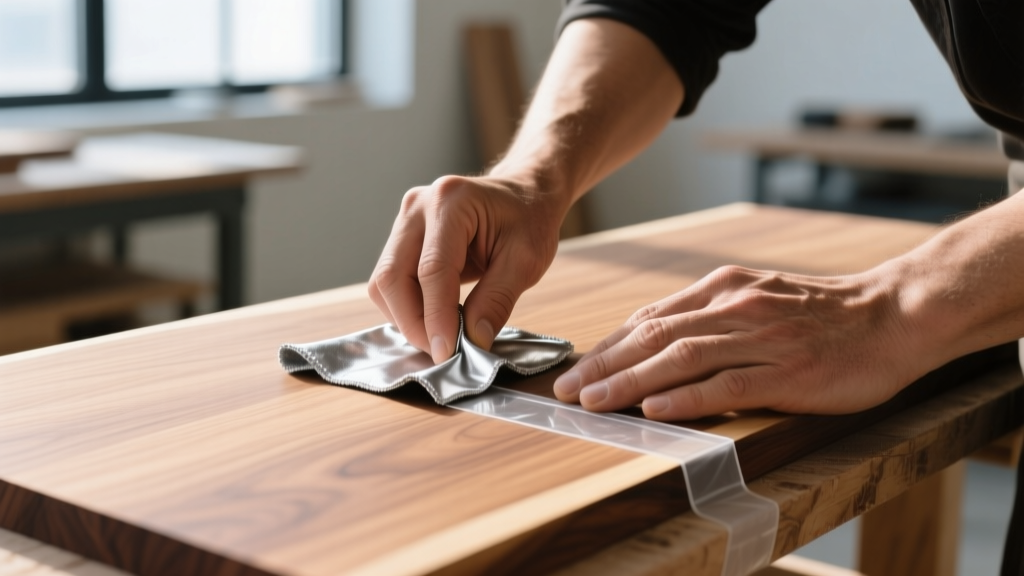
Cut your Pacific SilverCloth roughly two inches larger than your sealed walnut board on all sides. Lay the board flat and apply horizontal strips of the 3M 468MP transfer tape across the back of the board, spacing them about four inches apart. Peel the liner and carefully drape the silver cloth over the board. Start from the center and smooth outward to eliminate air bubbles and wrinkles. Wrap the excess cloth around to the back of the board and secure it with additional tape or a heavy-duty staple gun along the perimeter.
Expert Troubleshooting: Never use hot glue, spray adhesive, or standard craft glue to attach anti-tarnish cloth. These adhesives contain solvents and sulfur compounds that will permanently compromise the zinc nanoparticles in the cloth, rendering its anti-tarnish properties useless.
Step 3: Fabricating and Mounting Brass Hardware
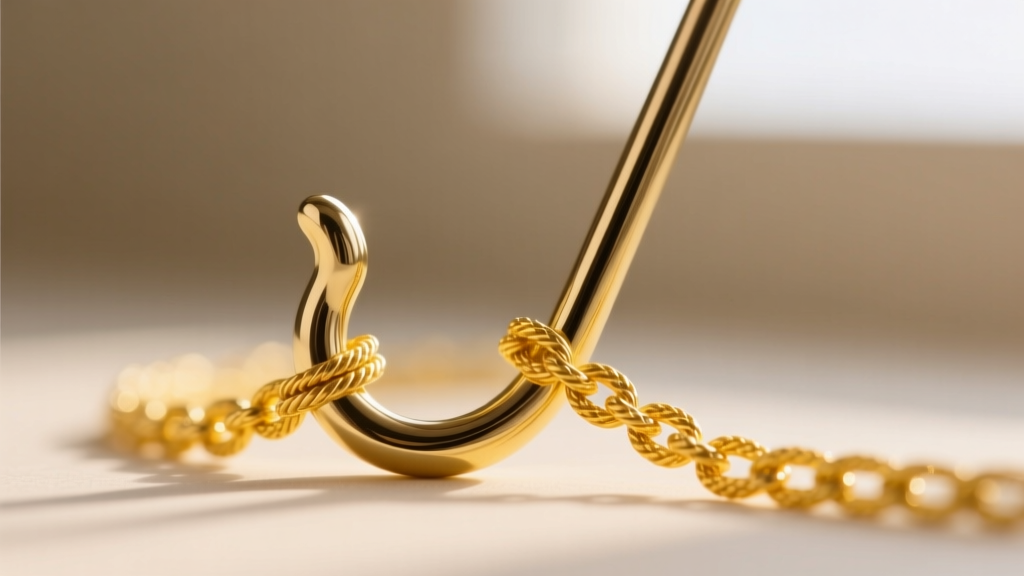
The hardware you use must match the gauge and weight of your jewelry. Using steel hooks is a common DIY mistake; steel can rust in high-humidity environments (like bathrooms or coastal homes) and transfer iron oxide to your pieces. Solid brass is the ideal alternative. Using your 18-gauge brass wire and needle-nose pliers, bend custom hooks tailored to specific jewelry types. The Gemological Institute of America (GIA) recommends storing pieces individually to prevent Mohs hardness scale scratching (e.g., diamonds scratching gold). Custom spacing solves this.
| Jewelry Type | Hardware Configuration | Wire Gauge / Size | Archival Reasoning |
|---|---|---|---|
| Delicate Chains (16g-24g) | Standard J-Hook, 1.5-inch drop | 18-gauge brass | Prevents kinking; soft enough not to abrade 14k/18k gold links. |
| Heavy Pendants & Bangles | U-Shaped Cradle, 3-inch width | 14-gauge brass | Thicker gauge supports 50g+ weight without bending or warping. |
| Stud Earrings | Drilled holes with brass grommets | 1/16-inch holes | Keeps posts upright; prevents butterfly backs from getting lost. |
| Hoop & French Wire Earrings | Inverted L-Hook, 2-inch drop | 18-gauge brass | Allows hoops to hang freely without resting against the fabric. |
To mount the hooks, use a 1/16-inch drill bit to create pilot holes through the silver cloth and into the walnut. Tap the brass hooks into the wood using a rubber mallet. The rubber prevents marring the brass finish, ensuring no sharp burrs are left behind that could catch on a silk thread or fine chain.
Step 4: Wall Mounting and Weight Distribution
A fully loaded organizer holding heavy gemstone pendants, multiple silver bangles, and gold chains can easily exceed 15 pounds. Standard picture hangers or drywall anchors will eventually pull out, risking catastrophic damage to your collection. Instead, install a wooden French cleat system. Attach the wall-side cleat directly into at least two wall studs using 2.5-inch structural wood screws. The mating cleat on the back of your organizer will distribute the weight evenly across the entire 36-inch width of the board. This ensures the organizer sits perfectly flush against the wall, eliminating the gap where dust and airborne sulfur pollutants tend to accumulate behind inferior hanging systems.
Maintenance: Recharging Your Anti-Tarnish System
Building the organizer is only the first phase; maintaining the archival environment is ongoing. The zinc nanoparticles in your silver cloth will eventually become saturated with sulfur compounds. According to the National Park Service Museum Handbook, archival textiles require specific, gentle cleaning protocols. When your cloth begins to lose its luster or you notice silver tarnishing faster than usual, remove the jewelry and gently vacuum the cloth using a brush attachment to lift dust and skin oils. If a deeper clean is required, the cloth can be hand-washed in warm water with a mild, phosphate-free detergent. Crucially, you must never use fabric softener or bleach, as these coat the fibers and neutralize the anti-tarnish metals. Air dry the cloth completely before rehanging your jewelry. With proper maintenance, your do it yourself jewelry organizer will provide museum-quality protection for decades, keeping your finest pieces pristine and ready to wear.


