Locked Jewelry Box Won't Open? Expert Troubleshooting Guide
Locked jewelry box won't open? Learn expert troubleshooting steps for jammed keys, stuck dials, and biometric failures to safely access your valuables.

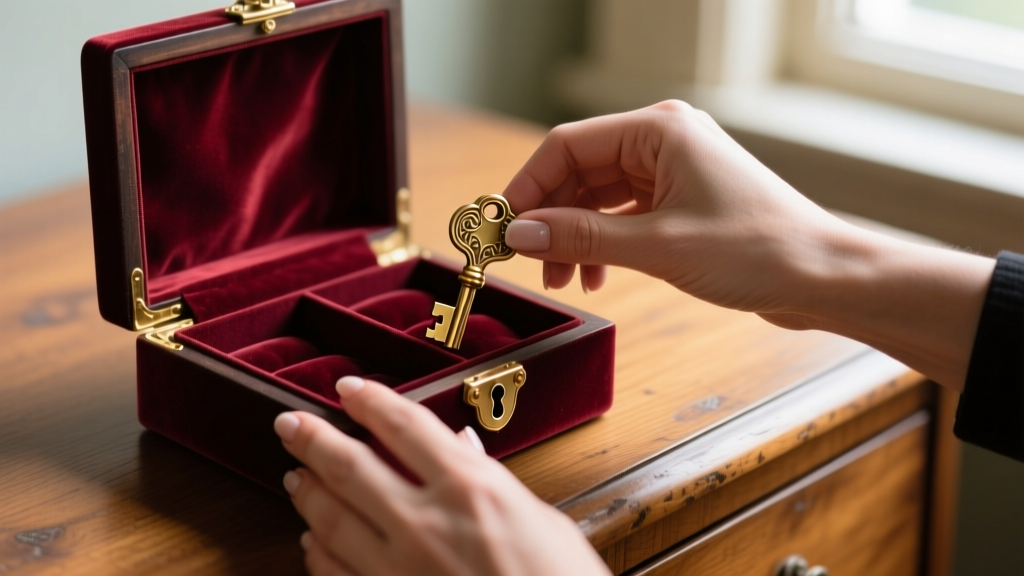
The Panic of a Sealed Vault: Why Jewelry Box Locks Fail
There are few things more frustrating in the realm of accessory organization than discovering your locked jewelry box refuses to open right before an important event. Whether you are dealing with a vintage heirloom chest or a modern biometric safe, lock mechanisms are prone to specific failure modes caused by environmental factors, mechanical wear, or user error. According to the Associated Locksmiths of America (ALOA), small-format locks—like those found on jewelry boxes—suffer disproportionately from dust accumulation and lubricant degradation compared to standard door hardware.
This comprehensive troubleshooting guide will walk you through the exact diagnostic and repair steps for the three most common types of jewelry box locks: mechanical key, combination dial, and electronic biometric. We will focus on non-destructive entry methods to preserve both your valuables and the aesthetic integrity of your storage piece.
Diagnosing Your Lock Type and Failure Mode
Before applying any force or lubricants, you must correctly identify the lock mechanism. Applying the wrong troubleshooting technique can permanently seize the internal tumblers. Below is a diagnostic matrix to help you identify your hardware and its likely point of failure.
| Lock Type | Internal Mechanism | Most Common Failure Mode | DIY Fix Difficulty |
|---|---|---|---|
| Mechanical Key | Wafer or Pin Tumblers | Dried lubricant, bent key, debris | Moderate |
| Combination Dial | Cam and Gate Notches | Forgotten code, misaligned gears | High (Decoding) |
| Biometric/Electronic | Capacitive Sensor & Solenoid | Dead battery, sensor obstruction | Low to Moderate |
Troubleshooting Mechanical Key Locks
Most traditional wooden jewelry boxes utilize small cam locks with wafer tumblers. These are simpler than pin tumbler locks but highly susceptible to environmental gunk.
The "Jammed Key" Scenario
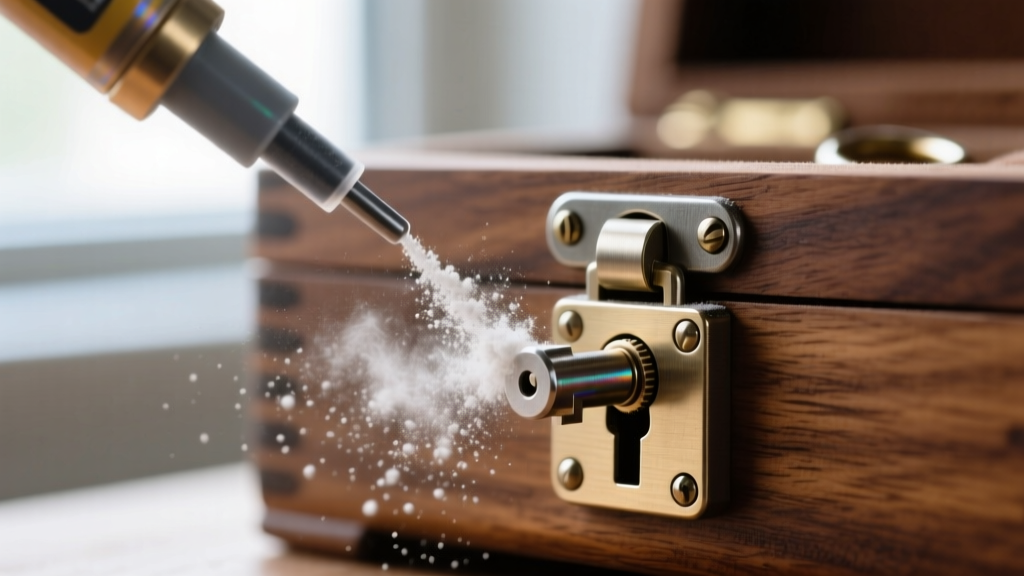
If your key inserts but will not turn, do not force it. Small brass keys can easily snap off inside the keyway, turning a minor annoyance into a major extraction job. The most common culprit is the use of liquid lubricants like standard WD-40, which attract dust and eventually harden into a sticky resin.
- The Fix: Use a dry PTFE (Teflon) spray or powdered graphite. Insert the straw of the lubricant directly into the keyway, apply a short burst, and insert the key. Work the key in and out gently 10 to 15 times to distribute the dry lubricant across the wafer tumblers.
- Key Alignment: If the key still sticks, inspect the tip. Wafer locks require the key to push wafers to exact shear-line heights. If the key is worn down, try a spare. If no spare exists, a locksmith can cut a new key by code.
Lost Keys: Picking and Bypassing
If the key is lost entirely, you have a few options before resorting to drilling. Because jewelry box locks are low-security, they can often be picked or raked. Using a standard paperclip and a small flathead screwdriver as a tension wrench, apply slight rotational pressure to the keyway while gently raking the paperclip across the top of the wafers. For more detailed guidance on non-destructive entry, resources provided by Master Lock emphasize that understanding the shear line is critical for manipulating small-format locks without damaging the cylinder.
Resolving Combination Dial Failures
Combination locks on travel jewelry cases or modern safes typically use a 3-dial or 4-dial brass mechanism. The most frequent issue is a forgotten combination or a dial that spins freely without engaging the internal locking bar.
Decoding a 3-Dial Lock (The "Pull and Feel" Method)
If you have forgotten your combination and lack the factory override key, you can often decode cheap 3-dial locks using tactile feedback.
- Apply Tension: Pull outward on the lock's shackle or the jewelry box's latch mechanism to create tension on the internal locking bar.
- Find the Gates: While maintaining tension, slowly rotate the first dial. You will feel a slight "click" or a drop in resistance when the dial passes over the internal gate notch.
- Repeat: Once the first dial catches, keep it in that position and move to the second dial, repeating the tension-and-rotate process.
- Test: Once all dials are seated in their notches, the locking bar should release. Note: This works best on budget travel cases; high-end safes utilize false gates to prevent this exact decoding method.
Dealing with Stuck Gears
If a dial refuses to turn, the internal brass gears may be corroded. Do not use liquid oil. Instead, use a can of compressed air with a precision straw to blow out debris from the sides of the dial wheels, followed by a microscopic amount of dry graphite.
Fixing Biometric and Electronic Lock Glitches
Modern luxury jewelry safes frequently feature biometric fingerprint scanners. While convenient, these electronic locked jewelry box systems introduce a new layer of troubleshooting involving power and sensor calibration.
Capacitive Sensor Maintenance
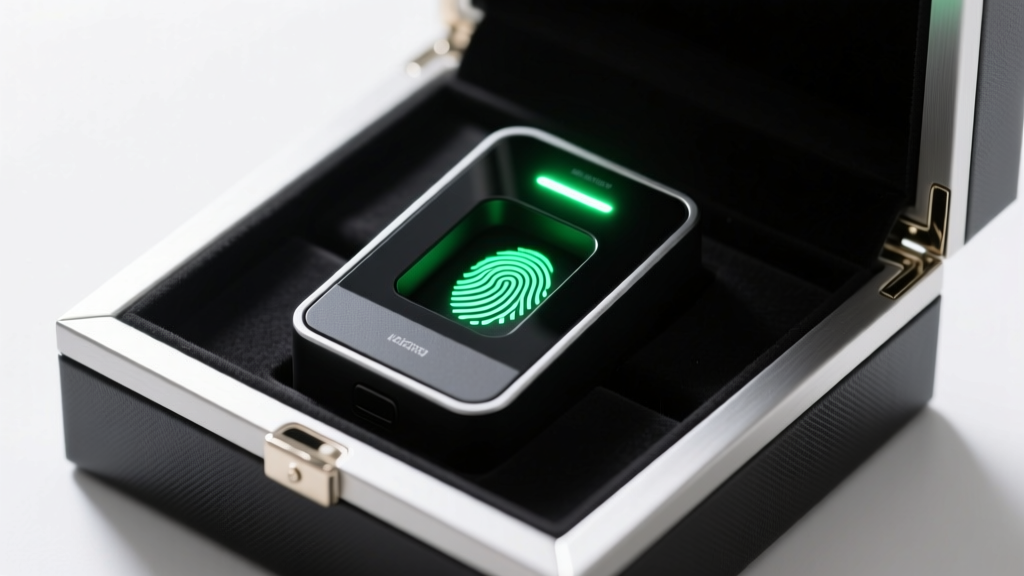
Most biometric jewelry boxes use capacitive sensors, which read the electrical conductivity of your skin. If the scanner fails to read your fingerprint, the issue is rarely a software glitch; it is almost always surface contamination.
- Surface Cleaning: Wipe the sensor with a microfiber cloth lightly dampened with 90% isopropyl alcohol. Do not use glass cleaners or water, as ammonia and minerals will degrade the sensor's protective coating.
- Skin Preparation: Capacitive sensors struggle with extremely dry skin, heavy hand creams, or moisture. Ensure your finger is clean, dry, and free of lotions before attempting a scan.
Battery Corrosion and Hard Resets
If the biometric scanner is completely dead (no LED lights or beeps), the internal AA or AAA batteries have likely leaked, corroding the contact springs. Open the battery compartment (usually located on the exterior bottom or side) and clean the contacts with a cotton swab dipped in white vinegar to neutralize alkaline corrosion, followed by isopropyl alcohol to dry them.
The Hard Reset: If the electronics are functioning but the system is locked out due to too many failed attempts, locate the recessed reset button. This is usually hidden inside the battery compartment or behind a small rubber plug. Use a straightened paperclip to press and hold the button for 10 seconds until the unit beeps, then re-enroll your fingerprints immediately.
When to Call a Professional Locksmith
While DIY troubleshooting works for 80% of lockouts, certain scenarios require professional intervention to avoid destroying an expensive or sentimental jewelry box.
"If a mechanical lock's cylinder spins freely without the key inserted, the internal cam has likely sheared off. Drilling the lock yourself risks sending metal shavings into the jewelry compartment, potentially scratching precious stones or damaging delicate watch movements. A professional locksmith can extract the broken cam and retrofit a new cylinder in minutes."
Hire a certified locksmith if you are dealing with antique heirloom chests (where replacement parts are nonexistent and custom fabrication is required) or high-security safes with hard-plate drill protections.
Preventative Maintenance for Long-Term Security
Preventing a lockout is vastly superior to troubleshooting one. Implement this bi-annual maintenance checklist to keep your jewelry storage secure and accessible:
- Lubricate Annually: Apply dry graphite or PTFE spray to all mechanical keyways once a year.
- Control Humidity: Place a 5-gram silica gel desiccant packet inside the jewelry box to prevent internal rust on the locking bar and hinges.
- Battery Rotation: Replace batteries in electronic and biometric safes every 12 months, regardless of charge level, to prevent alkaline leakage.
- Key Management: Never store the override key for a biometric or combination safe inside the same room as the safe. Keep it in a separate location or a safety deposit box.
By understanding the specific mechanics of your hardware and maintaining a proactive care routine, your jewelry storage will remain both a secure vault and a reliable organizer for decades to come.


