How to Clean, Restore, or Replace Your Jewelry Box Mirror
Learn how to clean, restore, or replace a damaged jewelry box mirror. Step-by-step guide for removing desilvering, replacing glass, and adding LEDs.

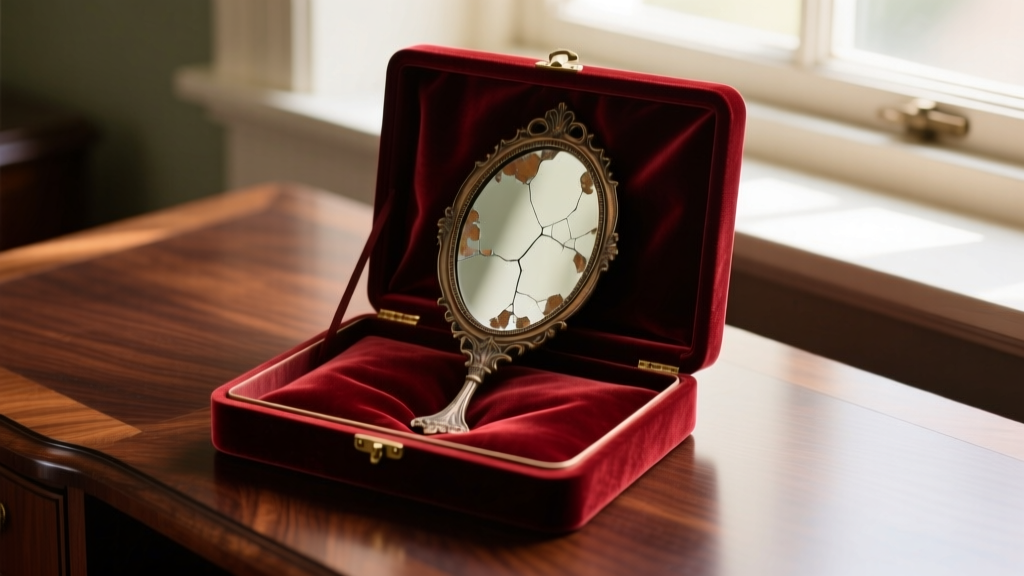
A foggy, cracked, or black-edged mirror inside your favorite storage case doesn't mean the piece is ruined. Whether you are dealing with a vintage mahogany armoire or a modern modular organizer, learning how to properly maintain or replace a jewelry box mirror is an essential skill for preserving your collection's presentation. In this comprehensive guide, we break down the exact chemistry of mirror degradation, step-by-step restoration techniques, and modern LED upgrades to bring your storage into 2026.
The Anatomy of a Jewelry Box Mirror (And Why It Fails)
To fix a mirror, you must understand how it is made. Standard glass mirrors are not just reflective glass; they are a delicate three-layer sandwich. The base is a sheet of float glass, coated with a microscopically thin layer of silver nitrate (the reflective element), backed by a copper layer for protection, and finally sealed with protective paint.
When you see those creeping black spots or dark edges—commonly called 'mirror rot' or desilvering—it means moisture has breached the protective paint. The copper oxidizes, and the silver nitrate flakes off. According to manufacturing guidelines from Guardian Glass, using ammonia-based cleaners is the fastest way to destroy this backing, as ammonia eats through the silver layer upon contact with the edges.
Step-by-Step: Restoring a Foggy or Tarnished Mirror
If your mirror is structurally intact but suffers from surface cloudiness or minor scratches from rings and clasps, you can restore its optical clarity without replacing the glass.
Step 1: Deep Cleaning Without Chemical Damage
Never use Windex or ammonia-based sprays. Instead, mix a solution of 50% distilled white vinegar and 50% distilled water in a spray bottle. Lightly mist a microfiber cloth—never spray directly onto the glass, as runoff will seep into the bottom edge and cause desilvering. Wipe in a circular motion, then buff dry with a separate, lint-free cloth.
Step 2: Removing Micro-Scratches with Cerium Oxide
If your diamond rings or metal clasps have left light scratches on the glass surface, standard polishes won't work. You need cerium oxide powder, the industry standard for lapidary and glass polishing.
- Mix cerium oxide powder with distilled water to create a paste (consistency of heavy cream).
- Apply to a felt polishing pad or a damp microfiber cloth.
- Rub the scratched area in tight, overlapping circles for 3 to 5 minutes.
- Wipe clean with a damp cloth to reveal a perfectly smooth, scratch-free surface.
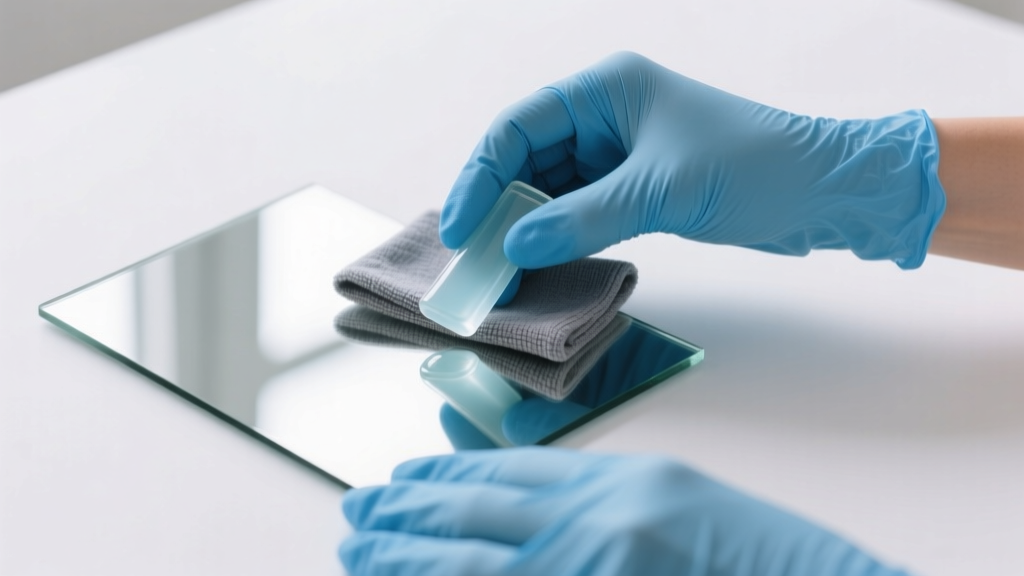
How to Replace a Broken or Desilvered Jewelry Box Mirror
When the silver backing has completely failed or the glass is shattered, replacement is your only option. This requires precision and the correct adhesives to prevent immediate re-degradation.
Step 1: Safe Extraction of the Old Glass
Put on cut-resistant Kevlar gloves and safety goggles. If the mirror is held in by a wooden or plastic retaining frame, gently pry it up using a thin, 18-gauge steel pry bar. If the mirror is glued directly to the lid, use a heat gun on a low setting (around 150°F / 65°C) to soften the old adhesive. Slide a piece of braided fishing line behind the glass and use a sawing motion to slice through the glue.
Step 2: Sizing and Sourcing the Replacement
Measure the recessed cavity, not the old glass, as the old piece may have been cut poorly. Deduct 1/16th of an inch (1.5mm) from both the width and height to allow for thermal expansion. For small jewelry box lids, order 2mm (1/16-inch) thick glass from a local glazier or online glass supplier. Avoid 3mm glass for lids, as the extra weight can warp wooden hinges over time.
Step 3: The Adhesive Selection (Crucial Step)
This is where most DIYers ruin their new mirror. Never use standard acidic silicone caulk. Acidic silicone off-gasses acetic acid (it smells like vinegar) while curing, which will chemically burn the silver backing of your new mirror within weeks, causing black spots. You must use a neutral-cure silicone or a specialized mirror mastic like Liquid Nails LN-700. Apply three small, dime-sized dots to the back of the mirror, press it into the lid cavity, and tape it in place for 24 hours while it cures.
Material Comparison: Glass vs. Acrylic Replacement Mirrors
When ordering your replacement, you will have to choose between traditional glass and modern acrylic (polycarbonate) mirrors. Here is how they compare for jewelry storage applications:
| Feature | 2mm Glass Mirror | 3mm Acrylic Mirror |
|---|---|---|
| Optical Clarity | Flawless, zero distortion | Slight warping at edges |
| Weight | Heavier (can strain hinges) | Ultra-lightweight |
| Shatter Resistance | Low (requires careful handling) | High (virtually shatterproof) |
| Scratch Resistance | Highly resistant to metal clasps | Scratches very easily |
| Cost (per sq ft) | $12 - $18 | $20 - $30 |
Verdict: For stationary, heavy armoires, choose glass. For travel cases or lids that open and close frequently, choose acrylic to reduce hinge strain.
Pro Upgrade: Adding High-CRI LED Lighting
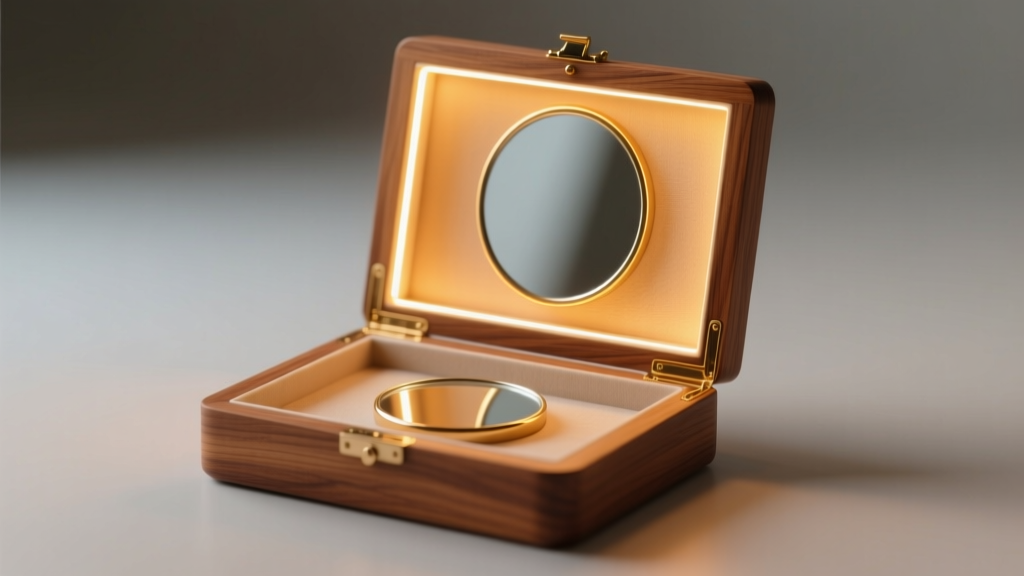
If you are already replacing the mirror, take the opportunity to upgrade your jewelry box into a professional-grade viewing station. Proper lighting is critical for evaluating gemstone brilliance and metal undertones. The Gemological Institute of America (GIA) recommends daylight-equivalent lighting for accurate color grading.
Choosing the Right LED Strip
Purchase a 5V USB-powered LED strip with a CRI (Color Rendering Index) of 90 or higher. A low CRI will make rose gold look muddy and diamonds look dull. For color temperature, select 4000K (Natural White). Avoid 2700K (Warm White), as it will artificially yellow your white gold and platinum pieces, and avoid 6000K (Cool Blue), which will wash out yellow gold.
Installation Steps
- Route the LED strip along the inner perimeter of the lid frame, facing inward toward the mirror to create a halo effect.
- Drill a tiny 3/16-inch hole through the back of the wooden lid to feed the USB cable through.
- Secure the cable with a small adhesive cord clip so it doesn't get caught in the hinges when closing the box.
- Plug into a standard 5V USB wall block or a rechargeable power bank hidden in the bottom drawer.
Preventative Maintenance for Long-Term Clarity
To ensure your newly restored or replaced jewelry box mirror lasts for decades, control the micro-climate inside the box. Moisture is the enemy of the silver backing. Drop two or three silica gel desiccant packets into the bottom compartment of your jewelry box and replace them every six months. If you live in a high-humidity coastal environment, consider storing the entire box inside a room with a dehumidifier running during the summer months. By avoiding harsh chemicals and managing ambient moisture, your mirror will provide a flawless reflection of your collection for years to come.


