How to Install and Organize a Wall Mount Jewelry Armoire
Learn how to safely install and strategically organize a wall mount jewelry armoire. Expert tips on drywall anchors, hinge physics, and anti-tarnish care.

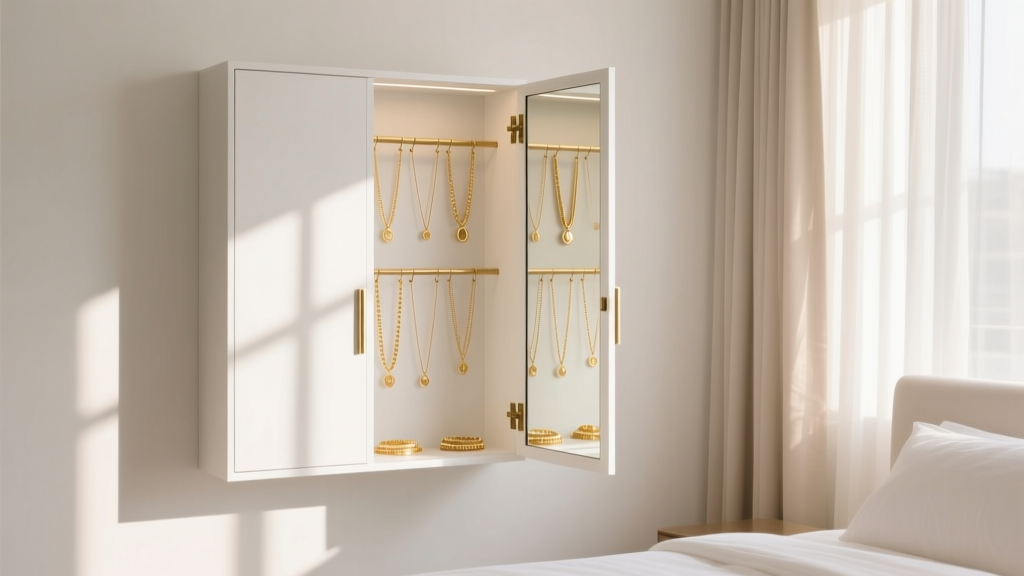
The Shift to Vertical Jewelry Storage
As jewelry collections grow, freestanding armoires and vanity trays quickly consume valuable surface area. Transitioning to a wall mount jewelry armoire is a brilliant spatial solution, transforming dead vertical real estate into a secure, accessible display. However, unlike hanging a lightweight picture frame, mounting a fully loaded jewelry cabinet introduces significant structural and organizational challenges. A standard mirrored armoire filled with solid gold chains, sterling silver bangles, and gemstone pieces can easily exceed 50 pounds. If installed improperly, the result is a catastrophic drywall failure that damages both your home and your most prized possessions.
This comprehensive guide walks you through the exact engineering, installation, and organizational frameworks required to safely mount and optimize a wall-mounted jewelry cabinet. We will cover load-bearing physics, specific hardware requirements, and advanced anti-tarnish strategies to ensure your collection remains pristine.
Phase 1: Assessing Wall Integrity and Load Dynamics
Before picking up a drill, you must calculate the total dynamic load of your system. The weight of the armoire itself is only half the equation. A high-quality solid rubberwood cabinet weighs between 35 and 45 pounds empty. Cheaper MDF (medium-density fiberboard) alternatives might weigh 20 pounds but lack the screw-holding strength for heavy door hinges. Once you add a substantial jewelry collection—where a single 18k gold Cuban link chain can weigh 150 grams, and a collection of 50 necklaces can add 15 pounds of dead weight—your total load approaches 60 pounds.
Standard plastic ribbed drywall anchors, which are often included in the box with retail armoires, are rated for a maximum of 20 pounds in 1/2-inch drywall. They will inevitably fail under the sheer and tensile stress of a loaded jewelry cabinet. According to structural guidelines outlined by Family Handyman, you must upgrade to heavy-duty toggle bolts or locate structural wood studs.
Hardware Weight Capacity Chart (1/2-Inch Drywall)
| Anchor Type | Max Weight Capacity | Recommended Use |
|---|---|---|
| Plastic Expansion Anchor | 15 - 20 lbs | Never use for armoires |
| Threaded Drywall Anchor (Zinc) | 30 - 40 lbs | Only for empty, lightweight MDF cabinets |
| 1/4" Snaptoggle Bolt | 265 lbs | Ideal for heavy solid-wood armoires |
| Wood Stud (2.5" Wood Screw) | 150+ lbs per stud | Best overall structural support |
Phase 2: Step-by-Step Installation Guide
Proper installation requires precision. If your wall mount jewelry armoire features a locking door with internal storage, the hinges will bear immense torque. Follow these steps to ensure a rock-solid mount.
Step 1: Locating Studs and Marking the Footprint
Use an electronic stud finder to locate the vertical wooden studs behind your drywall, typically spaced 16 inches apart on center. Hold the armoire against the wall at your desired height (usually with the center of the mirror at eye level, around 60 inches from the floor). Mark the top and bottom mounting holes. If at least one mounting hole aligns with a stud, you can use a 2.5-inch wood screw for that point and a Snaptoggle for the other. If no studs align, you will use Snaptoggles for all mounting points.
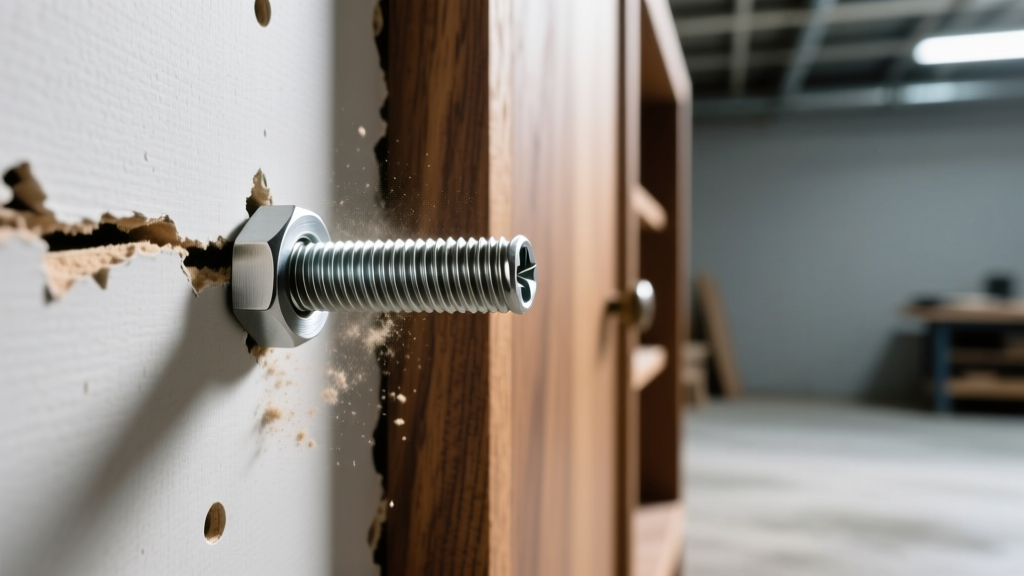
Step 2: Drilling and Setting Toggle Bolts
For a 1/4-20 Snaptoggle, you must drill a clean 1/2-inch hole through the drywall. Avoid using a spade bit, which can tear the drywall paper and weaken the surrounding gypsum. Instead, use a 1/2-inch twist bit. Insert the folded metal toggle through the hole, pull the straps to seat the toggle flat against the back of the drywall, and snap the plastic retaining collar into place. Bob Vila emphasizes that the toggle must sit completely flush against the interior drywall surface to distribute the load evenly and prevent the drywall from crumbling under pressure.
Step 3: Mounting and Leveling
With the anchors in place, align the armoire's mounting brackets with the bolts. Insert the machine screws and tighten them with a socket wrench. Stop tightening the moment the cabinet feels rigid against the wall; over-tightening will crush the drywall core and compromise the anchor's grip. Use a 24-inch torpedo level across the top of the cabinet to ensure it is perfectly plumb. An unlevel cabinet will cause the door to swing open on its own and place uneven stress on the hinges.
Phase 3: Strategic Loading and Hinge Physics
Organizing a wall mount jewelry armoire is not just about aesthetics; it is an exercise in weight distribution. The door hinges are the weakest mechanical link in the entire system. Understanding the physics of torque will dictate how you load the interior.
Expert Insight: Torque equals force multiplied by distance. Hanging heavy items at the very bottom of the door actually reduces the pulling force on the top hinge compared to hanging them at the top. However, placing all the weight at the bottom can cause the door to warp over time. The optimal strategy is a centralized center-of-gravity approach.
Top Tier: High-Frequency and Lightweight
Reserve the top third of the door and cabinet for lightweight, daily-wear items. This includes delicate 14k gold chains, pearl stud earrings, and thin wire bracelets. Use the provided velvet-lined slots for rings and small hoops. Keeping the top section light prevents the top hinge from experiencing excessive tensile pull-away stress.
Middle Tier: The Heavy Metal Zone
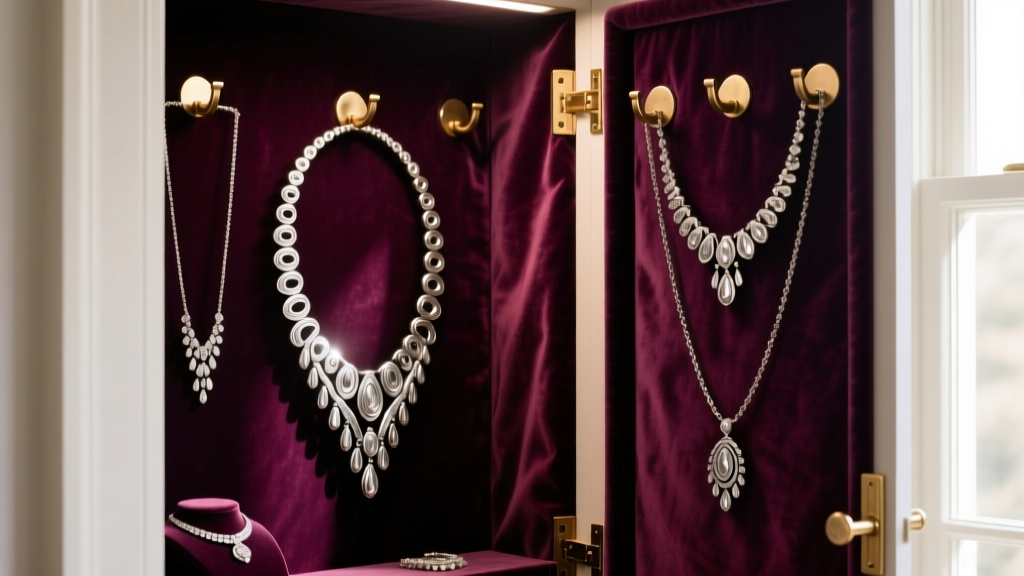
The middle section, closest to the hinges' pivot point, is the optimal location for your heaviest items. Hang thick sterling silver statement necklaces, heavy gemstone pendants, and multi-strand beaded pieces here. By keeping the heaviest mass close to the hinge axis, you minimize the torque applied to the hardware. If your armoire includes elasticated grid panels, use them to secure wide cuff bracelets so they do not shift and scratch adjacent pieces when the door is closed.
Bottom Tier: Secure and Seldom Worn
The bottom section is ideal for medium-weight items that you wear less frequently, such as chandelier earrings and brooches. If your armoire features a lower locking drawer or cubby, store your most valuable, un-mounted gemstones and heirloom pieces here, as the lower center of gravity provides the most stability.
Phase 4: Maintaining an Anti-Tarnish Environment
A wall-mounted cabinet can inadvertently trap humidity, accelerating the oxidation of sterling silver and copper alloys. Tarnish is caused by a chemical reaction between silver and hydrogen sulfide in the air, a process that accelerates in high-humidity environments. According to the Gemological Institute of America (GIA), proper environmental control is essential for preserving the luster of precious metals.
Upgrading the Interior Lining
Many budget armoires use standard synthetic velvet, which offers zero tarnish protection and can cause micro-scratches on high-polish gold. Line the shelves and door panels with Pacific Silvercloth. This specialized flannel is embedded with microscopic silver particles that absorb and neutralize tarnish-causing gases before they reach your jewelry. Cut the cloth to size using pinking shears to prevent fraying, and affix it using double-sided fabric tape that is safe for wood finishes.
Active Humidity Control
Place two or three small, rechargeable silica gel desiccant canisters in the bottom corners of the armoire. These will keep the internal relative humidity (RH) below 50%, which is the critical threshold for slowing silver oxidation. Avoid using chemical anti-tarnish strips directly touching your jewelry, as the volatile compounds they emit can sometimes react poorly with porous gemstones like turquoise, opals, and pearls. Instead, tuck the strips behind the velvet lining or in a small breathable pouch at the top of the cabinet.
Conclusion
Installing a wall mount jewelry armoire requires moving beyond the inadequate hardware provided in the box and treating the project with the respect given to heavy wall shelving. By utilizing 1/4-inch Snaptoggle bolts, understanding the torque dynamics of door hinges, and implementing advanced anti-tarnish linings, you create a secure, museum-quality display. Your collection will remain organized, protected from environmental damage, and beautifully showcased for years to come.


