Care Guide for Your Custom Woodworking Jewelry Box
Learn how to clean, condition, and maintain your custom woodworking jewelry box to protect fine wood finishes and prevent jewelry tarnish.
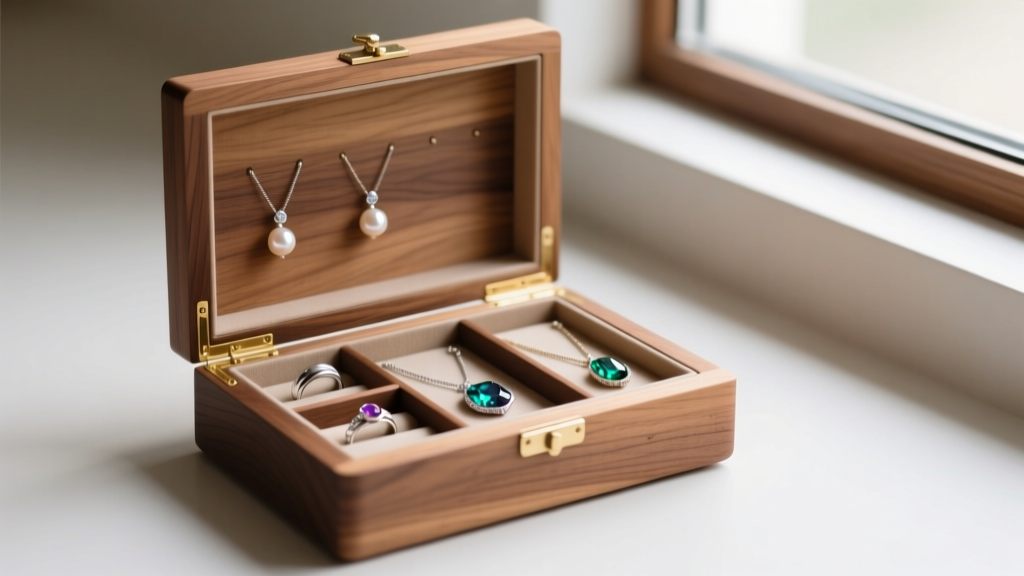
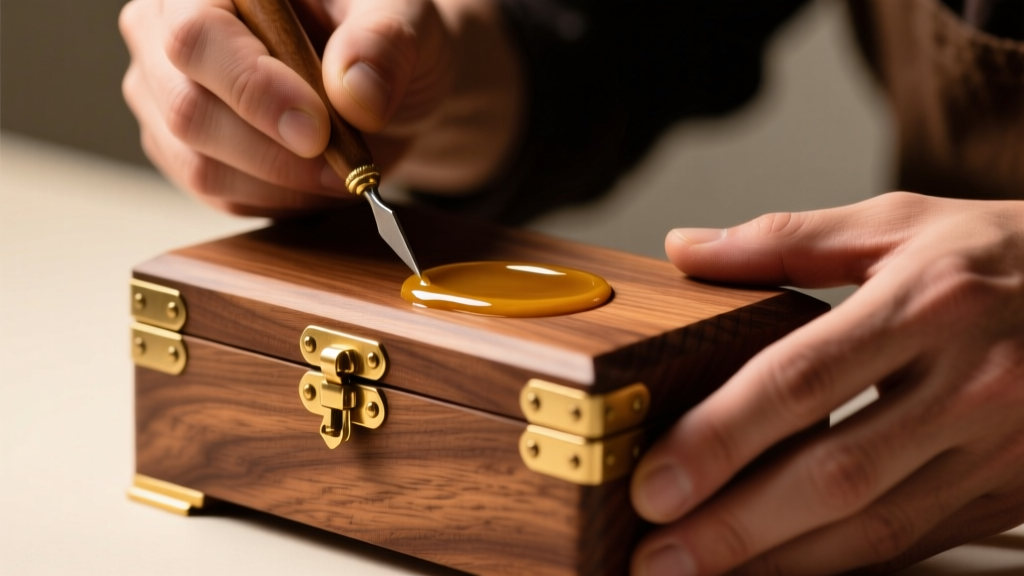
Understanding Wood Finishes and Jewelry Safety
A handcrafted woodworking jewelry box is more than just a storage vessel; it is an heirloom piece of functional art. However, the intersection of fine woodworking and precious metals requires a nuanced approach to maintenance. Wood is a hygroscopic, porous material that naturally contains tannins, resins, and acids. If left unsealed or improperly finished, these organic compounds can off-gas sulfur and acidic vapors that rapidly accelerate the tarnishing of sterling silver, copper, and low-karat gold.
According to conservation guidelines from the Getty Conservation Institute, the barrier between the raw wood and your jewelry is critical. Modern custom boxes typically utilize polymerized tung oil, dewaxed shellac (such as Zinsser SealCoat), or catalyzed polyurethane. These finishes are inert once fully cured and provide an excellent vapor barrier. Conversely, avoid storing silver directly against unfinished cedar or oak compartments, as the natural acids in these woods will cause severe blackening of silver sulfides on your jewelry within weeks.
The Surface Cleaning Protocol
Routine cleaning of your woodworking jewelry box should never involve generic household furniture sprays. Commercial polishes often contain silicone oils, which create a temporary high-gloss shine but contaminate the wood pores. If your box ever requires professional refinishing or scratch repair, silicone contamination makes it nearly impossible for new finishes to adhere properly.
Step 1: Dry Dusting
Use a clean, high-pile microfiber cloth to gently trap dust from the exterior and interior crevices. Avoid feather dusters, as their stiff quills can catch on delicate brass or steel inlay work and cause micro-scratches in the lacquer.
Step 2: Grime and Oil Removal
Over time, natural oils from your hands will accumulate around the hinges, clasps, and drawer pulls. To cut through this grime without stripping the finish, lightly dampen a lint-free cotton cloth with naphtha or odorless mineral spirits. Wipe the affected areas gently and immediately buff dry. Naphtha evaporates rapidly and is entirely safe for fully cured polyurethane, shellac, and lacquer finishes.
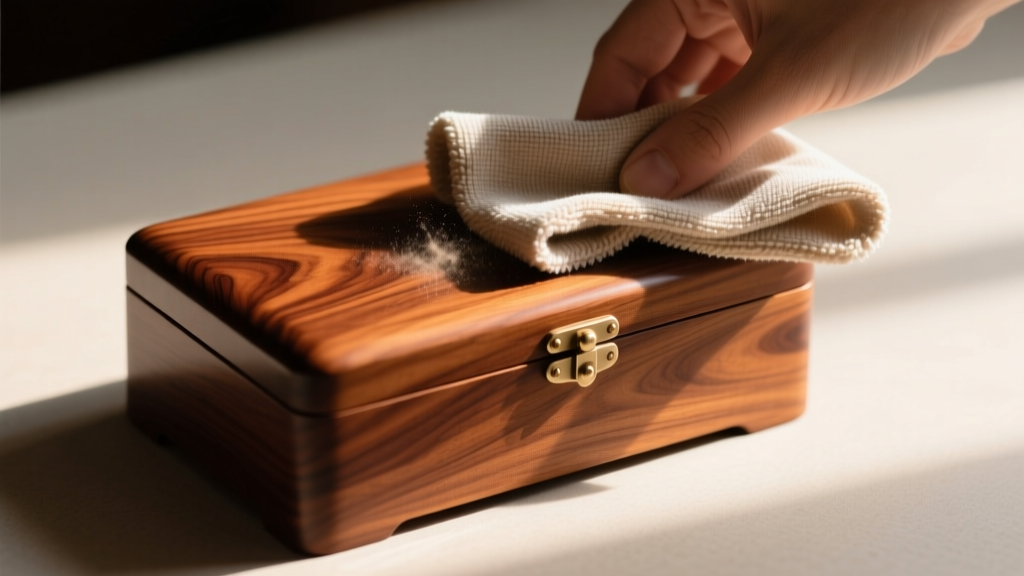
Deep Conditioning, Scratch Repair, and Waxing
Even the most durable factory finishes will eventually suffer from micro-marring and dullness. To restore depth to the wood grain and provide a protective sacrificial layer, you must apply a high-quality paste wax. The undisputed museum standard for this is Renaissance Wax, a microcrystalline wax originally developed by the British Museum. Unlike carnauba or beeswax, Renaissance Wax is completely acid-free, non-yellowing, and will not transfer onto your jewelry.
Application Technique
Apply a microscopic amount of wax to a soft cotton rag. Rub it into the wood using tight, circular motions, ensuring you work it into the pores and corners. Allow it to haze for exactly 10 to 15 minutes, then buff it vigorously with a clean horsehair brush or microfiber towel until the surface is slick to the touch.
Wood Finish Maintenance Matrix
| Maintenance Product | Best For | Application Frequency | Jewelry Safety |
|---|---|---|---|
| Renaissance Wax | Sealing, museum-grade protection | Every 6-12 months | Excellent (Inert, Acid-Free) |
| Carnauba Paste Wax | High-gloss buffing on open-grain woods | Annually | Very Good |
| Howard Restor-A-Finish | Blending minor scratches and white rings | As needed (One-time spot treatment) | Good (Safe only once fully cured) |
| Mineral Oil | Raw wood interior compartments (rare) | Monthly | Poor (Can transfer to porous gems) |
Interior Lining Care: Velvet, Felt, and Suede
The interior of a woodworking jewelry box is typically lined with anti-tarnish flannel, rayon velvet, or ultra-suede. These fabrics trap dust, skin cells, and microscopic debris that can act as abrasives against polished gemstones. The Gemological Institute of America (GIA) notes that accumulated grit is a primary cause of micro-scratches on soft stones like opals and pearls.
Vacuuming: Use a handheld vacuum with a soft brush attachment on the lowest suction setting. Hover over the ring rolls and earring posts to lift debris without pulling the fabric away from its adhesive backing.
Spot Cleaning: Never use liquid upholstery cleaners inside the box. The moisture will seep through the fabric, warping the thin plywood or MDF substrate beneath and potentially dissolving the hide glue used by the woodworker. Instead, use a high-quality lint roller or a piece of archival-quality artist's kneaded eraser to gently lift embedded dirt from the velvet pile.
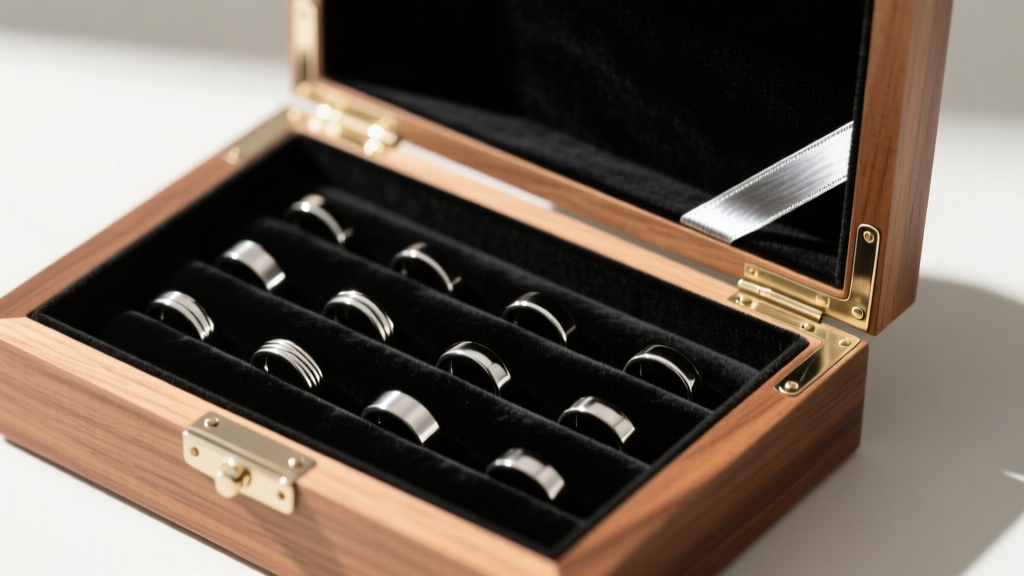
Climate Control: Preventing Warping and Joint Failure
Wood expands and contracts in response to ambient relative humidity (RH). A fine woodworking jewelry box constructed with traditional dovetail or mortise-and-tenon joinery needs a stable environment to prevent drawer binding, veneer delamination, and cracked panels.
- Ideal Humidity: Maintain an indoor RH between 40% and 50%. During dry winter months, a room humidifier is essential.
- Avoid Extremes: Never store your box in an attic, a damp basement, or directly above a heating radiator. Rapid fluctuations in temperature will cause the wood fibers to tear themselves apart.
- The Silica Gel Warning: While tossing a few silica gel packets into the drawers might seem like a good way to control moisture and prevent tarnish, it is highly dangerous for certain jewelry. Silica gel aggressively pulls moisture from the air, which can cause organic gems like pearls, tortoiseshell, and opals to dehydrate, craze, and crack irreparably.
Expert Troubleshooting Common Issues
Sticky or Binding Drawers
If a drawer in your woodworking jewelry box begins to stick, do not force it, as this can snap the delicate wooden runners. Remove the drawer and inspect the bottom edges and the internal tracks. Rub a block of paraffin wax or a dry bar of ivory soap along the friction points. Avoid liquid lubricants like WD-40, which will stain the raw wood and emit fumes that can damage porous gemstones.
White Water Rings on the Lid
White, cloudy rings indicate that moisture has become trapped within the top layer of the finish (common with shellac and lacquer). To draw the moisture out, apply a small dab of full-fat mayonnaise to the ring, let it sit for one hour, and wipe it clean. The oils and mild acids gently penetrate the micro-cracks in the finish, displacing the trapped water. For stubborn rings, a jeweler's rouge or a specialized abrasive polish like pumice mixed with mineral oil can be carefully rubbed along the grain using 0000-grade steel wool. Always follow up with a fresh coat of Renaissance Wax to reseal the area.
Conclusion
Maintaining a woodworking jewelry box requires a balance between caring for the organic wood structure and protecting the inorganic precious metals and gems stored within. By abandoning harsh chemical sprays in favor of museum-grade waxes, controlling your ambient humidity, and practicing gentle interior cleaning, you ensure that both the cabinetry and the collection inside remain pristine for generations. For more advanced tips on preserving specific metals, consult the Fine Woodworking archives or your local bench jeweler for bespoke material advice.


