How to Repair a Ballerina Jewelry Box Music Mechanism
Learn how to repair, clean, and maintain a ballerina jewelry box music mechanism with our expert step-by-step restoration and organization guide.

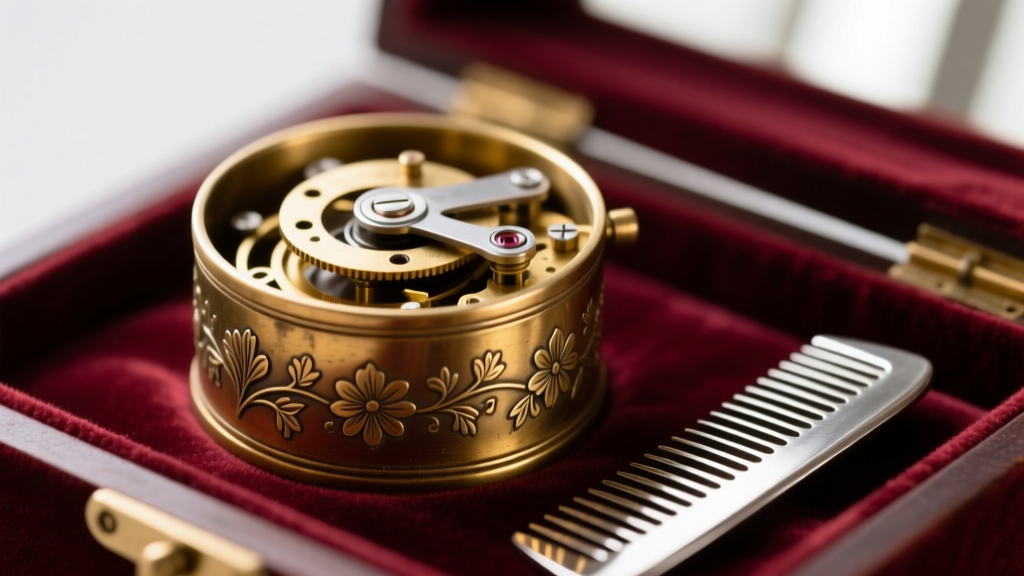
The Anatomy of a Musical Jewelry Box Mechanism
Before attempting any repair on a ballerina jewelry box music mechanism, it is crucial to understand the horological engineering inside. Most mid-century and contemporary musical boxes utilize a variation of the Swiss or Japanese Sankyo 18-note or 30-note movement. These are marvels of miniature kinetic engineering, consisting of four primary components: the mainspring barrel (which stores kinetic energy), the pinned cylinder (the 'brain' that dictates the melody), the tuned steel comb (the 'instrument' that produces the sound), and the governor or air-brake fan (which regulates the speed of the cylinder's rotation).
When a music box fails, the issue rarely stems from a single catastrophic breakdown. Instead, it is usually the result of improper winding, environmental dust accumulation, or the use of incorrect lubricants. According to the Musical Box Society International (MBSI), over 70% of music box failures are caused by owners applying standard household oils, which eventually turn into a gummy resin that deadens the acoustic resonance of the high-carbon steel comb and jams the delicate brass gearing.
Step 1: Diagnosing the Music Box Failure
Accurate diagnosis prevents unnecessary disassembly. Listen closely to the mechanism when you attempt to wind the key. Does it resist? Does it play at the wrong tempo? Use the diagnostic framework below to pinpoint the exact failure mode before reaching for your tools.
| Symptom | Probable Cause | Required Action |
|---|---|---|
| Key will not turn; feels locked | Overwound mainspring or stripped ratchet gear | Release spring tension via the governor fan |
| Music plays too fast / 'runs away' | Governor fan detached or missing friction pad | Re-seat the governor worm gear |
| Grinding noise, no melody | Dust/debris trapped between cylinder pins and comb | Solvent flush and mechanical cleaning |
| Missing notes or 'dead' plucks | Fractured comb tooth or heavy oil residue | Comb replacement or naphtha degreasing |
Step 2: Safely Extracting the Movement
To access the mechanism, you must first remove the interior lining of the jewelry box. In vintage pieces, the velvet or suede lining is often held in place by hide glue or aged double-sided tape. Use a plastic spudger or a blunt bamboo skewer to gently lift the edges of the fabric. Never use metal pry tools, as they will easily gouge the soft plywood or MDF substrate of the box interior.
Once the lining is peeled back, you will see the brass or stamped steel mounting plate of the music box movement. Using a precision Phillips or flathead screwdriver (typically #0 or #1 size), remove the mounting screws. Carefully lift the entire movement out of the wooden cavity. Note the orientation of the winding shaft and the stop-switch lever, as these must be perfectly realigned during reassembly to ensure the music stops when the lid is closed.
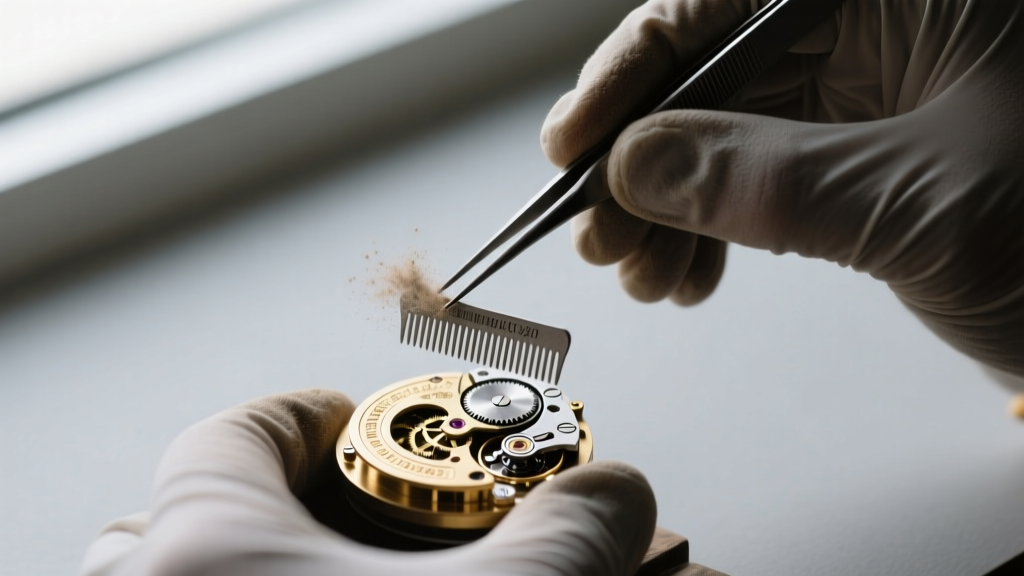
Step 3: Cleaning and Degreasing the Cylinder and Comb
The most critical step in restoring a ballerina jewelry box music mechanism is properly cleaning the cylinder and comb. The comb is made of tempered high-carbon steel, which is highly susceptible to flash rust if exposed to water-based cleaners or standard isopropyl alcohol. Furthermore, you must never use WD-40 or 3-in-One oil on the comb or cylinder; these products leave behind a heavy petroleum residue that attracts dust and dampens the vibration of the tuned teeth, resulting in a muffled, lifeless sound.
Solvent Selection for Horological Cleaning
Professional restorers rely on specific, fast-evaporating solvents that strip away old grease without oxidizing the steel or damaging the brass pins. Below is a comparison of common solvents and their safety profiles for music box restoration.
| Solvent Type | Evaporation Rate | Rust Risk | Acoustic Impact | Verdict |
|---|---|---|---|---|
| VM&P Naphtha | Fast | None | Zero residue | Highly Recommended |
| Isopropyl (99%) | Medium | Moderate (Flash Rust) | Can dry out joints | Use with Caution |
| WD-40 / Penetrating Oil | Very Slow | Low | Deadens sound heavily | Never Use |
| Ultrasonic Jewelry Cleaner | N/A (Liquid) | High | Can bend delicate pins | Never Use |
Apply a small amount of VM&P Naphtha to a soft, lint-free microfiber cloth or a fine camel-hair brush. Gently wipe the cylinder, rotating it by hand to ensure every brass pin is free of debris. Next, carefully brush the teeth of the comb. If a piece of lint or a hair is wrapped around the base of a tooth, use fine brass tweezers to extract it. The National Association of Watch and Clock Collectors (NAWCC) frequently warns against using steel tweezers on musical movements, as steel-on-steel contact can scratch the brass cylinder or magnetize the comb teeth, causing them to attract metallic dust over time.
Step 4: Re-Tensioning and Reassembly
Once the mechanism is completely dry and free of debris, it is time to address the mainspring. If the spring was overwound, you must safely release the tension. Hold the cylinder firmly with your thumb to prevent it from spinning violently, and use a small piece of soft wood to gently nudge the governor fan, allowing the spring to unwind in a controlled manner. Never let the mechanism spin freely, as the centrifugal force can bend the delicate brass governor shaft or strip the nylon friction pads.
When reinstalling the movement into the wooden box, ensure the winding shaft sits perfectly perpendicular to the base. If the shaft is at an angle, turning the key will exert lateral torque on the mainspring barrel, eventually snapping the arbor. Test the stop-switch by closing the lid; the lever should depress smoothly, halting the cylinder's rotation without bending the brass pins.
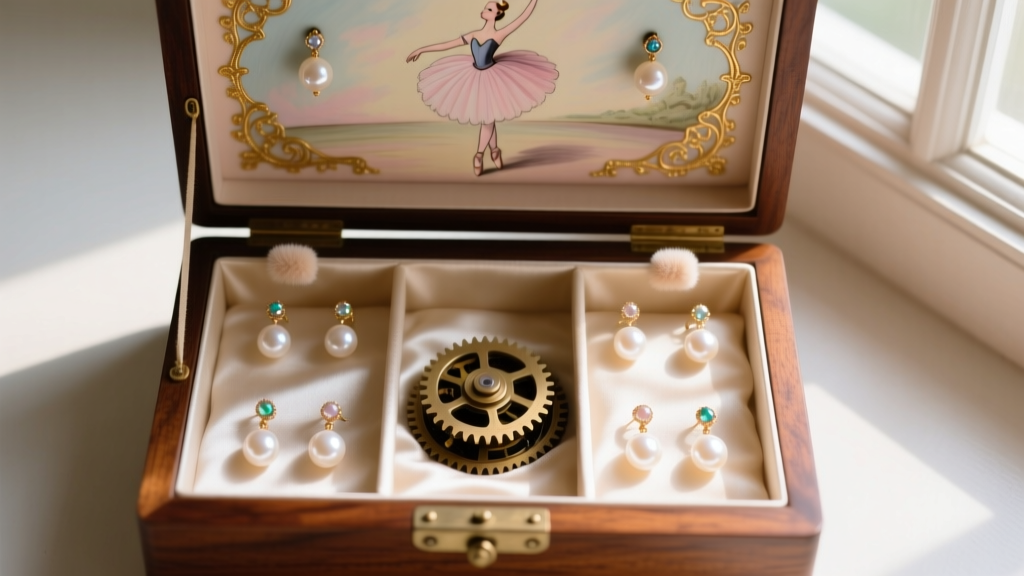
Step 5: Organizing Jewelry Without Jamming the Mechanism
Restoring the music is only half the battle; proper organization is essential to prevent future mechanical failures. The interior layout of a musical jewelry box must be managed with the underlying gears in mind. The mainspring barrel and the governor assembly sit directly beneath the thin wooden floor of the main storage compartment.
- Weight Distribution: Avoid storing heavy items, such as solid gold cufflinks, thick silver bangles, or dense gemstone clusters, directly over the center of the compartment. The concentrated weight can cause the thin wooden floor to bow inward, creating friction against the spinning governor fan and slowing the melody to a crawl.
- Chain Entanglement Hazards: Fine jewelry chains (such as 1mm rope chains or delicate serpentine links) are the number one enemy of exposed music box gears. If a chain slips through a gap in the velvet lining or a poorly sealed floorboard, it will wrap around the spinning cylinder or the governor worm gear, instantly locking the mechanism and potentially snapping the delicate brass pins. Always store fine chains in dedicated, zipped anti-tarnish pouches or closed ring rolls before placing them in a musical box.
- Magnetic Interference: Some modern jewelry boxes feature magnetic clasps on the lid. Ensure that highly magnetizable items, like raw steel or certain nickel-alloy vintage pieces, are not stored near the lid's edge, as magnetic fields can interfere with the acoustic resonance of the steel comb over time.
When to Seek Professional Horological Repair
While cleaning, degreasing, and reassembling a standard 18-note movement is well within the capabilities of a dedicated DIYer, certain failures require the expertise of a master horologist. If you discover a fractured tooth on the steel comb, a snapped mainspring inside the barrel, or severe wear on the brass ratchet gears, stop immediately. Attempting to weld a comb tooth or force a snapped spring will destroy the acoustic tuning and the structural integrity of the movement. In these cases, consult a specialist affiliated with the MBSI or a certified antique clock restorer who can source period-correct replacement parts or fabricate custom brass pins to save your cherished heirloom.


