How to Line and Restore a Wooden Heart Shaped Jewelry Box
Learn how to restore, line, and organize a wooden heart shaped jewelry box with anti-tarnish materials to protect precious metals.

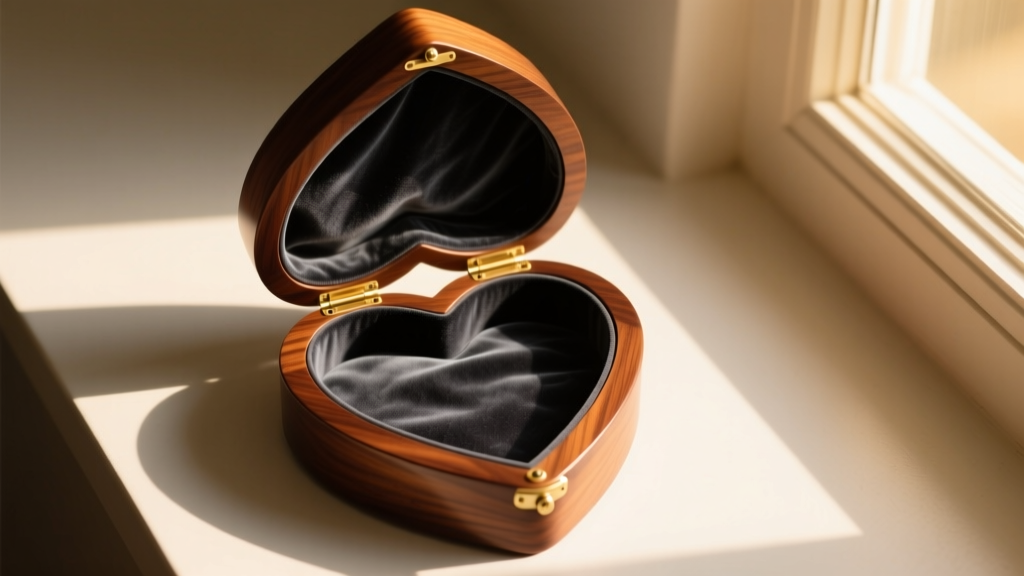
The Hidden Danger of Wooden Storage
When it comes to storing precious metals and delicate gemstones, the container is just as critical as the ambient environment. Many vintage and artisanal wooden boxes, while aesthetically stunning, harbor a hidden threat to your collection. Woods like oak, cedar, and even certain plywoods emit volatile organic compounds (VOCs), primarily acetic acid and formaldehyde. Over time, these acidic gases accelerate the oxidation process, causing sterling silver to blacken and copper alloys to develop a corrosive patina. If you own a beautiful wooden heart shaped jewelry box, restoring and properly lining it is essential to transform it from a potential hazard into a museum-grade storage solution.
According to the Gemological Institute of America (GIA), improper storage materials are a leading cause of surface degradation in silver and porous gems like pearls and turquoise. This step-by-step guide will walk you through the exact process of sealing the wood substrate and installing a custom-fitted, anti-tarnish interior lining tailored to the unique geometry of a heart-shaped cavity.
Essential Materials for a Museum-Grade Restoration
Before beginning, you must gather archival-quality materials. Standard craft glues and synthetic felts will off-gas and trap moisture, defeating the purpose of the restoration. Here is your precise shopping list:
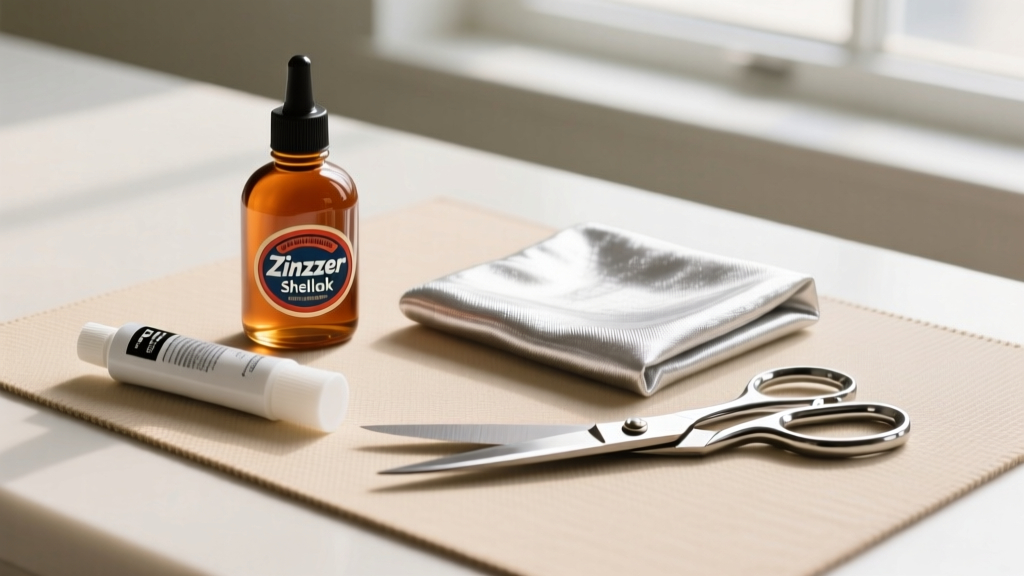
- Sealant: Zinsser B-I-N Shellac-Based Primer. Shellac is a natural resin that creates an impermeable barrier against wood acids. Avoid polyurethane, which can trap moisture and take months to fully cure and off-gas.
- Adhesive: Lineco Neutral pH Adhesive. This is an archival-quality, acid-free PVA glue that will not degrade or stain your fabric over time.
- Lining Fabric: Pacific Silvercloth. Unlike standard velvet, this material is embedded with microscopic silver particles that intercept and neutralize hydrogen sulfide (H2S) gas before it reaches your jewelry. Suppliers like Rio Grande frequently recommend embedded tarnish-prevention textiles for long-term silver storage.
- Tools: 220-grit sandpaper, a flexible silicone spreader, sharp fabric shears, and a bone folder for crisp creases.
Step 1: Stripping and Sealing the Wood Substrate
The interior of your heart shaped jewelry box must be completely sealed before any fabric is applied. If the box is vintage, gently scuff the interior wood with 220-grit sandpaper to remove any old, flaking varnish or dust. Wipe the cavity clean with a slightly damp, lint-free microfiber cloth and allow it to dry completely for 24 hours.
Apply a thin, even coat of the shellac-based primer to all interior surfaces, including the underside of the lid and the inner lips of the box. The heart shape presents a unique challenge at the top cleft where the two lobes meet; use a small, angled artist brush to ensure the sealant reaches deep into this tight corner. Allow the shellac to dry for 45 minutes, then apply a second coat. Once fully cured, the wood will be chemically inert and safe for direct contact with your lining materials.
Step 2: Templating the Heart Shaped Jewelry Box Interior
The geometry of a heart shaped jewelry box makes templating significantly more complex than a standard rectangular box. You are dealing with two convex outer lobes and one sharp, concave inner cleft. To achieve a seamless fit without puckering, you must use a paper template and strategic relief cuts.
Creating the Base Template
Place a sheet of tracing paper over the bottom of the box cavity and gently rub a graphite pencil along the inner edges to capture the exact footprint. Cut out the paper template and test-fit it inside the box. It should sit flat without buckling. Once satisfied, trace this shape onto the back of your Pacific Silvercloth using a piece of tailor’s chalk.
Mastering the Relief Cuts
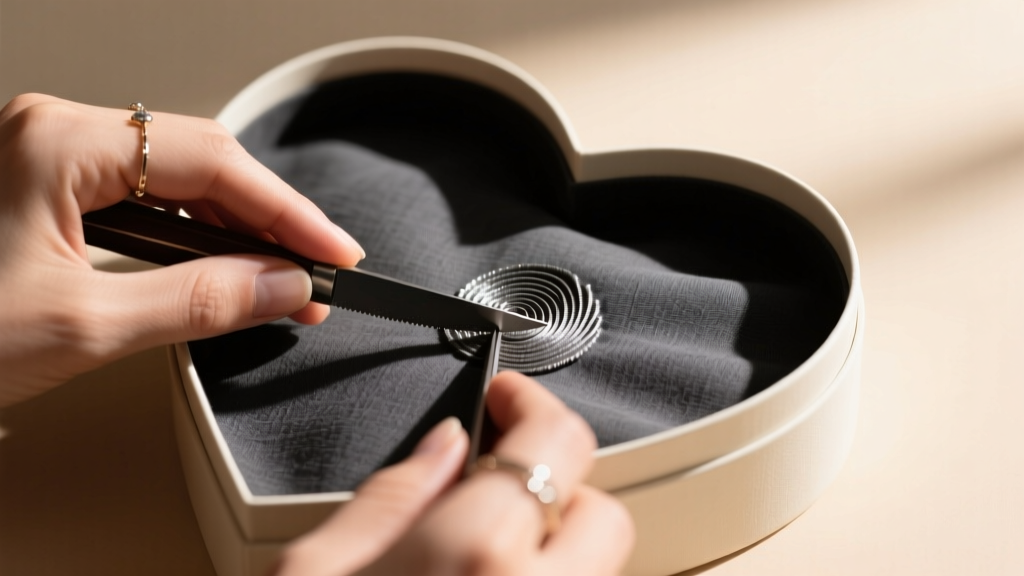
The concave cleft at the top center of the heart is where most DIY restorations fail. If you simply fold the fabric up the walls, it will bunch and pull away from the base. To fix this, you must cut a precise "V" shaped relief notch into the seam allowance of the fabric exactly at the cleft. Similarly, for the convex outer lobes, make small, 1/4-inch dart cuts into the seam allowance so the fabric can fan out and lie perfectly flat against the curved walls.
Step 3: Adhering the Anti-Tarnish Lining
With your fabric cut and relief notches prepped, it is time to install the lining. Work in a low-humidity environment to prevent the wood or fabric from expanding during the gluing process.
- Base Application: Apply a thin, even layer of Lineco Neutral pH Adhesive to the wooden floor of the box using your silicone spreader. Wait 60 seconds for the glue to become tacky.
- Setting the Fabric: Carefully lower the base piece of Pacific Silvercloth into the box. Use a bone folder to smooth it outward from the center, ensuring no air bubbles are trapped beneath the surface.
- Wall Application: Apply glue to the interior walls in small sections. Fold the seam allowances of your wall pieces up, pressing them firmly into place. Use the bone folder to create razor-sharp creases along the bottom edge where the wall meets the floor.
- The Cleft and Lobes: When folding the fabric into the top cleft, overlap the two relief-cut edges slightly and secure them with a micro-drop of adhesive. For the outer lobes, the dart cuts will allow the fabric to wrap smoothly around the curves without tension.
Expert Tip: Never use cyanoacrylate (Super Glue) or hot glue for jewelry box lining. These adhesives emit corrosive fumes as they cure and will cause immediate, irreversible spotting on sterling silver and unprotected copper.
Organizing Your Metals: A Strategic Approach
Once your heart shaped jewelry box is fully lined and the adhesive has cured for 48 hours, it is time to organize your collection. Even with anti-tarnish cloth, different metals and gemstones have distinct storage requirements to prevent galvanic corrosion and physical scratching.
| Material Type | Vulnerability | Optimal Storage Strategy |
|---|---|---|
| Sterling Silver | Hydrogen Sulfide (Tarnish) | Direct contact with Pacific Silvercloth; keep sealed. |
| Yellow Gold (14k/18k) | Scratching from harder gems | Store in individual soft pouches within the box. |
| Pearls & Opals | Dehydration & Acid Damage | Needs slight ambient moisture; do not seal in airtight plastic. |
| Platinum | Patina development | Highly stable; store separately to avoid scratching softer gold. |
Long-Term Maintenance and Care
To ensure your newly restored heart shaped jewelry box continues to protect your valuables, incorporate a few simple maintenance habits. Every six months, gently vacuum the interior lining using a brush attachment covered with a fine mesh screen to remove dust and dead skin cells, which can attract moisture and promote tarnish. Avoid storing the box in direct sunlight or near HVAC vents, as extreme temperature fluctuations can cause the wood to expand and contract, potentially compromising the shellac seal and the adhesive bonds. By following these precise restoration and organization steps, your wooden box will serve as a safe, beautiful sanctuary for your most treasured pieces for decades to come.


