How to Restore and Line a Standing Wooden Jewelry Box
Learn how to strip, refinish, and upgrade the interior lining of a standing wooden jewelry box with anti-tarnish materials and new hardware.

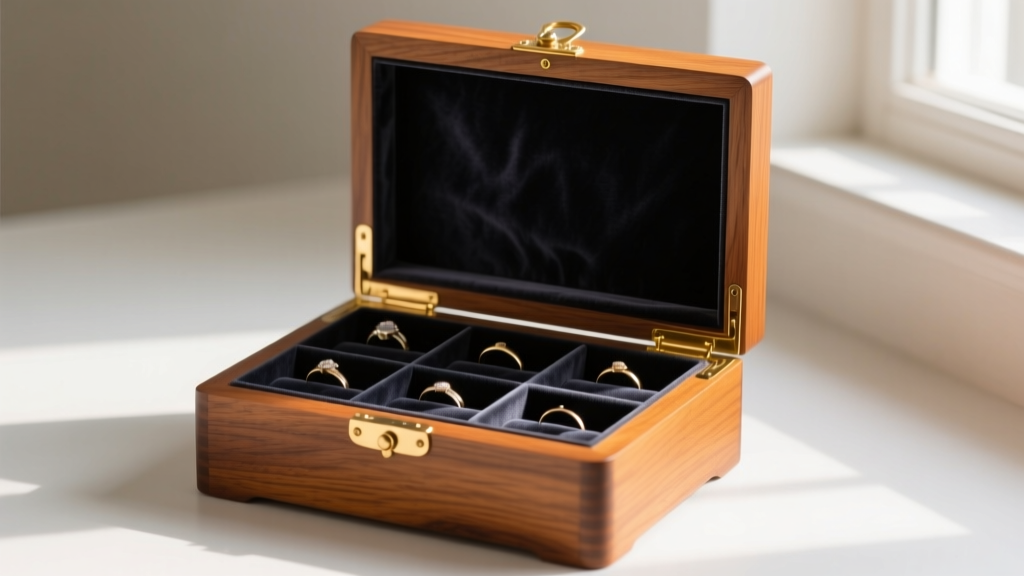
A high-quality standing wooden jewelry box is more than just a storage vessel; it is a functional heirloom that protects your most prized accessories from environmental damage, tangling, and tarnish. While modern mass-produced options often rely on MDF (medium-density fiberboard) and synthetic veneers that degrade within a few years, solid wood boxes crafted from walnut, oak, or mahogany can last generations. However, vintage or heavily used wooden boxes often suffer from peeling finishes, tarnished interiors, and failing hardware. Restoring and relining a standing wooden jewelry box requires a methodical approach to woodworking, finishing, and material science. In this comprehensive 2026 guide, we will walk you through the exact steps to strip, refinish, and upgrade your jewelry armoire with modern anti-tarnish technology and precision hardware.
Assessing the Wood and Hardware Damage
Before applying any chemicals or sandpaper, you must thoroughly assess the structural integrity of the box. Inspect the joinery—dovetail and mortise-and-tenon joints are hallmarks of quality craftsmanship and can be easily re-glued using aliphatic resin (wood glue) if they have separated. Conversely, if the box is constructed from particleboard with dowel joints, restoration may not be worth the investment. Next, examine the existing finish. Alligatoring (a cracked, scaly appearance) indicates an old shellac or lacquer finish that must be completely stripped. Finally, evaluate the hinges. Many older boxes use thin, stamped steel hinges that bend under the weight of a heavy wooden lid. Upgrading to 1.5mm or 2mm thick solid brass hinges will drastically improve the longevity and operation of your standing wooden jewelry box.
Step-by-Step Stripping and Sanding
Stripping the old finish is the most labor-intensive part of the process. Avoid harsh, methylene chloride-based strippers, which can darken tannin-rich woods like oak and mahogany. Instead, apply a thick coat of a citrus-based gel stripper using a natural bristle brush. Allow it to dwell for 45 to 60 minutes until the finish bubbles and wrinkles. Use a flexible plastic scraper to gently lift the sludge, taking care not to gouge the wood fibers. According to experts at Fine Woodworking, always scrape with the grain to prevent cross-grain scratches that will become glaringly obvious under a clear topcoat.
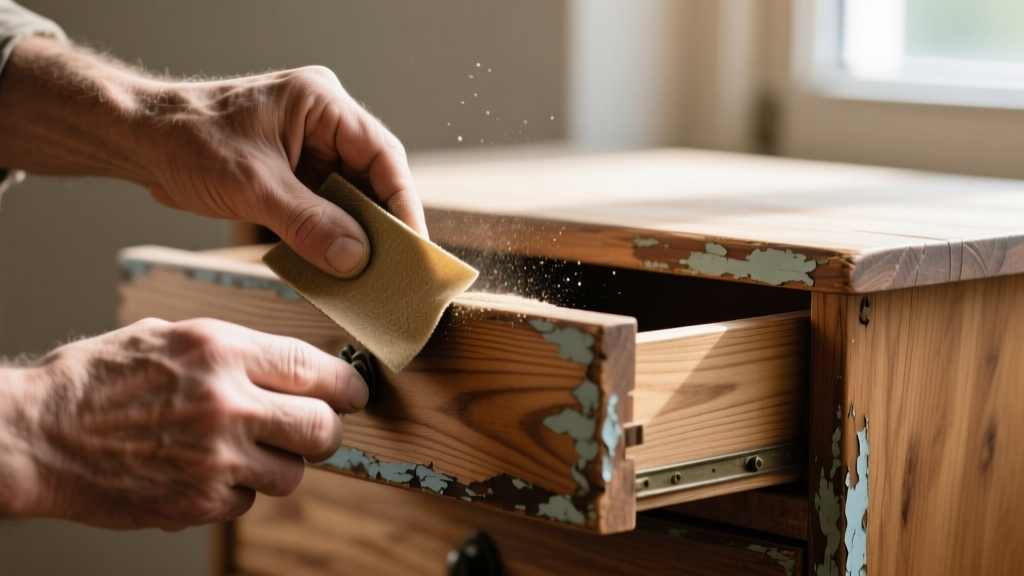
Once the bulk of the finish is removed, wipe the surface with mineral spirits to neutralize the stripper. After the wood dries completely, begin your sanding sequence. Start with 120-grit aluminum oxide sandpaper to level the grain, progress to 180-grit to remove the 120-grit scratches, and finish with 220-grit for a glass-smooth surface. Always use a sanding block on flat panels to maintain crisp, level surfaces, and hand-sand the intricate moldings and legs of the standing wooden jewelry box to preserve their profile details.
Sealing and Finishing the Exterior
The choice of finish will dictate both the aesthetic and the durability of your restored piece. For a standing wooden jewelry box that will be frequently touched and opened, a hard wax oil (such as Rubio Monocoat 2C or Osmo Polyx-Oil) is an exceptional choice for 2026 restorations. Unlike traditional polyurethane, which sits on top of the wood and can chip or peel, hard wax oils penetrate the wood fibers and bond at a molecular level. This provides a matte, natural-looking sheen that feels like raw wood but offers robust water and chemical resistance.
Apply the hard wax oil using a lint-free cotton pad, working in small sections. Allow it to penetrate for 15 minutes, then aggressively buff off all excess with a clean microfiber cloth. Leaving excess oil on the surface will result in a sticky, uneven finish that attracts dust. Allow the box to cure in a well-ventilated, climate-controlled room (ideally 68°F to 75°F with 40-50% humidity) for at least 7 days before moving on to the interior lining.
Upgrading the Interior with Anti-Tarnish Lining
The interior environment of a jewelry box is critical for preserving precious metals and gemstones. The Gemological Institute of America (GIA) notes that exposure to sulfur compounds and high humidity in the air causes silver and copper alloys to tarnish rapidly. To combat this, you must line the interior with specialized anti-tarnish materials. Standard craft felt or generic velvet will not protect your jewelry; in fact, some synthetic fabrics can off-gas acidic vapors that accelerate corrosion.
When selecting a lining material, look for fabrics embedded with Intercept Technology or similar reactive copper-polymer particles. These materials actively neutralize corrosive gases within the enclosed space of the standing wooden jewelry box, keeping silver bright for years without the need for chemical polishing.
| Lining Material | Tarnish Protection Level | Durability & Wear | Approximate Cost (per yard) |
|---|---|---|---|
| Pacific Silvercloth | Exceptional (Reactive) | High (Washable) | $45 - $60 |
| Anti-Tarnish Velvet (Flannel backed) | High (Treated) | Medium (Crushes over time) | $25 - $35 |
| Acid-Free Suede | Moderate (Barrier only) | High (Resists scratching) | $30 - $40 |
| Standard Craft Felt | None (May cause tarnish) | Low (Pills and frays) | $5 - $10 |
To install the lining, cut your anti-tarnish fabric slightly larger than the interior panels. Use a spray adhesive like 3M Super 77, applying a light, even mist to the back of the fabric rather than the wood to prevent bleed-through. Carefully press the fabric into the compartments, using a bone folder to crease the edges sharply into the corners. Trim the excess with a sharp rotary cutter.
Replacing Hinges and Hardware
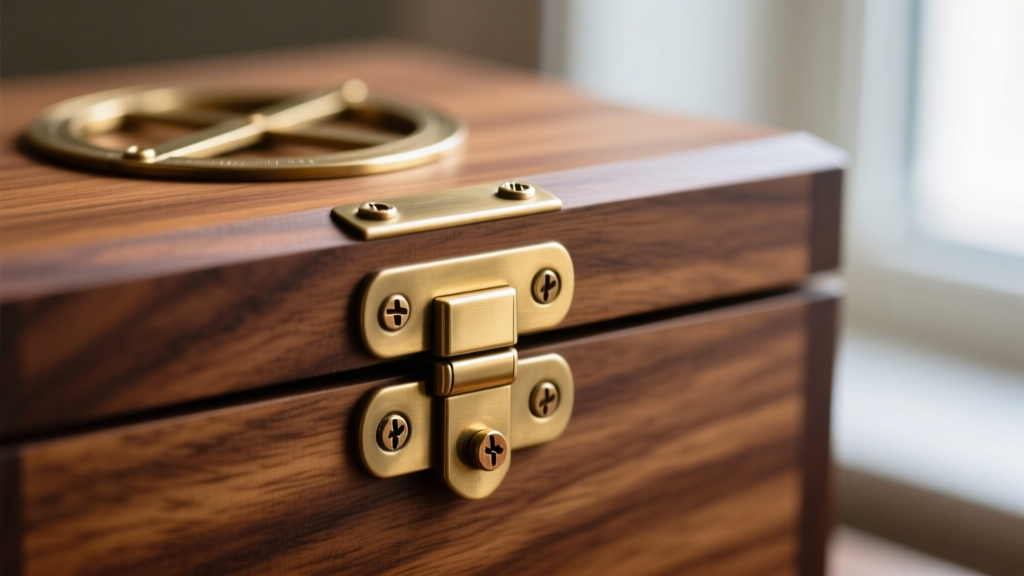
Upgrading the hardware elevates the functionality and visual appeal of the box. For the main lid of a standing wooden jewelry box, brass quadrant hinges are the gold standard. They feature a built-in stop arm that prevents the lid from hyperextending and snapping backward. When installing new hinges, precision is paramount. Use a sharp chisel to deepen the mortises so the hinge leaves sit perfectly flush with the wood surface. If the old screw holes are stripped, do not simply force larger screws into the wood, as this will split the delicate rails. Instead, glue hardwood dowels into the old holes, let them cure, and drill fresh pilot holes using a Vix (self-centering) hinge bit. Use solid brass #3 or #4 wood screws, and always drive them by hand with a perfectly fitted screwdriver to avoid stripping the soft brass heads.
Final Assembly and Organization Strategy
With the exterior finished, the interior lined, and the hardware secured, the final step is configuring the internal organization. A well-designed standing wooden jewelry box should segregate items by type to prevent Mohs hardness scale conflicts—for example, storing diamonds (hardness 10) away from soft pearls (hardness 2.5) and opals. Install padded ring rolls for bands, and utilize deep, fabric-lined drawers for chunky statement necklaces. For the back of the main door, consider installing a tensioned wire grid or small brass hooks to hang delicate chains, preventing them from knotting. By combining time-honored woodworking techniques with modern anti-tarnish science, your restored standing wooden jewelry box will serve as a beautiful, protective sanctuary for your collection for decades to come.


