How to Restore & Organize a Vintage Green Velvet Jewelry Box
Learn how to clean, restore, and strategically organize a vintage green velvet jewelry box to prevent tarnish and protect gemstones.

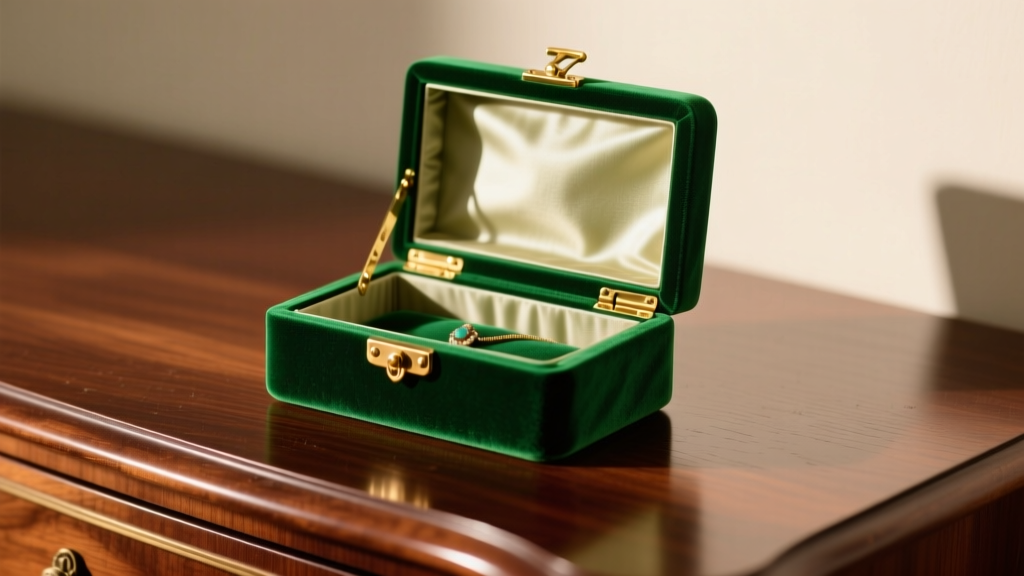
The Timeless Allure of Green Velvet Storage
There is a distinct reason why royal families and high jewelers have favored the green velvet jewelry box for centuries. The deep, light-absorbing pile of emerald or forest green velvet provides the ultimate optical contrast for high-refractive-index gemstones like diamonds, sapphires, and emeralds. However, vintage and heirloom velvet boxes often suffer from crushed pile, dust accumulation, and outdated interiors that lack modern anti-tarnish technology. Restoring and reorganizing your green velvet jewelry box is not just an aesthetic endeavor; it is a critical preservation step for your fine jewelry collection. In this step-by-step guide, we will cover the material science of velvet care, hardware restoration, and strategic compartmentalization based on gemological hardness scales.
Step 1: Assessing Velvet Type and Hardware Condition
Before applying any cleaning solutions, you must identify the era and material of your box. Vintage boxes from the mid-20th century typically feature cotton or silk velvet, while modern reproductions use synthetic polyester blends.
- Silk Velvet: Highly delicate, crushes permanently, and water-spot easily. Requires dry-cleaning methods only.
- Cotton Velvet: Durable but prone to holding dust deep within the pile. Can handle minimal, carefully controlled moisture.
- Polyester Velvet: Stain-resistant and resilient, commonly found in contemporary luxury packaging.
Next, inspect the hardware. Solid brass hinges and clasps can be polished to a high shine, but gold-plated or lacquered hardware requires a gentler touch to avoid stripping the finish. Use a jeweler's loupe to check for flaking on metal edges that could snag delicate silk threads or scratch your jewelry.
Step 2: Deep Cleaning the Green Velvet Lining
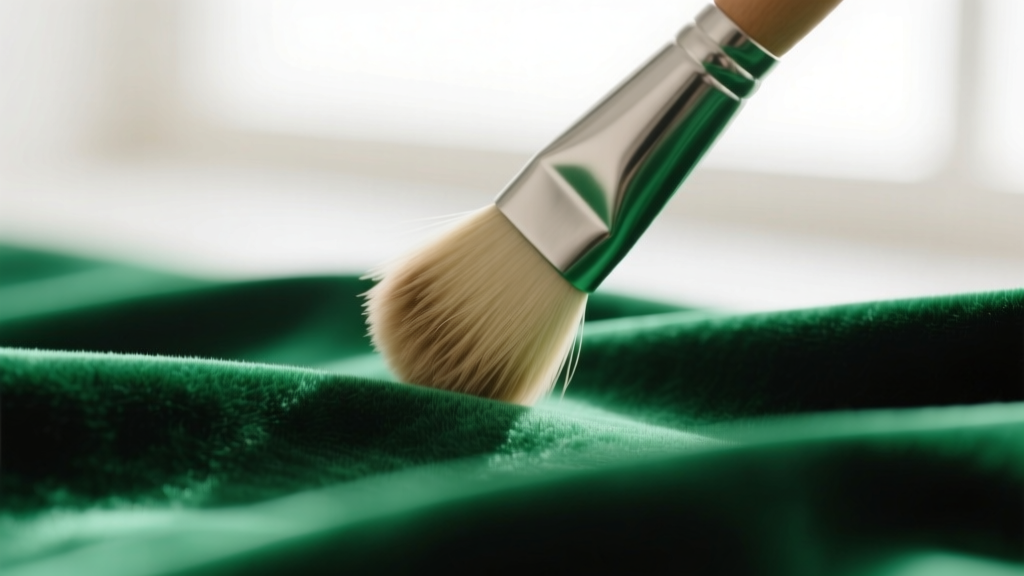
Velvet acts as a magnet for dust, skin oils, and microscopic debris. Submerging or soaking the lining will ruin the structural cardboard or wood beneath it. Follow this dry-to-damp cleaning protocol:
- The Tape Lift: Wrap archival-quality, acid-free artist's tape around your fingers (sticky side out) and gently dab the velvet. This lifts embedded dust without pulling out the fibers. Avoid standard lint rollers, as their aggressive adhesives can rip vintage cotton velvet.
- The Suede Brush: Use a clean, soft-bristled suede brush or a baby hairbrush. Brush the velvet in one direction to lift the pile and dislodge remaining particulates.
- Spot Treatment: For stubborn oil stains, mix one drop of pH-neutral baby shampoo with distilled water. Dampen a microfiber cloth—do not soak it—and gently dab the stain. Allow it to air dry completely away from direct sunlight, which can fade the green dye.
Step 3: Upgrading for Anti-Tarnish Protection
While a green velvet jewelry box looks exquisite, velvet is a breathable fabric that offers zero protection against hydrogen sulfide and atmospheric moisture—the primary culprits behind silver and copper tarnish. According to The Silver Institute, silver begins to tarnish when exposed to sulfur compounds in the air. To modernize your vintage box, you must introduce an anti-tarnish barrier.
Expert Upgrade Tip: Carefully lift the velvet pads using a flat spatula. Apply a layer of Pacific Silvercloth or adhere 3M Anti-Tarnish Strips to the cardboard base beneath the velvet using acid-free double-sided tape (such as Lineco neutral pH adhesive). This creates a hidden, active tarnish-absorbing zone that keeps your metals pristine without altering the box's vintage aesthetic.
Step 4: Strategic Compartment Organization by Mohs Hardness
The most common mistake jewelry owners make is tossing pieces into a green velvet jewelry box without considering gemological hardness. The Gemological Institute of America (GIA) utilizes the Mohs Hardness Scale to rank minerals. If a diamond (Mohs 10) rests against a pearl (Mohs 2.5) or a gold setting (Mohs 2.5-3), the harder material will micro-scratch and permanently dull the softer one. You must zone your box accordingly.
| Storage Zone | Mohs Hardness | Materials to Store | Velvet Compartment Type |
|---|---|---|---|
| Zone A (High Security) | 8.5 - 10 | Diamonds, Sapphires, Rubies | Individual ring rolls or snap-lock slots |
| Zone B (Mid-Tier) | 6.5 - 8 | Emeralds, Topaz, Quartz, Tourmaline | Padded open sections with dividers |
| Zone C (Delicate) | 2.5 - 6 | Pearls, Opals, Turquoise, Amber | Flat, fabric-lined drawers (no stacking) |
| Zone D (Metals Only) | 2.5 - 3 | Plain Gold, Silver, Platinum bands | Anti-tarnish strip-lined lower trays |
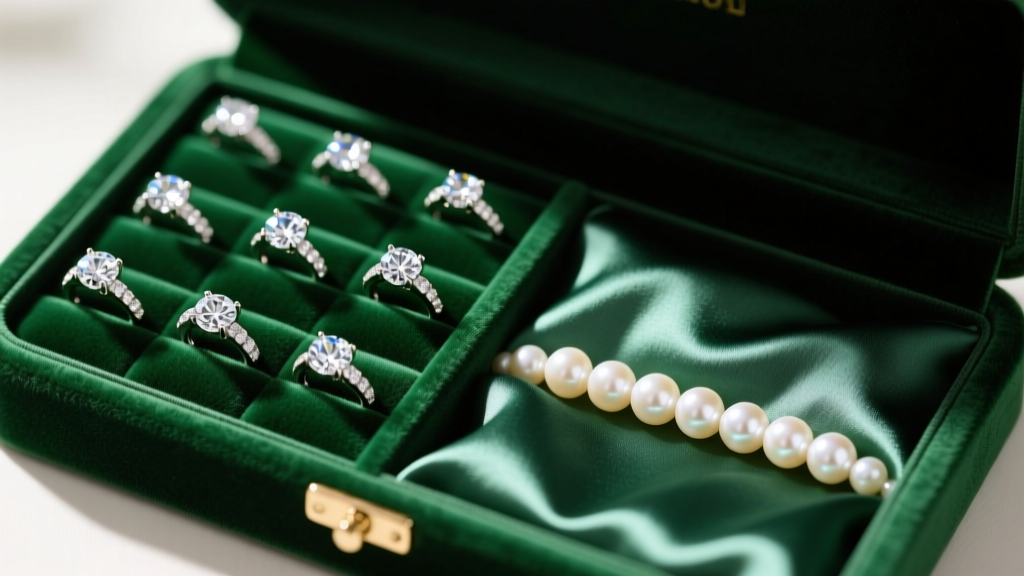
Managing Necklaces and Chain Tangling
Velvet creates high friction, which is excellent for preventing necklaces from sliding, but terrible for untangling them. For fine chains (like 0.9mm cable or serpentine chains), utilize the box's upper lid hooks if available. If your vintage box lacks lid hooks, coil the chain into a figure-eight shape and secure it with a small piece of acid-free tissue paper before placing it in a wide velvet compartment. This prevents the kinetic tangling that occurs when drawers are opened and closed.
Step 5: Ongoing Maintenance and Climate Control
A restored green velvet jewelry box requires a stable environment to prevent the velvet from mildewing and the wood warping. Keep the box in a room with a consistent humidity level between 40% and 50%. Place two small, rechargeable silica gel desiccant canisters in the outermost corners of the box's base drawer to absorb ambient moisture. Never store the box in a bathroom, as the rapid fluctuations in heat and humidity from showers will degrade both the velvet adhesive and your jewelry's finish. By following these meticulous restoration and organization steps, your green velvet jewelry box will serve as both a stunning display piece and a highly functional, protective vault for your most treasured assets.


