How to Restore and Organize a London Leather Jewelry Box
Learn how to clean, condition, and strategically organize your London leather jewelry box to protect fine metals and preserve the hide.

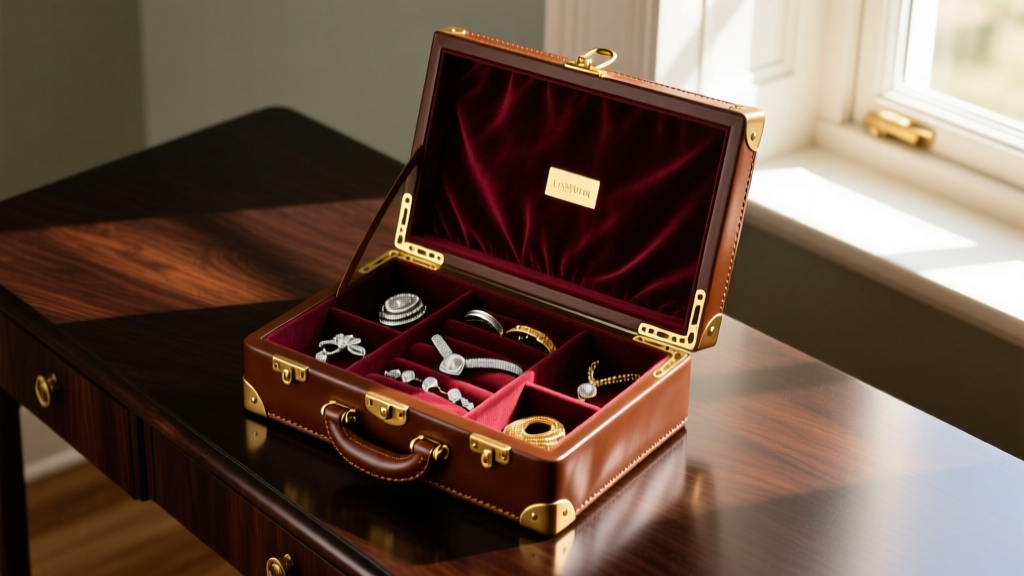
A premium London leather jewelry box is more than just a storage vessel; it is an heirloom-quality accessory designed to protect your most valuable investments. Traditionally crafted from vegetable-tanned English bridle leather or wax-coated Saffiano calfskin, these boxes feature robust brass hardware and plush interiors. However, without proper maintenance, the leather can dry out, the brass can oxidize, and the interior can fail to protect your metals from environmental tarnishing.
This comprehensive, step-by-step guide will walk you through the exact processes required to restore the exterior hide, rejuvenate the hardware, and strategically organize the interior compartments for maximum protection and travel readiness.
Understanding Your London Leather Jewelry Box Materials
Before applying any chemicals or conditioners, you must identify the specific type of leather used in your London leather jewelry box. The term 'London leather' typically refers to one of two distinct finishes:
- English Bridle Leather: A vegetable-tanned leather heavily stuffed with waxes, tallows, and oils. It develops a rich patina over time but requires specific pH-balanced cleaners to avoid stripping its natural oils.
- Saffiano Calfskin: Recognizable by its cross-hatch stamped pattern and wax coating. It is highly water-resistant and scratch-resistant, meaning heavy conditioners will simply sit on the surface and create a greasy residue.
For the interior, look for Alcantara, micro-suede, or traditional pigskin lining. Each requires a different approach to cleaning and anti-tarnish integration.
Step 1: Deep Cleaning the Exterior Hide
Dust, skin oils, and environmental pollutants accumulate in the grain of the leather, acting as abrasives that break down the fibers over time.
- Dry Brushing: Use a clean, untreated horsehair brush to gently sweep away surface dust. Pay special attention to the seams and the areas immediately surrounding the brass hinges.
- Applying Cleaner: For English bridle leather, apply a small amount of a glycerin-based saddle soap or a dedicated leather cleaner like Saphir Omni-Daim to a damp microfiber cloth. For Saffiano leather, a simple wipe-down with a slightly damp cloth is sufficient; avoid soap entirely.
- Wiping and Drying: Work the cleaner into the leather using small, overlapping circular motions. Allow the box to air dry at room temperature for at least 45 minutes. Never use a hairdryer or place the box near a heat source, as rapid drying will cause the hide to crack.
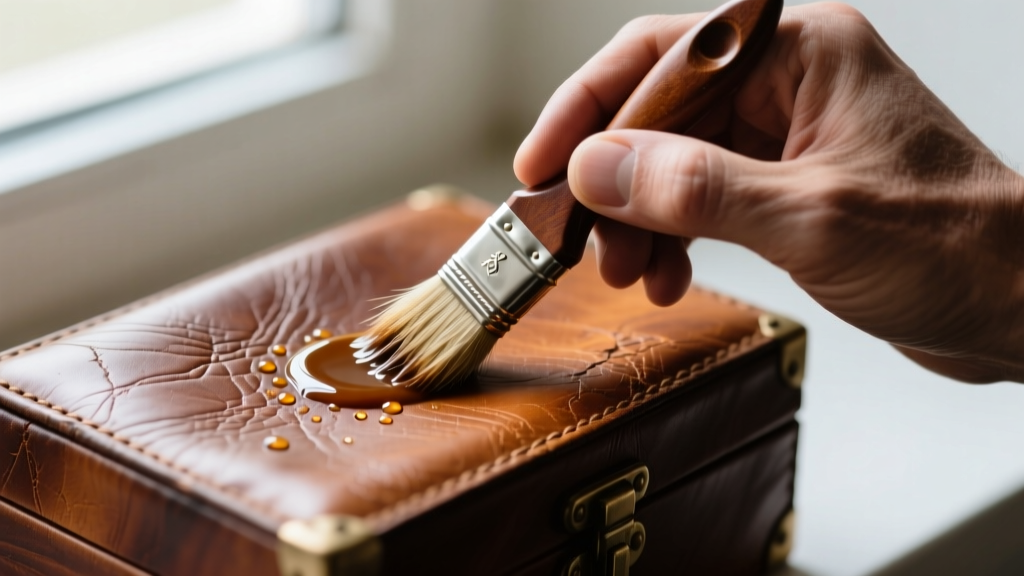
Step 2: Conditioning and Protecting the Leather
Once the leather is clean and completely dry, it is time to replenish its moisture barrier. Avoid mink oil or heavy petroleum-based products; these can rot the cotton or synthetic stitching and drastically darken the leather.
Instead, opt for a high-quality emulsion like Bick 4 or Saphir Médaille d'Or Renovateur. Apply a dime-sized amount to a soft cotton applicator cloth. Massage the conditioner into the leather using gentle pressure, ensuring you cover the corners and the bottom panel. Let the conditioner penetrate for 20 minutes, then vigorously buff the surface with a clean horsehair brush to bring up a natural, protective shine.
Step 3: Rejuvenating Brass Hardware and Zippers
The solid brass clasps, feet, and zippers on a London leather jewelry box will naturally oxidize, developing a dull, brownish patina. While some collectors appreciate this vintage look, restoring the brass to a bright finish elevates the entire piece.
Pro Tip: Before applying any metal polish, use painter's tape to mask off the leather immediately surrounding the hardware. Brass polishes contain mild abrasives and solvents that can permanently stain or strip the dye from your leather.
Apply a small amount of Wright's Brass Polish or Brasso to a cotton swab or a soft toothbrush. Work the polish into the crevices of the hinges and the teeth of the zippers. Wipe away the residue with a clean microfiber cloth, ensuring no polish is left behind to transfer onto your jewelry.
Step 4: Interior Restoration and Anti-Tarnish Integration
The interior of your box is the last line of defense against silver sulfide formation—the chemical reaction that causes sterling silver to turn black. According to jewelry manufacturing experts at Rio Grande, controlling the micro-climate inside your storage is critical.
Cleaning the Lining
If your box features a micro-suede or Alcantara lining, use a specialized suede eraser to lift any embedded dirt or makeup stains from the ring rolls and earring grids. For pigskin linings, a barely damp cloth with a drop of mild baby shampoo will suffice.
Integrating Anti-Tarnish Technology
Do not rely solely on the airtight seal of the box. You must actively intercept sulfur gases. Cut 3M Anti-Tarnish strips into one-inch pieces and discreetly tuck them beneath the interior felt pads, inside the deep necklace well, and within the ring rolls. These strips utilize activated carbon and zinc particles to absorb corrosive gases, protecting your metals for up to six months before requiring replacement.
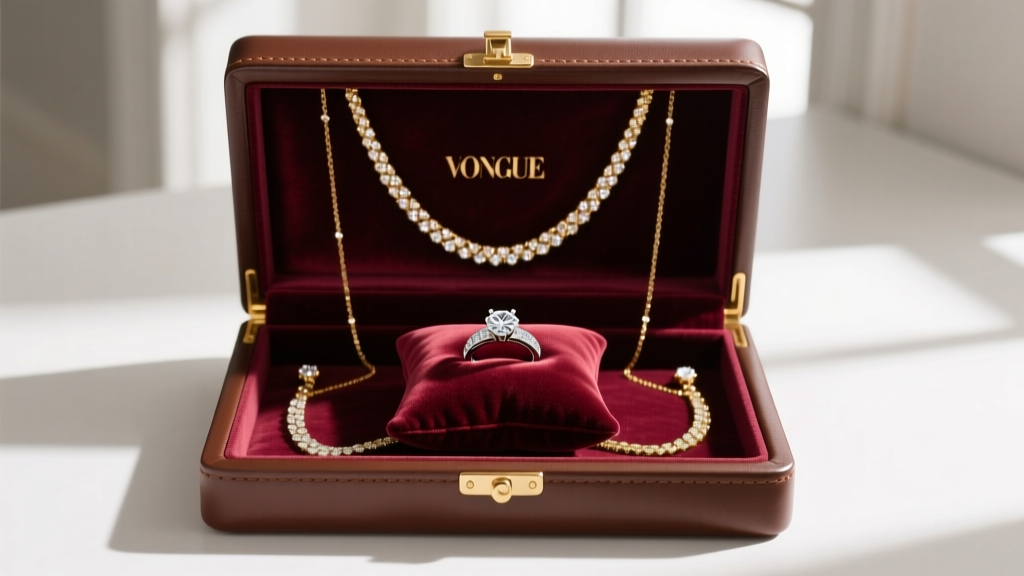
Step 5: Strategic Compartment Organization
Proper organization prevents metal-to-metal contact, which is the primary cause of micro-scratches on high-polish gold and platinum pieces. When packing your London leather jewelry box, especially for travel, you must adhere to the 'Heavy Bottom, Light Top' rule to maintain the box's center of gravity and prevent interior shifting.
| Compartment Type | Designated Jewelry | Protection Strategy | Max Capacity Rule |
|---|---|---|---|
| Deep Bottom Well | Heavy chain necklaces, bangles | Lay flat; use anti-tarnish cloth pouches for silver | Max 3 chains to prevent tangling |
| Ring Rolls / Pillow | Diamond solitaires, signet rings | Alternate stone direction to prevent prong snagging | 1 ring per roll slot |
| Lidded Grid Tray | Stud earrings, small pendants | Secure butterfly backs tightly; use silicone stoppers | 1 pair per 1x1 inch square |
| Side Gusset Pockets | Delicate lariats, hair pins | Thread chains through a plastic straw to lock clasps | Max 2 items per pocket |
Long-Term Maintenance Schedule
To ensure your London leather jewelry box remains in pristine condition for decades, implement the following maintenance schedule:
- Monthly: Inspect the brass hardware for loose screws and tighten them with a precision jeweler's screwdriver. Replace the 3M anti-tarnish strips if you live in a high-humidity environment.
- Bi-Annually: Perform the full cleaning and conditioning routine outlined in Steps 1 and 2. This is especially important before the winter months when indoor heating drastically reduces ambient humidity, which can cause the leather to dry out and crack.
- Annually: Remove all jewelry and vacuum the interior crevices using a soft brush attachment to remove microscopic dust and dead skin cells that can attract moisture and pests.
By treating your London leather jewelry box with the same level of care and expertise as the fine jewelry it holds, you guarantee that both the vessel and its contents will remain flawless, functional, and beautifully preserved for generations.


