Engineering The Perfect Wall Mounted Jewelry Organizer
Discover the technical specs, load limits, and anti-tarnish materials needed to engineer the ultimate wall mounted jewelry organizer.

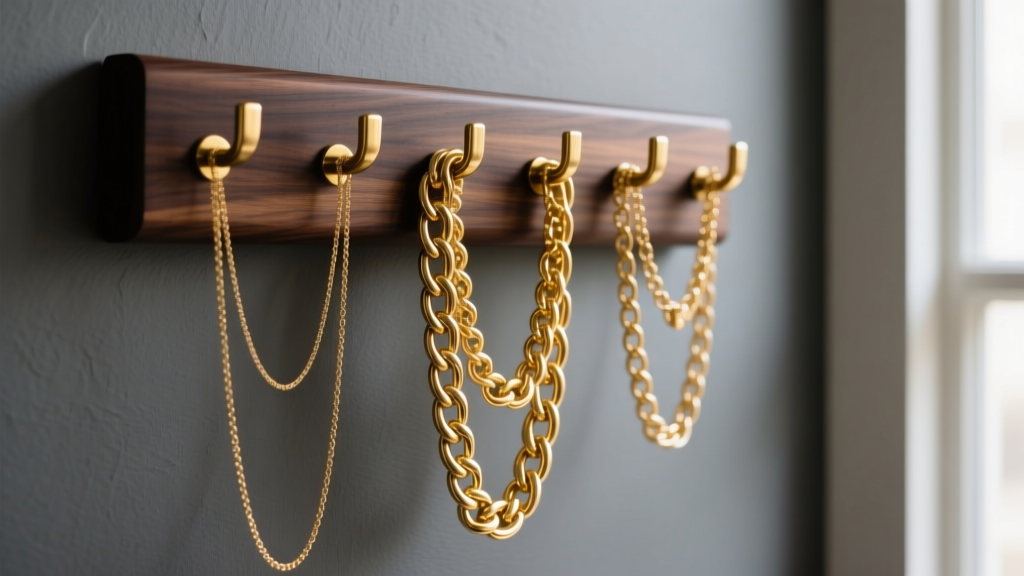
Most consumers treat a wall mounted jewelry organizer as a simple decorative accent, prioritizing aesthetics over structural integrity and material science. However, for serious collectors, horologists, and estate jewelry inheritors, a wall-mounted display is a complex engineering challenge. When fully loaded, a standard 24x36-inch organizer can support anywhere from 15 to 35 pounds of precious metals, dense gemstones, and heavy chain links. If the substrate, hardware, and spatial ergonomics are not precisely calibrated, you risk catastrophic wall failure, micro-scratches on high-polish gold, and accelerated chemical tarnishing.
In this expert deep dive, we deconstruct the physics, material chemistry, and ergonomic requirements necessary to engineer a professional-grade wall mounted jewelry organizer that protects your assets while showcasing them flawlessly.
The Physics of Wall-Mounted Storage: Load Limits & Hardware
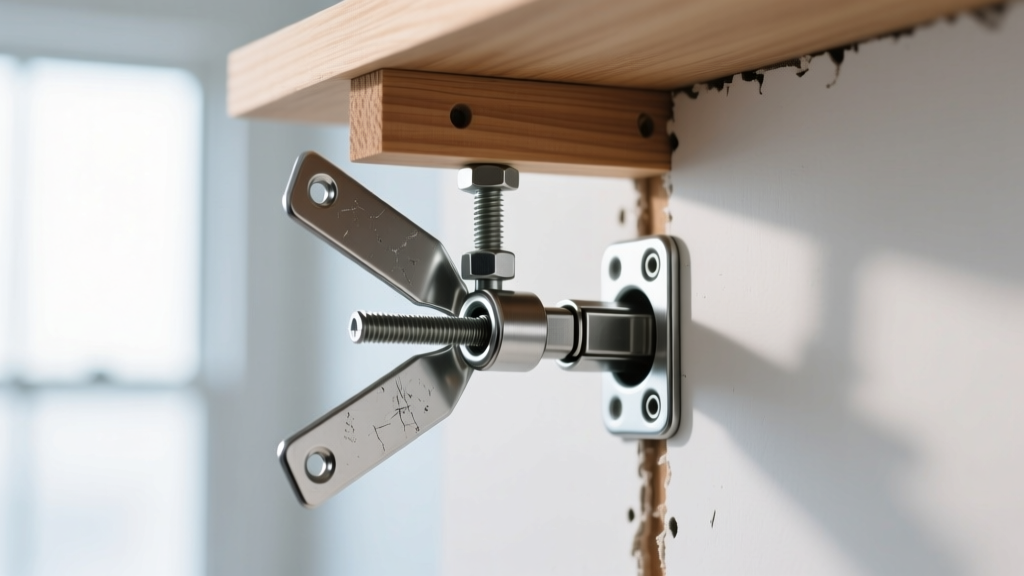
The primary failure point of any wall mounted jewelry organizer is not the wood or acrylic frame, but the intersection of the mounting hardware and the drywall. Jewelry exerts two distinct forces on a wall anchor: shear force (weight pulling straight down) and pull-out force (leverage pulling the top of the frame away from the wall). A fully loaded organizer holding heavy sterling silver cuffs and multi-strand pearl necklaces creates significant pull-out torque at the top mounting brackets.
Drywall vs. Stud Mounting: A Structural Breakdown
Standard 1/2-inch drywall has a negligible pull-out strength when using basic nails or plastic ribbed anchors. According to structural guidelines outlined by The Family Handyman, relying on plastic expansion anchors for dynamic loads (like a jewelry organizer that is frequently interacted with, bumped, or loaded/unloaded) is a recipe for disaster. You must utilize mechanical toggle bolts or secure the unit directly into wooden wall studs.
| Hardware Type | Max Shear Load | Max Pull-Out Load | Best Application |
|---|---|---|---|
| Plastic Ribbed Anchor | 10 lbs | 5 lbs | Empty decorative frames only |
| Threaded Drywall Anchor (Zinc) | 25 lbs | 15 lbs | Lightweight acrylic earring displays |
| Strap Toggle Bolt (1/8") | 90 lbs | 45 lbs | Heavy solid-wood necklace organizers |
| #10 Wood Screw (into Stud) | 150+ lbs | 100+ lbs | Commercial/Boutique display walls |
Material Science: Substrates and Anti-Tarnish Integration
The material you choose for the backboard and frame of your wall mounted jewelry organizer directly impacts the chemical stability of your collection. Many budget-friendly organizers utilize Medium-Density Fiberboard (MDF). While MDF is cheap and easy to laser-cut, it is bound with urea-formaldehyde resins. Over time, MDF off-gasses trace amounts of formaldehyde and acidic vapors, which can permanently cloud the luster of natural pearls, degrade porous opals, and accelerate the oxidation of raw silver.
Wood, Acrylic, and Metal Framing
For heirloom-quality storage, specify solid hardwoods (like American Black Walnut or White Oak) or formaldehyde-free Baltic birch plywood. If using solid wood, ensure it is sealed with a water-based polyurethane or a hardwax oil (like Osmo Polyx) to prevent natural wood acids from transferring to your metals. Cast acrylic (PMMA) is an excellent alternative for modern interiors, as it is chemically inert and will not off-gas, though it is prone to static electricity, which can attract dust to delicate gemstone settings.
Integrating Pacific Silvercloth and Activated Carbon
Silver sulfide (tarnish) forms when silver reacts with hydrogen sulfide in the ambient air. To combat this in an open-air wall display, integrate Pacific Silvercloth as a backing fabric. Unlike standard felt, this specialized cotton is embedded with microscopic silver particles that intercept and neutralize corrosive gases before they reach your jewelry. Additionally, mounting discreet, replaceable activated carbon sachets or 3M Anti-Tarnish strips behind the lower lip of the frame will absorb ambient sulfur compounds, extending the time between required polishing cycles.
Spatial Ergonomics: Hook Gauges and Necklace Drop Zones
The geometry of a wall mounted jewelry organizer dictates how safely pieces hang without tangling or suffering stress fractures. The hooks themselves must be engineered to support specific weight classes without bending, while providing a soft contact surface.
Hook Metallurgy and Flocking
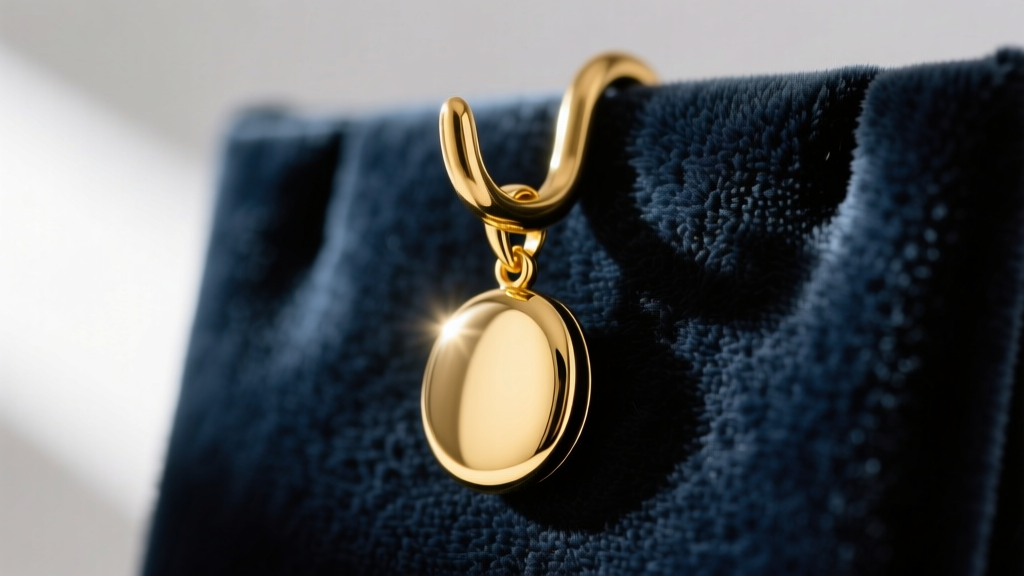
Standard brass pins (often 20-gauge) will bend under the weight of heavy chainmail or solid 18k gold rope chains. Upgrade to 14-gauge or 12-gauge stainless steel hooks with a brushed brass PVD (Physical Vapor Deposition) coating. Furthermore, bare metal hooks will cause micro-scratches on high-polish gold and platinum. Every hook should be velvet-flocked or dipped in a soft, non-plasticizing silicone to create a high-friction, scratch-free barrier.
Calculating Drop Lengths for Statement Pieces
Improper drop zones lead to tangled chains and stressed clasps. According to ergonomic display standards referenced by Architectural Digest, organizers must account for the varying lengths of standard necklace silhouettes to prevent overlapping:
- Choker/Collar Zone (Top Row): 14 to 16 inches of clearance. Ideal for rigid metal collars and tight pearl strands.
- Princess/Matinee Zone (Middle Row): 18 to 24 inches of clearance. The most common zone for everyday pendants and lockets.
- Opera/Rope Zone (Bottom Row): 28 to 36 inches of clearance. Essential for long station necklaces and heavy gemstone ropes, ensuring the bottom clasp does not rest on a lower shelf or hook.
Installation Protocol: Step-by-Step Precision Mounting
Even the most beautifully engineered wall mounted jewelry organizer will fail if installed improperly. Follow this precision protocol to ensure a level, secure, and damage-free installation:
- Locate Structural Supports: Use an ultrasonic stud finder (magnetic ones often fail on thicker drywall) to map the vertical studs. Mark the center of the studs with a mechanical pencil.
- Calculate Toggle Placement: If studs do not align with your organizer's mounting brackets, mark your drywall anchor points. Ensure they are at least 2 inches away from any corner joints or existing wall damage.
- Drill Precision Pilot Holes: For wood studs, drill a 3/32-inch pilot hole for #8 screws, or a 1/8-inch hole for #10 screws. This prevents the wood from splitting and ensures the screw threads bite deeply. For toggle bolts, use the exact spade bit size specified on the packaging (usually 1/2-inch or 5/8-inch).
- Level and Shim: Walls are rarely perfectly plumb. Use a 24-inch torpedo level. If the wall bows, insert composite shims behind the mounting brackets before tightening the screws to prevent the wood frame from warping under tension.
Conclusion
Designing and installing a premium wall mounted jewelry organizer requires moving beyond basic interior decor and embracing principles of structural engineering and material chemistry. By selecting formaldehyde-free substrates, utilizing mechanical toggle bolts or direct stud mounting, and integrating anti-tarnish fabrics with properly gauged, flocked hooks, you create a display system that is as protective as it is visually stunning. Treat your storage infrastructure with the same respect you afford the precious metals it holds, and your collection will remain pristine for generations.
For further reading on the chemical properties of precious metals and how environmental factors affect them, consult the Gemological Institute of America (GIA) silver and metal guides.


