Copper Wire Jewelry Making: Troubleshooting Breakage & Tool Marks
Master copper wire jewelry making by troubleshooting common flaws. Learn to fix wire breakage, tool marks, and work hardening issues.

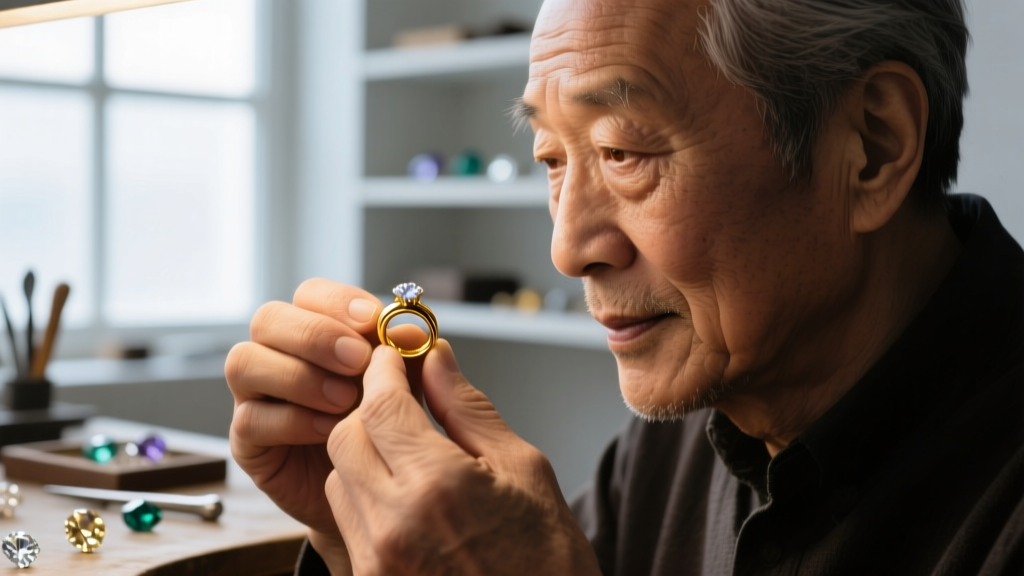
The Metallurgy of Copper: Why Your Wire Fails
Copper wire jewelry making is a highly accessible entry point into metalsmithing, yet it presents unique metallurgical challenges that frustrate both beginners and intermediate artisans. The most common point of failure in copper wire jewelry making is not a lack of design vision, but a misunderstanding of the metal's crystalline structure. Most commercial jewelry wire is C11000, also known as Electrolytic Tough Pitch (ETP) copper. This grade is 99.9% pure copper with trace amounts of oxygen. While this purity grants copper its signature warmth and high electrical conductivity, it also makes the metal highly susceptible to rapid work hardening and surface marring.
When you bend, twist, or hammer copper wire, you are physically displacing the metal's crystal lattice. This phenomenon, known as work hardening or strain hardening, causes dislocations in the atomic structure to pile up. As these dislocations tangle, the copper becomes harder and stronger, but drastically loses its ductility. If you continue to manipulate the wire past its ductile limit, it will snap abruptly rather than bend. Understanding this mechanical threshold is the first step in troubleshooting structural failures in your wire weaving and framing.
Dead Soft vs. Half-Hard: Selecting the Right Temper
Troubleshooting begins before you even pick up your pliers. Selecting the correct temper (hardness) and American Wire Gauge (AWG) for your specific application prevents 90% of breakage issues. Dead soft wire has been fully annealed and is ideal for tight weaving and complex spirals, while half-hard wire has been slightly work-hardened at the mill to provide structural rigidity for clasps and ear wires.
| AWG Size | Best Application | Common Failure Mode | Troubleshooting Fix |
|---|---|---|---|
| 14-16 AWG | Heavy frames, clasps, bangles | Brittle snapping during sharp 90-degree bends | Use half-hard temper; anneal before making sharp angles |
| 18-20 AWG | Ear wires, jump rings, structural weaves | Deformation and stretching under tension | Work-harden intentionally with a rawhide mallet after forming |
| 24-28 AWG | Wire weaving, coiling, binding | Shearing and snapping from over-manipulation | Use only dead soft temper; avoid pulling weaving wire too taut |
Troubleshooting Work Hardening and Brittle Breakage
If your 26-gauge weaving wire keeps snapping mid-weave, or your 18-gauge frame wire fractures when you attempt to close a jump ring, you are fighting work hardening. In copper wire jewelry making, you cannot force cold metal to bend past its mechanical limits. When the wire feels stiff and resistant, it is signaling that the crystalline dislocations have reached maximum density.
The Annealing Process for Copper Wire
The only reliable fix for work-hardened copper is annealing—a heat treatment that reorganizes the crystal lattice and restores ductility. Unlike steel, which hardens when quenched in water, copper actually softens when quenched. This is a critical distinction that trips up many cross-disciplinary metalsmiths.
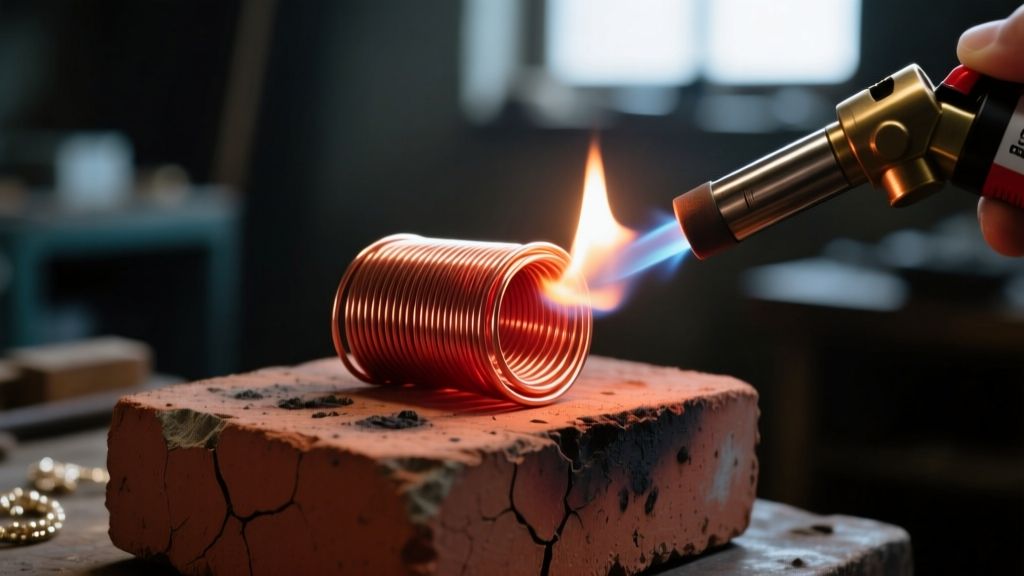
To anneal copper wire, place it on a firebrick or soldering pad. Using a butane or oxy-propane torch, apply a soft, bushy flame. Watch the color of the metal closely; you are looking for a dull cherry red glow, which indicates a temperature of approximately 700°F to 800°F (370°C to 425°C). Do not overheat the copper to a bright orange or yellow, as this will cause the metal to melt or develop deep, flaky fire scale. Once the dull red glow is achieved, remove the heat and immediately quench the wire in a bowl of room-temperature water or a mild citric acid pickle solution. The rapid cooling locks the soft, ductile grain structure in place, allowing you to resume your copper wire jewelry making without fear of breakage.
Eliminating Tool Marks and Surface Marring
Copper is a relatively soft metal, ranking at 2.5 to 3 on the Mohs hardness scale. This makes it highly vulnerable to tool marks. Steel pliers, brass hammers, and metal bench blocks will easily dent, gouge, and scratch bare copper wire, ruining the polished finish of your final piece. According to jewelry making resource guides, protecting the wire's surface is just as important as protecting its structural integrity.
Jaw Protection and Plier Modification
To troubleshoot surface marring, you must eliminate direct steel-to-copper contact. The most effective solution is to use nylon-jaw pliers for bending and shaping. For chain-nose and round-nose pliers where nylon jaws are unavailable, you must modify your tools. Tool dip (a liquid plastic coating) or specialized plier guard tape can be applied to the steel jaws. In a pinch, wrapping the jaws in blue painter's tape or applying a thin layer of cyanoacrylate (super glue) mixed with baking soda can create a durable, non-marring barrier.
Expert Insight: Never use a steel hammer on copper wire. Always use a rawhide mallet, a nylon dead-blow hammer, or a polished brass hammer. If you must use a steel chasing hammer for texturing, ensure the face is mirror-polished and use a piece of thick leather as a buffer between the hammer and the copper.
Oxidation and Liver of Sulfur Troubleshooting
Copper oxidizes rapidly when exposed to the oils, acids, and moisture on human skin. Uneven oxidation during the making process can lead to a splotchy, unprofessional finish when you attempt to apply a final patina. Before applying any chemical oxidizers, the copper must be surgically clean.
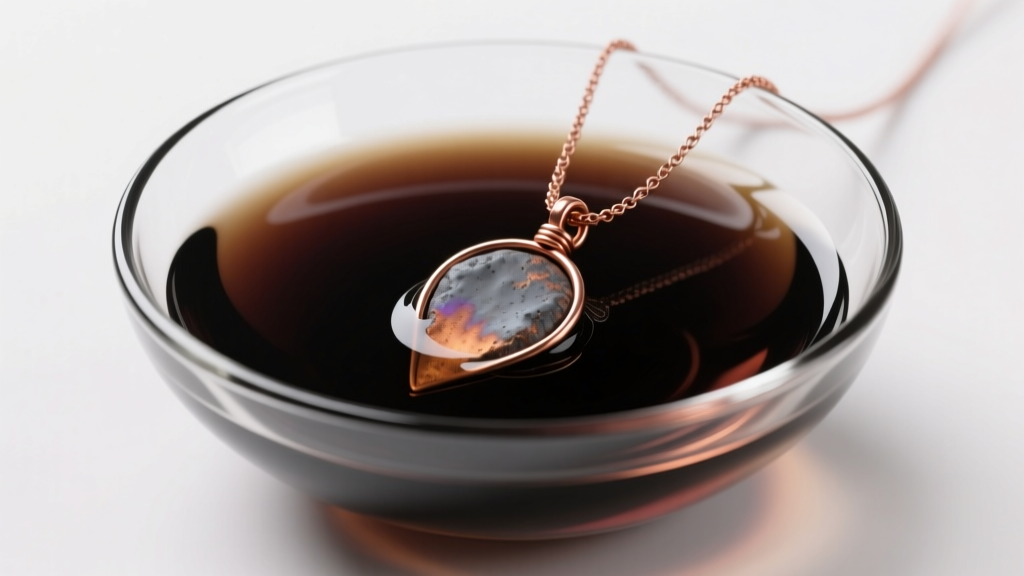
Wash the finished piece in warm water and a grease-cutting dish soap, using a soft toothbrush to reach woven crevices. Avoid touching the bare metal with your fingers after washing. When applying Liver of Sulfur (LOS) to create an antiqued finish, temperature control is your primary troubleshooting variable. Boiling water causes LOS to react violently, resulting in a flaky, unstable black crust that will rub off on the wearer's skin. Instead, use warm tap water (around 100°F). Dip the copper wire jewelry repeatedly, checking the color progression from bronze to deep gunmetal black. Once the desired darkness is achieved, quench the piece in cold water with a pinch of baking soda to halt the chemical reaction immediately.
Final Quality Control Checklist
Before listing or gifting your copper wire jewelry, run through this rapid troubleshooting checklist to ensure longevity and wearability:
- Work Hardening Check: Are the ear wires and clasps sufficiently work-hardened to hold their shape under tension? (Snap test: they should spring back slightly, not bend easily).
- Burr Inspection: Run a cotton ball over all cut wire ends. If the cotton snags, use a cup bur or a fine-grit sanding pad to flush the ends.
- Patina Stability: Has the oxidized piece been tumbled or polished with 0000 steel wool to seal the high points and remove loose oxidation?
- Sealant Application: If the piece will sit directly against the skin, has a micro-crystalline wax (like Renaissance Wax) been applied to slow down future verdigris and skin-green reactions?
By treating copper wire jewelry making as an exercise in applied metallurgy rather than just craft, you can systematically eliminate breakage, marring, and finishing flaws, resulting in professional-grade, heirloom-quality jewelry.