How to Polish Copper Jewelry: Troubleshooting Stubborn Tarnish
Learn how to polish copper jewelry safely. Our troubleshooting guide covers acid baths, commercial creams, and protecting porous stones from damage.

The Chemistry of Copper Tarnish: Why Your Jewelry Turns Black
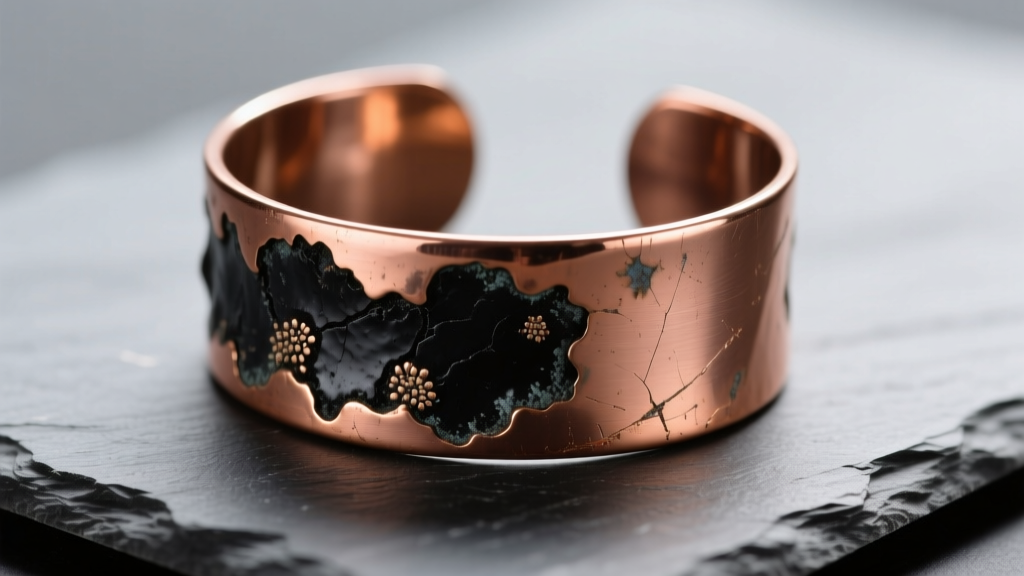
Before you can effectively troubleshoot and restore your favorite pieces, you must understand the metallurgical reality of copper. Unlike gold or platinum, copper is a highly reactive transition metal. When exposed to oxygen, it forms cuprite (Cu2O), which presents as a dull reddish-brown film. Over time, and with exposure to moisture, skin acids, and environmental sulfur, this layer converts to tenorite (CuO) and copper sulfide (CuS)—the stubborn, dark black and greenish-blue tarnish that plagues copper jewelry owners.
Understanding this chemical progression is the first step in learning how to polish copper jewelry without stripping away intentional finishes or damaging delicate gemstone inlays. The wrong polishing method won't just fail to clean the metal; it can permanently etch the surface or destroy embedded stones.
Diagnostic Chart: Identifying Your Copper Jewelry's Finish
Not all copper jewelry should be polished. Use this diagnostic framework to identify your piece's current finish before applying any chemical or mechanical intervention.
| Finish Type | Visual Cue | Polishability | Primary Risk Factor |
|---|---|---|---|
| Bare / Raw Copper | Uniform dullness, no clear coat, smells metallic | High (Safe for acids & abrasives) | Over-polishing soft edges |
| Lacquered / Sealed | Glossy, plastic-like reflection, no metallic smell | Low (Only mild soap & water) | Stripping the sealant with solvents |
| Oxidized / Patina | Intentional dark recesses, high-contrast edges | None (Clean only with dry cloth) | Erasing the artist's intentional antiquing |
| Plated (Copper over Brass) | Extremely bright, uniform color, lightweight | Very Low (Microfiber only) | Polishing through the thin plating layer |
How to Polish Copper Jewelry: The Troubleshooting Playbook
When dealing with bare, unsealed copper that has lost its luster, you need a tiered approach. Start with the least aggressive method and only escalate if the tarnish persists.
Level 1 Tarnish: The Lemon & Salt Chelating Bath
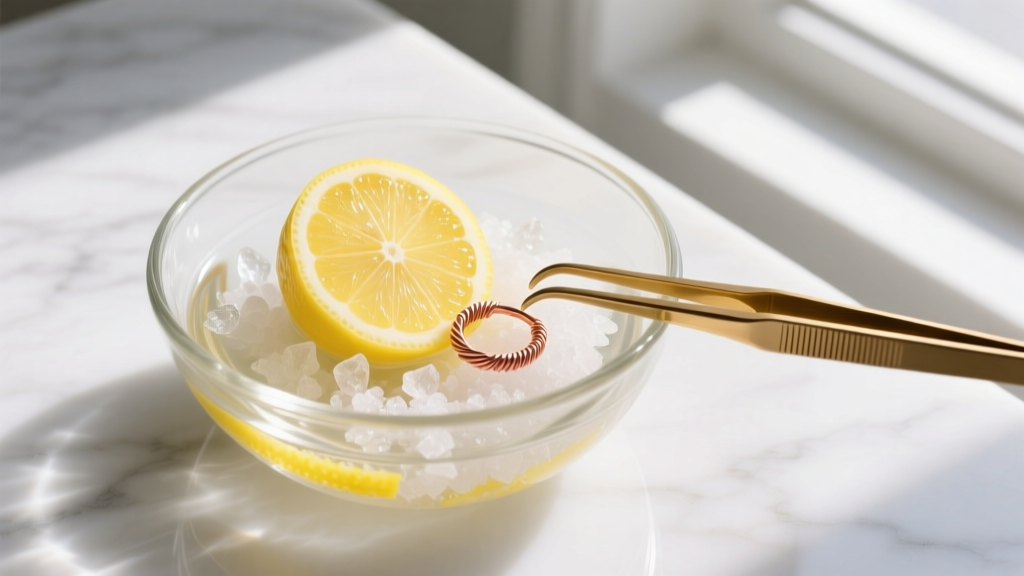
For mild to moderate oxidation on bare copper pieces without porous gemstones, a citric acid bath is highly effective. The citric acid in lemon juice reacts with the copper oxide, while the sodium chloride (salt) acts as a catalyst and mild abrasive.
- Recipe: Mix 1 cup of fresh lemon juice with 1 tablespoon of kosher salt.
- Application: Submerge the copper jewelry for exactly 3 to 5 minutes. Do not exceed this time, or the acid will begin to etch the raw metal, leaving a pitted, matte texture.
- Neutralization: Immediately rinse in a baking soda and water solution (1 tbsp baking soda per cup of water) to halt the acidic reaction, then dry thoroughly with a microfiber cloth.
Level 2 Tarnish: The Ketchup & Baking Soda Paste
If your copper jewelry features intricate filigree or wire-wrapping where liquid baths cannot reach, you need a viscous medium. Ketchup contains acetic acid (from vinegar) and lycopene, which breaks down copper sulfide. According to conservation guidelines from the Gemological Institute of America (GIA), mild organic acids are preferred over harsh synthetics when working near delicate metal joints.
- Recipe: Mix 2 parts ketchup with 1 part baking soda to create a thick, fizzing paste.
- Application: Apply with a soft-bristled baby toothbrush, working the paste into crevices. Let it sit for 10 minutes.
- Removal: Rinse under warm running water, using a wooden skewer to gently dislodge any dried paste from tight wire wraps.
Level 3 Tarnish: Commercial Polishers & Oxalic Acid
For severe, baked-on tarnish or copper that has been neglected for years, you must turn to commercial compounds containing oxalic acid, such as Bar Keepers Friend or Wright’s Copper Cream. Oxalic acid is a stronger reducing agent that strips heavy tenorite layers.
Warning: Commercial creams contain micro-abrasives (often feldspar or silica). While excellent for restoring a matte or satin finish, they will leave microscopic swirl marks on mirror-polished copper. For mirror finishes, use a non-abrasive liquid dip specifically formulated for copper, followed by a buff with a treated jeweler's rouge cloth.
Critical Failures: What NOT to Do When Polishing
The most common mistakes in copper jewelry maintenance occur when treating the metal without considering the entire structural assembly. Avoid these catastrophic troubleshooting errors:
- The Ultrasonic Trap: Never place copper jewelry with turquoise, malachite, lapis lazuli, or opals in an ultrasonic cleaner. The 40kHz high-frequency vibrations will shatter the internal matrix of these porous stones, and the heat generated will fracture emeralds.
- Acid Baths on Porous Stones: If your copper ring features a turquoise cabochon, do not use the lemon/salt or ketchup methods. Turquoise is a hydrous phosphate of copper and aluminum; it is highly porous and will absorb the acids, permanently bleaching or dissolving the stone. Mask the stone with petroleum jelly before polishing the surrounding metal, or use a Q-tip for targeted application.
- Steel Wool Abrasion: Never use steel wool on copper. Steel is harder than copper (Mohs 4.0 vs Steel's 5.5-6.5) and will leave deep, irreversible scratches. Furthermore, microscopic steel particles will embed in the copper and rapidly rust, creating orange pitting.
Restoring vs. Preserving: Managing Intentional Patina
In the realm of artisan and bronze-blend jewelry, patina is not a flaw; it is a feature. Many metalsmiths use liver of sulfur (potassium sulfide) to intentionally oxidize copper and bronze, creating deep blacks and iridescent purples in the recesses of the design, then polish only the high points to create contrast.
If you own a piece with an intentional patina, do not polish it. Submerging an antiqued piece in an acid bath will strip the dark oxidation from the recesses, leaving you with a flat, muddy, and uniform brown piece. To clean patinated jewelry, use only a dry, untreated jeweler's polishing cloth to gently buff the high-relief areas, avoiding the darkened crevices entirely.
Post-Polish Protection: Sealing the Shine
Once you have successfully restored the bright, salmon-pink luster of bare copper, the metal is immediately vulnerable to re-oxidation. To lock in the shine and prevent the dreaded 'green skin' reaction caused by copper salts mixing with sweat, you must seal the piece.
Option 1: Microcrystalline Wax (Renaissance Wax)
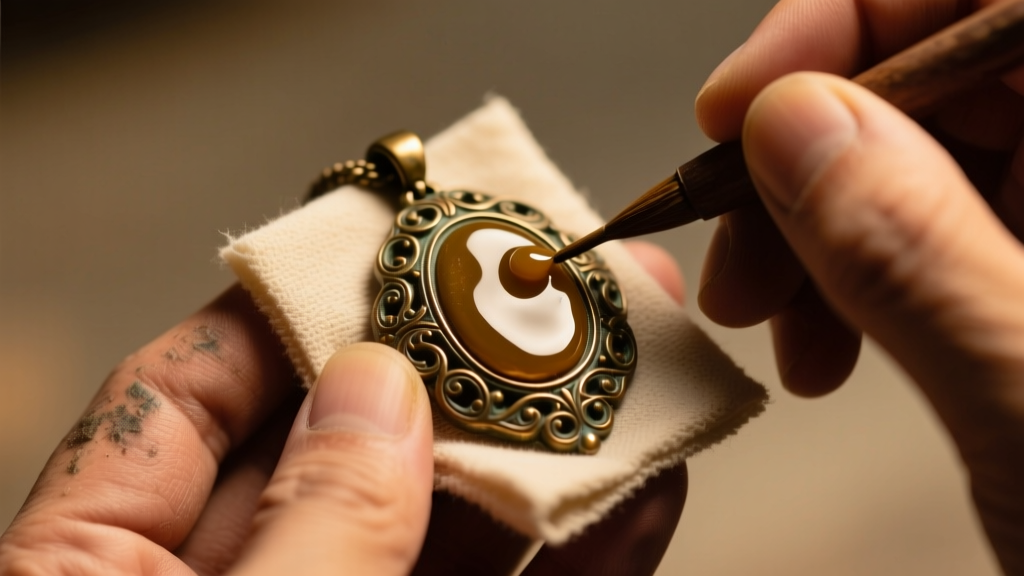
Originally developed by the British Museum for artifact conservation, Renaissance Wax is a microcrystalline wax that provides a moisture barrier. It is ideal for pieces with complex textures where liquid sealants might pool. Apply a thin layer with a lint-free cloth, let it haze for 15 minutes, and buff to a soft sheen. Reapplication is required every 3 to 6 months depending on wear frequency.
Option 2: Polyurethane Clear Coats (ProtectaClear)
For a permanent, heavy-duty seal, products like Everbrite's ProtectaClear offer a self-leveling, polyurethane-based clear coat that bonds directly to the copper.
- Clean the polished copper with acetone or xylene to remove all oils and fingerprints.
- Apply the first coat with a high-density foam brush or by dipping.
- Allow to cure for 24 hours in a dust-free environment.
- Apply a second coat for complete coverage, ensuring no microscopic pinholes remain where sweat can penetrate.
By understanding the specific chemistry of your jewelry's tarnish and matching it to the correct mechanical or chemical intervention, you can safely maintain the brilliant warmth of copper, brass, and bronze pieces for decades without compromising their structural or aesthetic integrity.