How Do You Polish Copper Jewelry? A Beginner's Guide
Learn how do you polish copper jewelry safely at home. Discover step-by-step methods, DIY pastes, and commercial cleaners to restore your pieces.

Understanding Copper Tarnish and Patina
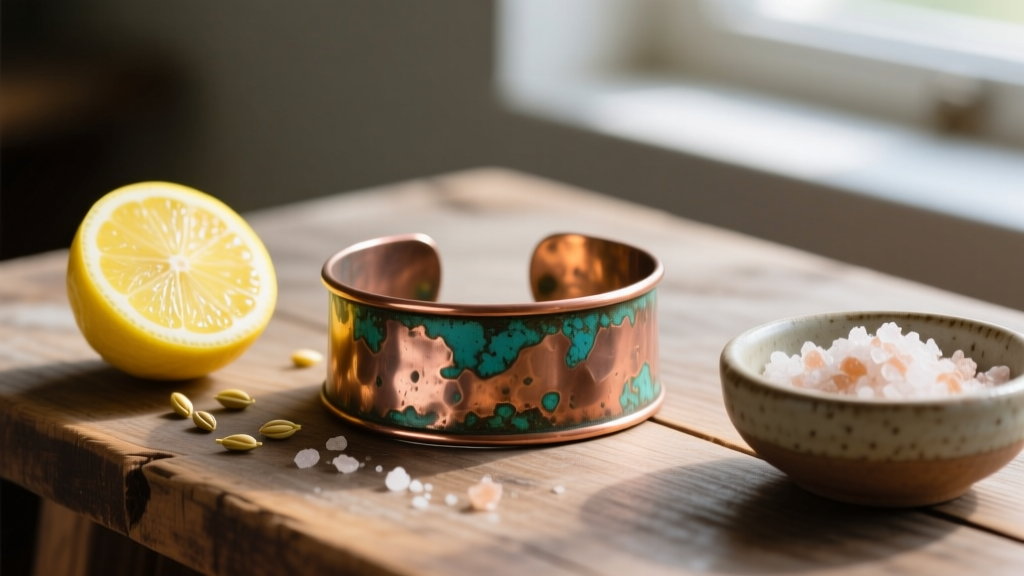
If you have ever asked yourself, "how do you polish copper jewelry without ruining it?", you are not alone. Copper is a highly reactive transition metal. When exposed to oxygen, moisture, and the natural oils on your skin, it undergoes oxidation. This process creates a surface layer of copper oxide, which manifests as a dull brown or black film. According to the Smithsonian Museum Conservation Institute, this tarnish is actually a protective layer that prevents the underlying metal from corroding further. However, for jewelry enthusiasts who prefer the warm, rosy-gold shine of raw copper, this patina is often unwanted.
Before you begin polishing, it is crucial to identify the type of tarnish you are dealing with. Light tarnish (cuprite) appears as a reddish-brown dullness and is easily removed with mild acids. Heavy, black tarnish (tenorite) requires slightly more abrasive or prolonged chemical action. Furthermore, you must determine if your jewelry is sealed (lacquered) or unsealed. Polishing a sealed piece with abrasives will strip the protective coating, leaving it vulnerable to rapid re-tarnishing.
The Pantry Method: Lemon Juice and Salt
For unsealed, heavily tarnished copper jewelry without gemstones, the lemon and salt method is the gold standard for beginners. The citric acid in the lemon juice reacts with the copper oxide, dissolving the tarnish, while the salt acts as a gentle, micro-abrasive catalyst to speed up the chemical reaction.
Step-by-Step Instructions:
- Prepare the Solution: Squeeze one tablespoon of fresh lemon juice into a small glass bowl. Add one teaspoon of non-iodized salt (iodine can cause adverse chemical reactions with copper) and stir until the salt is mostly dissolved.
- Application: Submerge your copper jewelry in the solution for no more than 3 to 5 minutes. If the piece is too large to submerge, dip a soft-bristled toothbrush into the mixture and gently scrub the surface.
- Rinse and Neutralize: Remove the jewelry and rinse it thoroughly under lukewarm running water. To neutralize any residual acid, wash the piece with a mild dish soap like Dawn.
- Dry Completely: Pat dry with a microfiber cloth. Air-drying can leave water spots, which will quickly oxidize into new tarnish.
The Gentle Approach: Baking Soda Paste
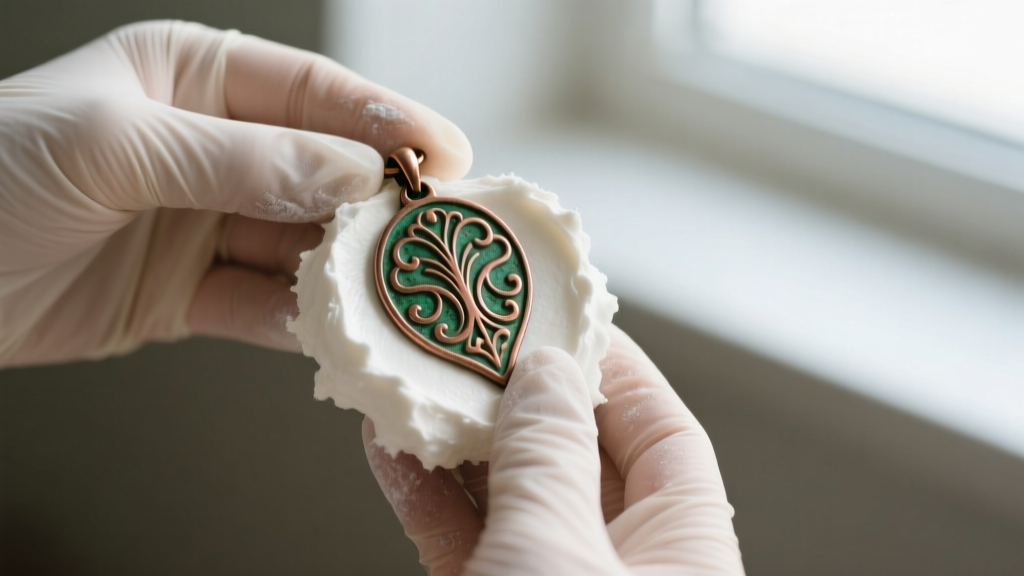
If your copper jewelry features intricate stamping, deep engraving, or a delicate 24-gauge (or thinner) construction, the acidic lemon method might be too aggressive. Baking soda (sodium bicarbonate) offers a milder, alkaline alternative that lifts grime and light oxidation without risking the structural integrity of thin wire-wrapped or sheet-metal designs.
Mix three parts baking soda with one part distilled water to create a thick, spreadable paste. Using a cotton swab or your fingertips, apply the paste to the tarnished areas. Let it sit for 10 minutes. The alkaline environment helps break down the oils and light cuprite layers. Gently buff the piece with a damp, lint-free cloth, ensuring you work the paste out of any deep crevices. Rinse thoroughly and dry immediately. This method is particularly useful for maintaining a "lived-in" look where you want to preserve dark oxidation in the deep recesses of a stamped design while bringing out the high-polish shine on the raised surfaces.
Commercial Cleaners vs. DIY Solutions
While DIY methods are accessible, commercial copper cleaners are formulated with specialized surfactants and tarnish inhibitors that can provide a longer-lasting shine. Below is a comparison of the most effective polishing methods for copper jewelry.
| Method | Abrasiveness | Best Use Case | Estimated Time |
|---|---|---|---|
| Lemon & Salt | Medium | Heavy black tarnish, solid copper chains | 5-10 mins |
| Baking Soda Paste | Low | Light tarnish, intricate/stamped designs | 15 mins |
| Ketchup | Low-Medium | Quick touch-ups, mild oxidation | 10-15 mins |
| Wright's Copper Cream | Very Low | High-end jewelry, mirror finishes | 3-5 mins |
| Bar Keepers Friend | High | Thick copper cuffs, severe corrosion | 2-5 mins |
Note: Avoid using Bar Keepers Friend on thin-gauge wire jewelry or pieces with a brushed satin finish, as the oxalic acid and feldspar abrasives will aggressively alter the metal's surface texture.
Crucial Precautions: Polishing Around Gemstones
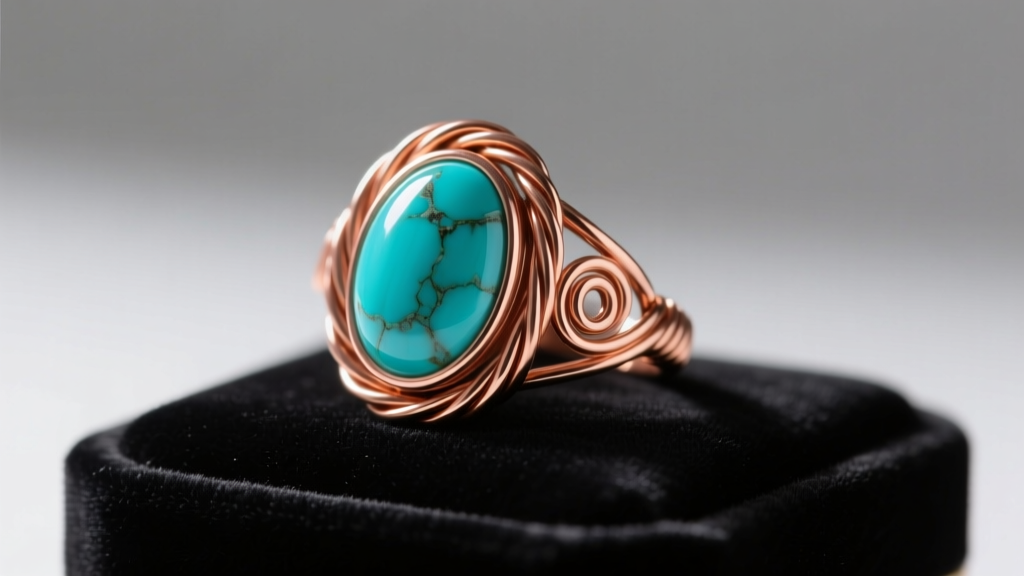
One of the most common mistakes beginners make is applying acidic or abrasive polishes to copper jewelry that features gemstones. Copper is frequently paired with porous, soft stones like turquoise, malachite, lapis lazuli, and opal. According to the Gemological Institute of America (GIA), porous gems are highly sensitive to acids and harsh chemicals.
If you use lemon juice or a commercial acid-based cleaner on a turquoise cabochon set in copper, the acid will permanently etch the stone, stripping its natural polish and causing irreversible color fading. To safely polish copper jewelry with gemstones:
- Mask the Stone: Use painter's tape or a liquid latex mask to completely cover the gemstone and the immediate bezel setting.
- Targeted Application: Apply your polishing paste only to the exposed copper using a Q-tip or a fine detailing brush.
- Hard Stones Exception: If your jewelry features hard, non-porous stones like quartz, agate, or cubic zirconia, you can safely submerge the entire piece, though prolonged soaking should still be avoided to protect the adhesive or mechanical settings.
Troubleshooting Common Polishing Mistakes
Why Did My Copper Turn Pink or Orange?
If your copper jewelry turns a bright, unnatural salmon-pink color after polishing, you have likely stripped the surface layer of zinc (if it is actually brass disguised as copper) or you have exposed raw, unoxidized copper that has not yet begun to naturally mellow. This is normal. Simply wear the piece for a few days; the natural oils from your skin and ambient oxygen will quickly tone it down to a warm, natural copper hue.
Dealing with Pitting and Green Skin
Copper jewelry is notorious for turning the wearer's skin green. This is not an allergic reaction, but rather a chemical process called chelation, where copper reacts with the amino acids and salts in your sweat to form copper chlorides. If your copper ring or bracelet is causing severe skin discoloration, polishing it will not solve the problem. Instead, you need to seal the metal.
Post-Polish Care and Sealing
Once you have successfully polished your copper jewelry to a brilliant shine, the clock starts ticking on re-oxidation. To lock in the shine and prevent the green skin effect, you must apply a barrier sealant. The two industry-standard sealants for copper jewelry are:
- Everbrite ProtectaClear: A tough, clear, polyurethane-based coating that cures to a hard, invisible finish. It is ideal for rings and bracelets that endure high friction. Apply two thin coats with a foam brush, allowing 24 hours of curing time between coats.
- Renaissance Wax: A microcrystalline wax originally developed for the British Museum. It provides a soft, natural-looking luster and is perfect for pendants and earrings. Simply rub a small amount onto the polished copper with a soft cloth, let it dry for 10 minutes, and buff it to a gentle sheen. Note that wax requires reapplication every few months, whereas ProtectaClear can last for years.
By understanding the chemistry of your metal and choosing the right polishing method for your specific jewelry design, you can keep your copper pieces looking vibrant and beautiful for a lifetime. Always remember to start with the gentlest method possible and work your way up to more aggressive treatments only when necessary.

