The Essential Buying Guide for Making Copper Jewelry at Home
Discover the best metals, tools, and patina supplies for making copper jewelry. Our expert buying guide covers gauges, grades, and pro tips.


Transitioning from a jewelry enthusiast to a creator is a thrilling journey, and making copper jewelry is widely considered the best entry point into metalsmithing. Copper is malleable, affordable, and responds beautifully to a wide array of finishing techniques. However, walking into a jewelry supply store or browsing online catalogs can be overwhelming. The difference between a frustrating experience and a successful craft lies entirely in buying the correct grades of metal, the right hand tools, and the proper chemical supplies. This comprehensive buying guide cuts through the noise, providing you with exact specifications, brand recommendations, and metallurgical insights to build a professional-grade copper jewelry workspace.
Choosing the Right Copper: Grades, Gauges, and Forms
Not all copper is created equal. When buying materials for making copper jewelry, you must pay attention to the alloy designation and the temper (hardness). According to Ganoksin's metallurgy archives, the most common grade used in jewelry is C11000 (Electrolytic Tough Pitch or ETP). It is 99.9% pure copper, highly conductive, and perfect for wire wrapping, forging, and stamping. If you plan to fuse copper with glass or enamel, you must upgrade to C10100 (Oxygen-Free Electronic or OFE), which is 99.99% pure; standard C110 will blister under high enameling kiln temperatures due to trapped oxygen.
Equally important is the wire gauge, measured in American Wire Gauge (AWG). Buying the wrong gauge is the most common beginner mistake. Below is a structural framework for selecting the right thickness for your designs:
| AWG Size | Millimeter (mm) | Best Applications in Jewelry Making | Temper Recommendation |
|---|---|---|---|
| 10 - 12 AWG | 2.59 - 2.05mm | Heavy bangles, cuff bracelets, structural clasps | Dead Soft (requires heavy forging) |
| 14 - 16 AWG | 1.63 - 1.29mm | Jump rings, ear wires, heavy bezels, ring shanks | Half-Hard or Dead Soft |
| 18 - 20 AWG | 1.02 - 0.81mm | Standard wire wrapping, headpins, chain links | Half-Hard |
| 24 - 28 AWG | 0.51 - 0.32mm | Coiling, weaving, micro-macrame, fine detailing | Dead Soft |
When sourcing your metal, skip the hardware store. Hardware store copper wire is often coated in invisible anti-oxidation sealants that resist patinas and solder. Always purchase from dedicated jewelry suppliers like Rio Grande's copper wire selection or Monsterslayer to ensure clean, uncoated, jewelry-grade stock.
Essential Hand Tools: Where to Invest and Where to Save
When making copper jewelry, your tools act as extensions of your hands. Copper is a relatively soft metal (Mohs hardness of 3.0), meaning it is incredibly easy to mar, scratch, or dent with improper tooling. Avoid the $20 multi-tool kits found on general marketplaces; the steel is often soft, and the jaws leave deep teeth marks on your work.
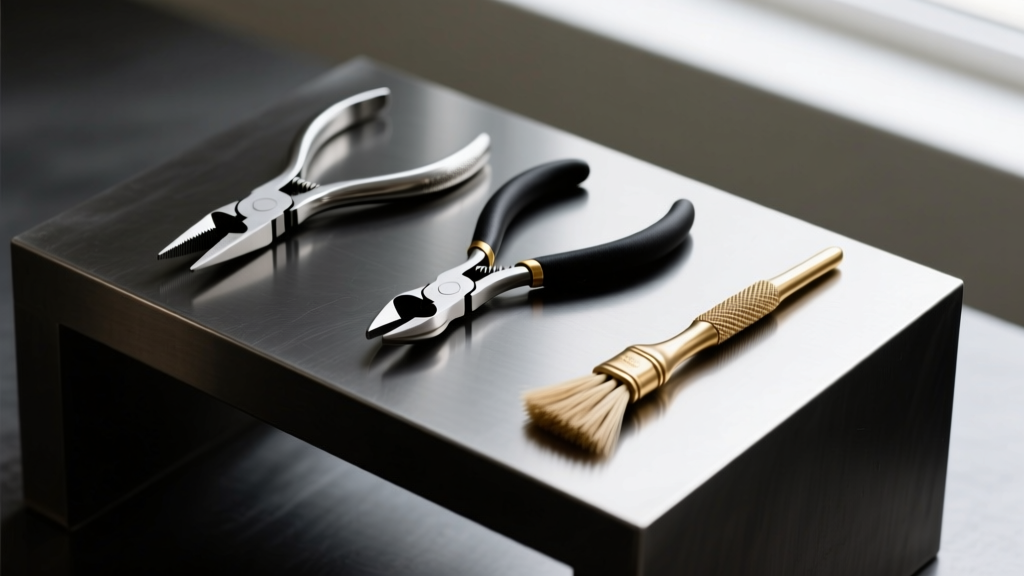
The Non-Negotiable Tool Kit
- Flush Cutters: You need a cutter that leaves a perfectly flat edge, not a pinched 'V' shape. Invest in Swanstrom or Lindstrom flush cutters (approx. $45-$65). They are forged from high-carbon steel and will stay sharp through hundreds of copper cuts.
- Nylon Jaw Pliers: Standard steel chain-nose pliers will permanently dent soft copper wire. A pair of Swanstrom or Wubbers nylon jaw pliers ($30) allows you to grip, bend, and straighten wire without leaving a single scratch.
- Round Nose Pliers: Essential for forming consistent loops and ear wires. Look for pliers with smooth, untextured jaws and a comfortable spring return.
- Bench Block & Mallet: To forge and flatten copper, you need a hardened steel bench block (minimum 4x4 inches, approx. $25). Pair this with a rawhide or solid nylon mallet. Never use a steel hammer directly on copper unless you intentionally want deep textured dimples.
Understanding Work-Hardening and Annealing
As you bend and manipulate copper, the crystal lattice structure compresses, causing the metal to become brittle—a process known as work-hardening. If you try to bend a 12-gauge copper bangle too many times without relief, it will snap. You must buy an annealing setup. A simple butane torch ($25) is sufficient for small gauge wires, but an oxy-propane setup like the Smith Little Torch ($250+) is required for heavy cuffs. Heat the copper until it glows a dull cherry red (approx. 700°F - 800°F), then quench it in water. This instantly resets the crystalline structure, returning the copper to a 'dead soft' state.
Soldering, Pickling, and Patina Supplies
Achieving professional joins and rich, antique finishes requires specific chemical supplies. Standard silver solder will not color-match copper, leaving bright, visible seams. For making copper jewelry, purchase copper-specific solder (such as Stay-Brite or specialized copper color-matched solders from OttoFrei).
The Pickle Pot
After soldering, copper develops a layer of fire-scale (cupric oxide). To remove this, you need a 'pickle' solution. The industry standard is Sodium Bisulfate (sold as Sparex #2 or generic pH-Down pool shock). Mix it with warm water in a dedicated slow cooker. Critical Warning: Never use steel tweezers to retrieve your copper from the pickle. The acid will strip the copper ions and plate them onto the steel, which then transfers a stubborn layer of pure copper onto any silver or other metals you subsequently place in the pot. Always buy titanum tweezers or wooden bamboo tongs for your pickle station.
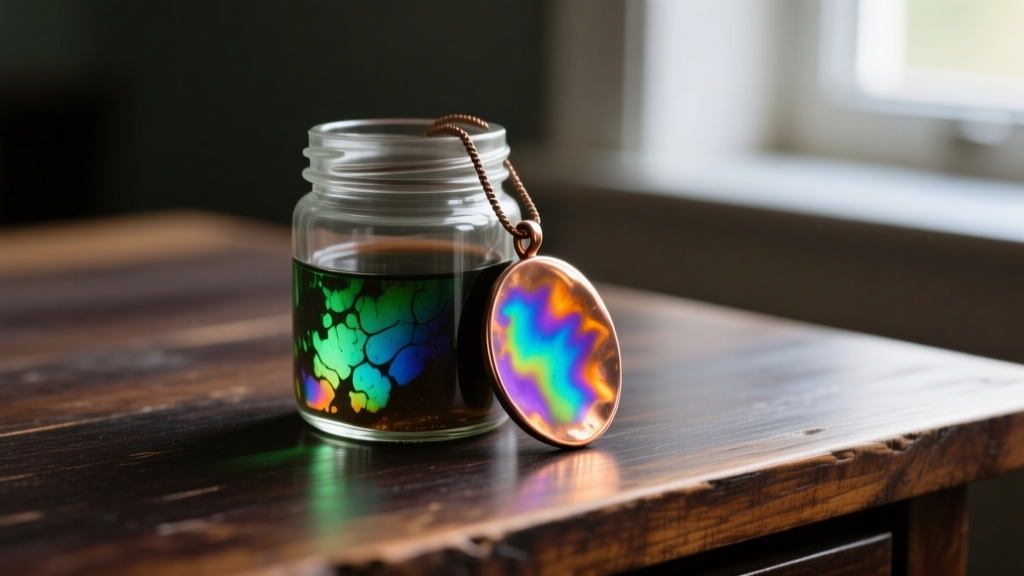
Patina Chemicals
Copper's greatest advantage over brass or bronze is its spectacular reaction to oxidizing agents. You should stock your studio with the following:
- Liver of Sulfur (LOS): The gold standard for darkening copper. Mixed with warm water, it can produce a spectrum of colors from iridescent gold and magenta to deep gunmetal black. Buy it in dry lump form rather than pre-mixed gel, as the dry form has a significantly longer shelf life.
- Ammonia and Salt Fuming: For those seeking the classic blue-green verdigris (malaquite/chrysocolla colors), you do not need expensive chemicals. Place your copper piece on a wire rack inside a sealed plastic container with a shallow dish of household ammonia and a pinch of table salt. The fumes will generate a stunning, organic green patina within 24 hours.
- Sealants: Patinas will rub off on the skin if left unprotected. Invest in a micro-crystalline wax like Renaissance Wax or a specialized jewelry coating like ProtectaClear to seal your finishes and prevent the copper from reacting with the wearer's skin oils.
Safety Gear and Studio Setup
Metalsmithing involves heat, sharp edges, and mild acids. Protecting your lungs, eyes, and skin is paramount. When sanding, polishing, or using a rotary tool on copper, microscopic metallic dust is released. Purchase a 3M Half Facepiece Reusable Respirator (Model 6200) equipped with P100 particulate filters. Standard surgical masks do not seal tightly enough to block fine metal dust. Furthermore, always wear ANSI-rated safety glasses, especially when snipping thick-gauge copper wire, as the clipped ends can fly across the room at high velocities.
Final Thoughts on Sourcing
Building a studio for making copper jewelry is an iterative process. Start with C11000 dead soft wire in 16 and 20 AWG, a high-quality flush cutter, nylon jaw pliers, and a basic liver of sulfur kit. As your design vocabulary expands into forging, stone setting, or soldering, you can systematically upgrade your torch setup and invest in specialized mandrels. By prioritizing metallurgical purity and precision tooling from the start, you eliminate the mechanical frustrations that cause most beginners to abandon the craft, allowing you to focus purely on the artistry of your designs.


