Soldering Copper to Copper Jewelry: Troubleshooting Guide
Master soldering copper to copper jewelry with our expert troubleshooting guide. Fix cold joints, fire scale, and balling solder for flawless results.

The Metallurgy of Copper: Why Soldering Fails
Soldering copper to copper jewelry is notoriously frustrating for bench jewelers transitioning from silver or gold. The root of 90% of soldering failures lies in copper's extreme thermal conductivity. Copper conducts heat approximately five times faster than sterling silver. When you apply a pinpoint flame to a copper joint, the heat rapidly dissipates through the entire piece rather than pooling at the seam. This results in a scenario where the solder reaches its flow temperature, but the base copper does not, leading to the dreaded 'balling' effect or brittle, cold solder joints.
To successfully solder copper to copper jewelry, you must abandon the techniques used for delicate silver work. You need a broader heat envelope, aggressive flux management, and a deep understanding of copper oxidation rates. According to metallurgical guidelines from Ganoksin, copper begins to form heavy cupric oxide (fire scale) at around 1100°F (593°C), well below the flow point of most hard silver solders. If your flux burns out before the joint reaches temperature, the solder will simply refuse to flow.
Diagnosing the 'Balling' Solder Phenomenon
If your solder melts into a perfect, stubborn sphere on top of the copper seam instead of flashing into the joint, you are experiencing a thermal and chemical barrier failure. This happens for two primary reasons:
- Insufficient Base Metal Heat: Solder flows toward heat. If the copper wire or sheet is not heated to a dull red (approximately 1200°F to 1400°F depending on the solder), the solder will melt from the direct torch flame but will not be pulled into the capillary action of the seam.
- Flux Burnout: Standard white fluxes (boric acid and borax mixtures) become inactive and turn into a glassy barrier around 1400°F. Because copper requires prolonged heating due to its heat dissipation, standard flux often vitrifies before the joint is ready.
The Torch Tip Mistake
Many jewelers use a #2 or #3 tip on a Smith Little Torch for precision. For copper, this is a critical error. A small tip forces you to hold the flame in one spot longer, creating localized melting while the rest of the joint remains cold. Switch to a #5 or #6 acetylene/oxygen tip, or use a propane/oxygen 'bushy' flame to wrap the heat around the entire copper component simultaneously.
Flux Selection and the Copper-Phosphorus Exception
Choosing the right solder and flux combination is the most critical decision when soldering copper to copper jewelry. You essentially have two paths, each with distinct troubleshooting protocols.
Path A: Copper-Phosphorus Solders (Sil-Fos)
Copper-phosphorus alloys (like Sil-Fos 5, which is 93% copper and 7% phosphorus) are self-fluxing on copper-to-copper joints. The phosphorus acts as a deoxidizer, eliminating the need for chemical flux. Troubleshooting tip: Sil-Fos flows at roughly 1300°F (704°C). However, it is inherently brittle. Never use copper-phosphorus solder for high-stress joints like ring shanks or clasp mechanisms, as it will snap under tension. Reserve it for static bezels, decorative overlays, and chain links.
Path B: Silver Solders (Hard, Medium, Easy)
If you need structural integrity or plan to heavily patina the piece with liver of sulfur, silver solders are superior. However, they require aggressive fluxing. Standard white flux will fail on thick copper. You must use a high-temperature flux containing potassium fluoride, such as Stay-Silv Black Flux, which remains active up to 1600°F (871°C). Alternatively, mix your white flux with a pinch of powdered borax cone to extend its active life and lower its melting point.
Temperature Control: Solder Flow Points vs. Copper Melting Point
Copper melts at 1984°F (1085°C). While this seems high, the rapid heat transfer means thin copper elements (like 28-gauge bezel wire or 24-gauge sheet) can melt before you realize the joint is hot enough. Below is a reference chart for Rio Grande standard solder flow points to help you calibrate your torch time.
| Solder Type | Alloy Composition | Flow Temperature | Flux Requirement | Best Use Case on Copper |
|---|---|---|---|---|
| Sil-Fos 5 (Cu-Phos) | 93% Cu, 7% P | 1300°F (704°C) | None (Self-fluxing) | Static bezels, chain links |
| Hard Silver Solder | 75% Ag, 25% Cu/Zn | 1530°F (832°C) | Black Flux / Borax Mix | Ring shanks, structural joints |
| Medium Silver Solder | 70% Ag, 30% Cu/Zn | 1450°F (788°C) | Black Flux / Borax Mix | Secondary joints, gallery wire |
| Easy Silver Solder | 65% Ag, 35% Cu/Zn | 1325°F (718°C) | White or Black Flux | Repairs, final jump ring closures |
Step-by-Step Recovery: Fixing a Cold Solder Joint
A cold solder joint occurs when the solder melts but fails to alloy with the base copper, resulting in a weak, grainy seam that will crack during polishing or wear. If you encounter this, do not simply apply more heat and solder. Follow this recovery protocol:
- Quench and Inspect: Quench the piece in water. Inspect the joint under a loupe. If the solder is balled or granular, it must be completely removed.
- Mechanical Removal: Use a separating disc or a fine bur to physically grind away the failed solder and the oxidized copper beneath it. You must reach bright, shiny copper.
- Deep Clean: Ultrasonic clean the piece or scrub with pumice powder to remove all microscopic grease and abrasive residue.
- Re-Flux and Step Down: Apply fresh high-temp flux. If you originally used Hard solder, step down to Medium solder for the repair. The lower flow temperature will prevent the copper from degrading while ensuring a complete capillary draw.
Bench Pro-Tip: When soldering copper, always paint the heat. Keep the torch moving in wide circles around the entire component, occasionally flicking the flame directly onto the solder chip only when the copper exhibits a uniform dull cherry-red glow.
Post-Solder Cleanup and Pickling Protocols
Copper fire scale (cupric oxide) is notoriously thick and stubborn. Standard sodium bisulfate pickles (like Sparex #2) will remove it, but they require high heat and prolonged soaking, which can sometimes etch the copper surface if left too long.
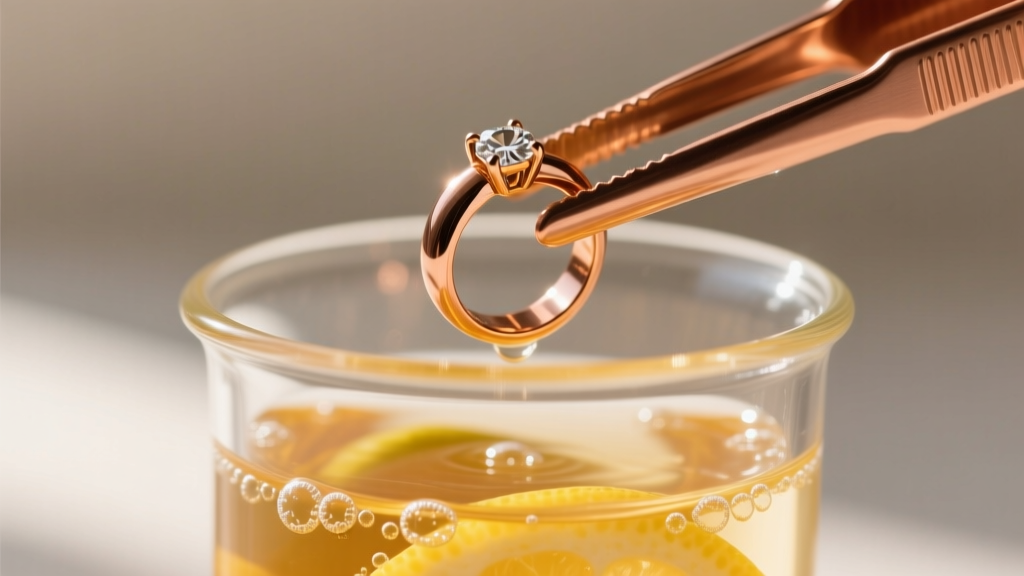
For soldering copper to copper jewelry, a 5% to 10% warm citric acid solution is vastly superior. Citric acid selectively targets copper oxides without attacking the raw copper metal, leaving a bright, clean surface. Always use copper tongs in your pickle pot. Introducing steel tweezers into a copper pickle will cause an electrolytic reaction, instantly flash-plating your copper jewelry with a thin, spongy layer of metallic copper that will flake off during polishing.
After pickling, rinse thoroughly in water with a pinch of baking soda to neutralize the acid. If you plan to apply a liver of sulfur patina, dry the piece completely and proceed immediately; copper begins to oxidize in ambient air within minutes, which can cause uneven patina spotting later.


