How to Clean Diamond Jewelry: Troubleshooting Cloudy Rings
Learn how to clean diamond jewelry with our expert troubleshooting guide. Fix cloudy stones, remove hard water spots, and protect delicate pave settings.

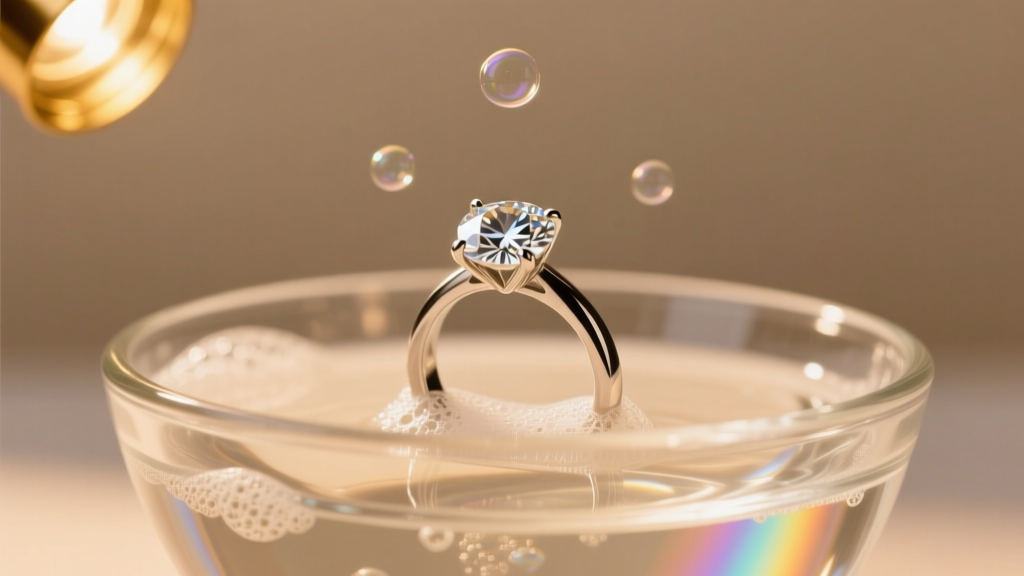
There is nothing more frustrating than watching a brilliant, fiery diamond slowly lose its sparkle and turn into a dull, cloudy stone. If you have been searching for how to clean diamond jewelry because your ring is looking hazy, grimy, or completely lifeless, you are not alone. Diamonds are remarkably durable, ranking a 10 on the Mohs hardness scale, but their optical properties are incredibly vulnerable to everyday environmental factors. Unlike other gemstones, diamonds are naturally lipophilic, meaning they have a strong chemical affinity for oils. Every time you apply lotion, cook, or simply touch your face, microscopic layers of sebum and grease transfer to the stone, effectively suffocating its ability to reflect light.
This comprehensive troubleshooting guide moves beyond generic advice. We will diagnose the specific type of grime affecting your jewelry, provide exact chemical ratios for safe home cleaning, and outline the catastrophic mistakes that can loosen pave stones or shatter fracture-filled diamonds. Whether you are dealing with a heavy buildup of hand sanitizer residue or stubborn hard water spots, this protocol will restore your diamond's original fire.
Why Your Diamond Looks Cloudy (The Science of Grime)
To troubleshoot a cloudy diamond, you must first understand how a diamond interacts with light. A well-cut round brilliant diamond relies on light entering through the crown (top), bouncing off the precisely angled pavilion facets (bottom), and returning through the table to your eye. This phenomenon is known as total internal reflection. When a layer of oil, lotion, or soap scum coats the pavilion facets, the refractive index at the diamond-air boundary changes. Instead of reflecting back to your eye, the light 'leaks' out of the bottom of the stone. The result is a diamond that looks flat, gray, and cloudy, even if the top surface appears perfectly clean to the naked eye.
Furthermore, the anatomy of a ring setting exacerbates this issue. Prong and bezel settings create tiny crevices underneath the gallery where dead skin cells, cosmetic powders, and sebum accumulate. This compacted debris acts like a physical barrier, completely blocking light return and dulling the stone's scintillation.
The Ultimate Troubleshooting Guide: How to Clean Diamond Jewelry
Before you begin any cleaning process, inspect your setting under a magnifying loupe or your smartphone's macro camera. Ensure no prongs are lifted and no stones are loose. If the setting is compromised, cleaning it will only accelerate the loss of your diamond. Once confirmed secure, identify your specific grime profile below.
Scenario A: The Daily Lotion & Sebum Buildup
This is the most common cause of cloudiness. The goal here is to degrease the stone without damaging the metal alloy or any porous accent stones (like pearls or emeralds).
- The Solution: Mix 1 part mild, degreasing dish soap (such as original blue Dawn) with 6 parts warm—not hot—distilled water. Avoid hot water, as extreme temperature fluctuations can cause thermal shock in diamonds with surface-reaching inclusions.
- The Soak: Submerge the jewelry for 15 to 20 minutes. This allows the surfactants in the soap to break the molecular bonds of the oils clinging to the carbon lattice.
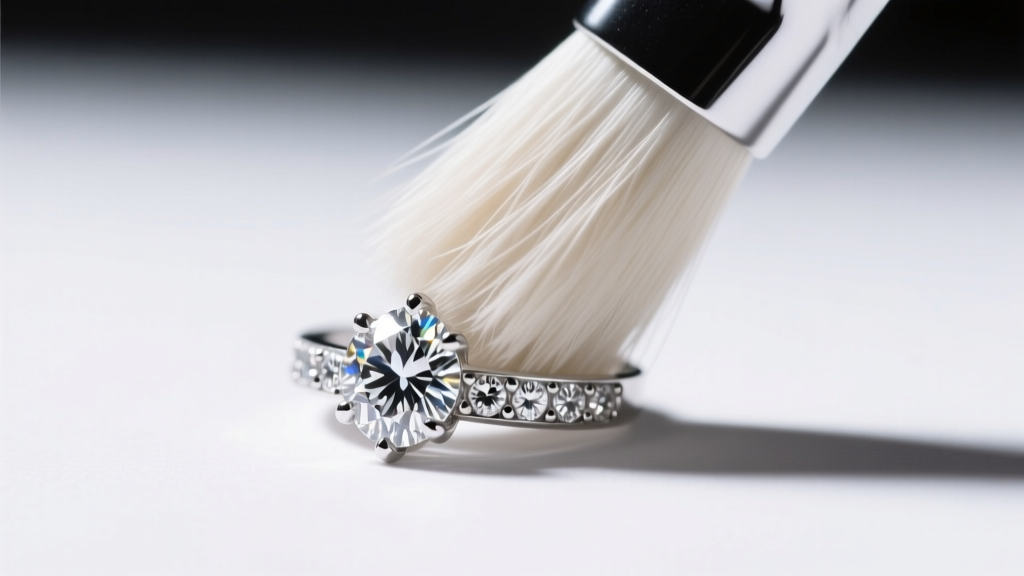
- The Agitation: Use an extra-soft baby toothbrush with nylon bristles (approximately 0.1mm in diameter). Never use natural boar-bristle brushes, as they are porous and trap oils, merely redistributing the grime. Gently brush the pavilion (underside) of the diamond using small circular motions, paying special attention to where the girdle meets the prongs.
- The Rinse: Rinse thoroughly under a gentle stream of lukewarm distilled water. Tap water contains dissolved minerals that will immediately leave new spots.
Scenario B: Hard Water Spots & Mineral Deposits
If your diamond has a chalky, white film that soap will not remove, you are dealing with calcium carbonate deposits from hard tap water. According to the Gemological Institute of America (GIA), harsh chemicals should be avoided, but mild acids can safely dissolve mineral buildup on diamonds and platinum or gold settings.
- Soak the ring in a 50/50 mixture of white vinegar and distilled water for exactly 10 minutes.
- Brush gently with your soft nylon brush.
- Warning: Never use vinegar or acidic solutions if your ring features porous side-stones like turquoise, opal, or pearl, as the acid will permanently etch and destroy their surfaces.
What NOT to Do: Cleaning Methods That Destroy Settings
Many well-intentioned jewelry owners destroy their pieces by using aggressive cleaning methods that are entirely inappropriate for their specific setting type. The American Gem Society (AGS) frequently warns against the blind use of mechanical cleaners. Below is a risk-assessment matrix to help you avoid catastrophic damage.
| Cleaning Method | Solid Solitaire Setting | Micro-Pave / Halo Setting | Fracture-Filled / Clarity-Enhanced |
|---|---|---|---|
| Ultrasonic Cleaner (40kHz) | Generally Safe | HIGH RISK: Vibrations shake loose tiny melee stones. | FATAL RISK: Shatters filler, ruining the stone. |
| Steam Cleaner | Safe (if no inclusions) | MODERATE RISK: Heat can weaken certain adhesives. | HIGH RISK: Thermal shock melts glass filler. |
| Chlorine Bleach | FATAL RISK: Pits and dissolves gold alloys. | FATAL RISK: Destroys prongs and stones. | FATAL RISK: Ruins metal and enhancement. |
| Toothpaste / Baking Soda | HIGH RISK: Scratches 14k/18k gold and rhodium. | HIGH RISK: Abrasive paste packs into pave holes. | HIGH RISK: Scratches metal, dulls filler. |
Note on Ultrasonics: Standard jewelry ultrasonics operate at 40kHz to 45kHz. While excellent for solid platinum solitaires, the high-frequency cavitation bubbles can easily rattle micro-pave diamonds out of their tiny bead settings. If you must use an ultrasonic cleaner for a pave ring, ensure it has a sweep frequency mode and limit the cycle to under 60 seconds.
Advanced Troubleshooting: When Home Cleaning Fails
If you have followed the degreasing and mineral-dissolving protocols above and your diamond still appears cloudy, the issue is likely internal or structural.
- Strong Fluorescence: Some diamonds possess strong or very strong blue fluorescence. In environments with high ultraviolet light (like direct sunlight), this can cause the stone to appear milky or oily. This is an inherent optical property of the crystal, not dirt, and cannot be cleaned away.
- Internal Graining: Heavy internal graining or a dense cluster of microscopic 'cloud' inclusions can make a diamond look inherently hazy. This is a clarity characteristic, not surface grime.
- Scratched Metal Reflector: In some bezel or low-profile settings, the interior of the metal gallery is polished to act as a mirror, reflecting light back into the pavilion. If this metal surface becomes heavily scratched or tarnished, the diamond will lose brilliance. A jeweler must re-polish the interior gallery.
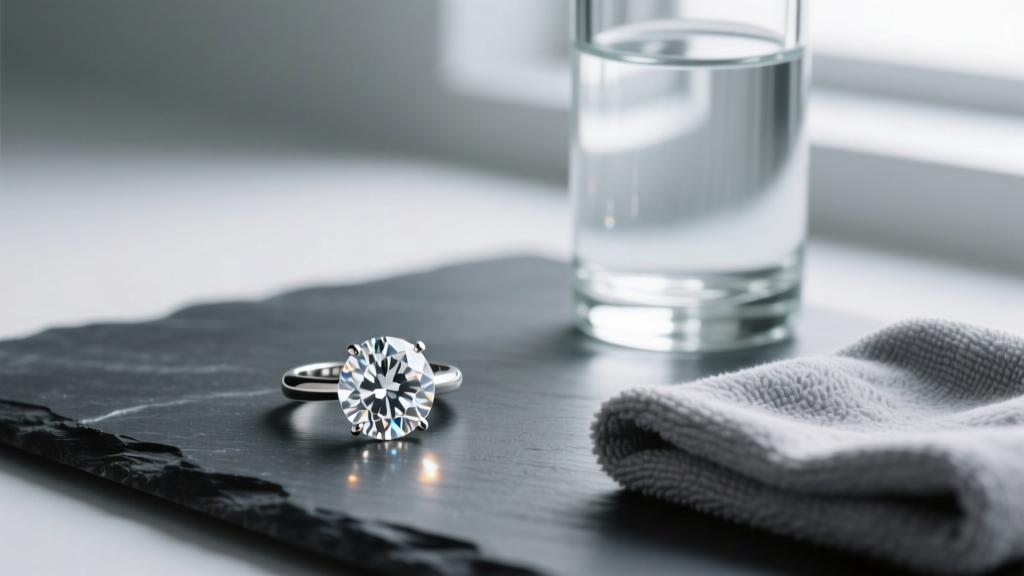
'Never dry your diamond jewelry with paper towels or tissue paper. Wood pulp fibers contain microscopic silica particles that can leave micro-scratches on rhodium-plated white gold and high-polish platinum. Always use a dedicated, lint-free jeweler's microfiber cloth.' — Master Bench Jeweler
Maintenance Schedule for Maximum Brilliance
To prevent the need for deep troubleshooting, implement a proactive maintenance schedule. Because diamonds attract oil continuously, a quick weekly maintenance routine is vastly superior to a monthly deep clean.
- Daily: Remove your ring before applying skincare, cooking with oils, or using household cleaning chemicals. Put it on only after your morning routine is complete.
- Weekly: Give the pavilion a quick 30-second brush with a soft toothbrush and a drop of dish soap while in the shower. Rinse with distilled water and pat dry with a microfiber cloth.
- Bi-Annually: Take the piece to a professional jeweler for a steam clean and, crucially, a prong and shank inspection. Prongs wear down over time, and catching a thinning prong before it snaps will save you from losing your center stone.
Understanding the specific vulnerabilities of your ring's setting and the chemical nature of the grime it attracts is the key to maintaining its brilliance. By avoiding abrasive shortcuts and utilizing targeted, science-backed cleaning methods, you ensure your diamond jewelry remains as fiery and captivating as the day you first unboxed it.