DIY Homemade Jewelry Cleaner for Gold and Diamonds: Step-by-Step
Learn how to safely make a homemade jewelry cleaner for gold and diamonds. Follow our expert step-by-step guide to restore brilliance without damage.

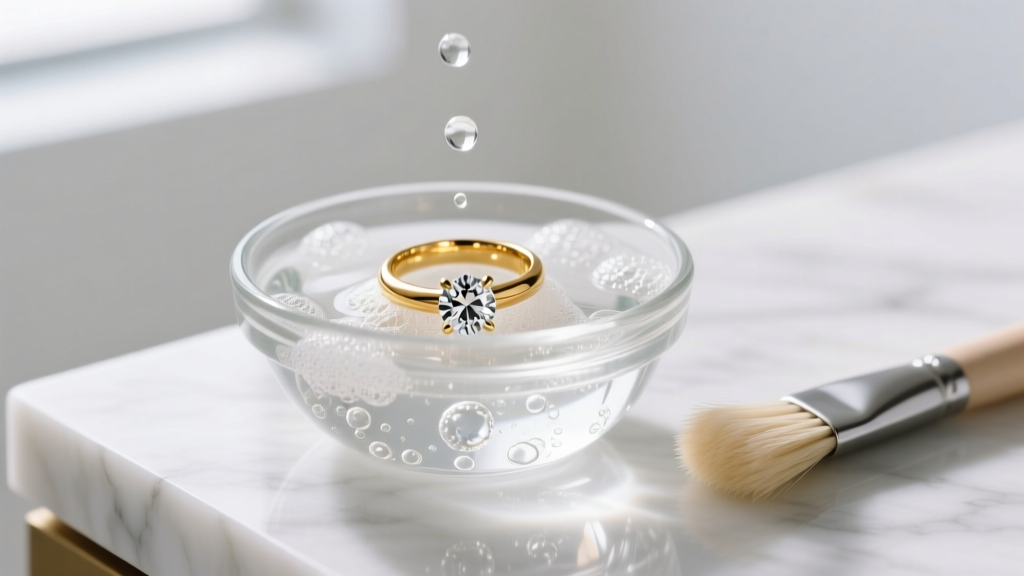
There is nothing quite as frustrating as watching your favorite fine jewelry lose its luster. Over time, lotions, sebum, cooking oils, and environmental dust create a microscopic film over your precious stones and metals, dulling their natural brilliance. While commercial ultrasonic cleaners and harsh chemical dips are available, they are not always safe for every type of setting or treated stone. When searching for a homemade jewelry cleaner gold and diamonds can safely tolerate, the secret lies in understanding the chemistry of your materials. This comprehensive, expert-level guide will walk you through creating a highly effective, non-toxic cleaning solution that restores your jewelry to its original showroom sparkle without risking structural damage to delicate prongs or scratching soft gold alloys.
The Science Behind Gold and Diamond Soiling
To clean effectively, you must first understand why your jewelry gets dirty. Diamonds are inherently lipophilic, meaning they have a strong chemical affinity for oils. According to the Gemological Institute of America (GIA), a diamond's surface will readily attract and hold onto the natural sebum from your skin, as well as oils from cosmetics and cooking. This oil film acts as a magnet for microscopic dust and lint, creating a thick, light-blocking layer over the pavilion (the bottom facets) of the stone. Because a diamond's brilliance relies entirely on light entering through the crown, reflecting off the pavilion facets, and returning to the eye, even a microscopic layer of grime will cause the stone to look cloudy and lifeless.
Gold, on the other hand, does not attract oil in the same way, but it is highly susceptible to scratching and chemical degradation. Pure 24k gold is extremely soft (ranking 2.5 to 3 on the Mohs hardness scale). To make it durable enough for daily wear, it is alloyed with metals like copper, silver, zinc, and nickel to create 14k and 18k gold. These alloyed metals can react poorly to harsh chemicals, leading to discoloration, pitting, or a phenomenon known as stress corrosion cracking, which can cause prongs to snap and diamonds to fall out.
What You Need: Ingredients and Tools
Creating the perfect DIY solution requires precision. You are not just mixing soap and water; you are formulating a gentle surfactant bath that breaks down lipid bonds without attacking metal alloys.
The Core Cleaning Solution
- Mild, Lotion-Free Dish Soap: You need a high-quality surfactant. Dawn Ultra (the original blue formula) is the gold standard among jewelers because it cuts through grease effectively but lacks the moisturizing additives found in hand soaps. Lotions and moisturizers leave a secondary film that defeats the purpose of cleaning.
- Distilled or Filtered Water: Tap water contains dissolved minerals like calcium and magnesium. When tap water evaporates, it leaves behind hard water spots that can etch into gold finishes over time. Always use distilled or properly filtered water.
- Isopropyl Alcohol (90% or higher): This is strictly for the final rinse and drying phase, not the soaking phase. High-purity alcohol displaces water and evaporates instantly, preventing water spots.
Essential Tools
- Extra-Soft Baby Toothbrush: Do not use a standard adult toothbrush. The bristles are too stiff and will leave micro-scratches on 14k and 18k gold. A baby toothbrush or a specialized jewelry brush with ultra-soft nylon or natural horsehair bristles is mandatory.
- Glass or Ceramic Bowl: Avoid metal bowls, which can cause galvanic reactions if the water becomes slightly ionized. A small glass bowl is inert and safe.
- Lint-Free Microfiber Cloth: Paper towels are made of wood pulp and will leave microscopic scratches on polished gold and can snag on pavé settings.
Step-by-Step: Making and Using Your Homemade Jewelry Cleaner for Gold and Diamonds
Follow this exact protocol to ensure maximum brilliance and structural safety for your jewelry.
Step 1: Preparation and Inspection
Before introducing any liquid, inspect your jewelry under a bright light or jeweler's loupe. Check the prongs holding your diamonds. If a prong is lifted, bent, or catching on fabric, do not soak or brush the piece. Take it to a professional jeweler. Submerging a piece with loose prongs can cause the grime that is currently acting as a 'glue' to wash away, resulting in a lost diamond. Additionally, ensure your sink drain is completely closed or use a silicone catch basin to prevent accidental loss.
Step 2: Mixing the Solution
Fill your glass bowl with one cup of lukewarm distilled water. The temperature should be around 90°F to 100°F (32°C to 38°C). Avoid hot water, as extreme thermal shock can exacerbate existing internal fractures in diamonds, particularly those that have been fracture-filled (a common clarity enhancement process). Add exactly three to four drops of your mild dish soap. Gently stir the water with your finger to create a light lather. Do not over-soap; too much surfactant will leave a sticky residue that is difficult to rinse off.
Step 3: The Soak and Agitation
Place your gold and diamond jewelry into the solution. Allow it to soak for exactly 15 to 20 minutes. This dwell time is critical; it allows the surfactant molecules to penetrate the microscopic gaps between the diamond girdle and the gold setting, breaking the lipid bonds of the trapped oils. After 20 minutes, gently swirl the bowl to agitate the water, which helps dislodge surface-level debris.
Step 4: Precision Brushing
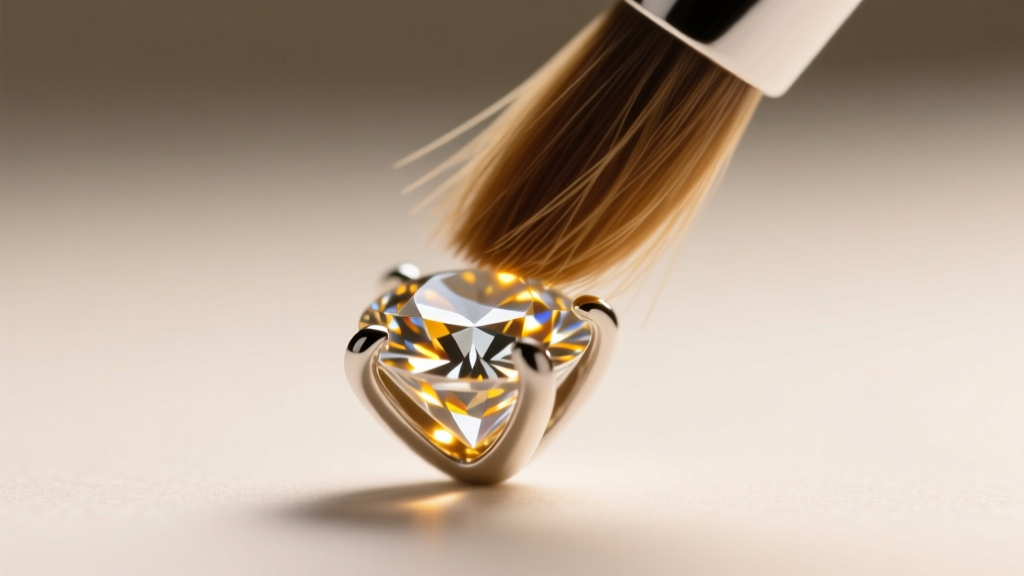
Remove the piece from the solution. Take your extra-soft baby toothbrush and gently brush the jewelry. The most critical area to clean is the pavilion (the underside) of the diamond, where the majority of oil and dead skin cells accumulate. Use gentle, circular motions and light pressure. Do not scrub aggressively. Pay special attention to the gallery (the metal structure directly beneath the stone) and the crevices of pavé or halo settings. If you have a heavily soiled piece, dip the brush back into the soapy water periodically to keep it lubricated.
Step 5: Rinsing and Drying
Rinse the jewelry thoroughly under a gentle stream of lukewarm distilled water to remove all soap residue. Once rinsed, place the jewelry on a clean paper towel and carefully drop a few drops of 90% isopropyl alcohol over the stone and setting. The alcohol will instantly displace the trapped water in the hard-to-reach crevices beneath the diamond and evaporate within seconds, leaving the stone completely dry and free of water spots. Finally, gently pat the gold band dry with your lint-free microfiber cloth, polishing the metal to a high shine.
Crucial Warnings: What NEVER to Use
The internet is full of dangerous DIY jewelry cleaning hacks that can permanently ruin your fine jewelry. According to guidelines from Jewelers of America, avoiding abrasive and corrosive household items is just as important as using the right cleaning agents.
| Ingredient | Why It Is Dangerous for Gold & Diamonds |
|---|---|
| Toothpaste | Toothpaste contains abrasive silica with a high RDA (Relative Dentin Abrasivity) value. It will permanently scratch and dull the polished finish of 14k and 18k gold. |
| Baking Soda | Like toothpaste, baking soda is a mild abrasive. While it may remove tarnish from silver, it will leave a matte, scratched appearance on gold alloys. |
| Bleach / Chlorine | Chlorine reacts with the alloy metals in gold (like copper and silver) to form gold chloride. This causes stress corrosion cracking, making prongs brittle and prone to snapping. |
| Ammonia | While sometimes used for diamonds, ammonia will permanently cloud and damage fracture-filled diamonds and can degrade the rhodium plating on white gold. |
| Vinegar / Acids | Acetic acid can corrode the solder joints used to construct gold rings and chains, leading to structural failure over time. |
Advanced Troubleshooting for Stubborn Grime
If your diamond still looks slightly cloudy after the initial soak and brush, the grime may be impacted deep within the setting. Do not resort to harsh chemicals. Instead, create a secondary targeted cleaning paste using a single drop of dish soap and a tiny amount of distilled water on the tip of a wooden toothpick. Gently use the softened wooden tip to dislodge compacted lotion or dirt from the exact corner where the diamond girdle meets the prong. Wood is softer than both gold and diamond, making it a safe tool for precision scraping. Never use metal needles, safety pins, or tweezers, as steel will easily gouge the gold setting.
Maintenance Schedule for Lasting Brilliance
Consistency is the key to maintaining the optical performance of your diamonds and the structural integrity of your gold settings. For daily-wear pieces like engagement rings, perform this homemade cleaning routine once every two weeks. If you work in environments with heavy lotions, cooking oils, or dust, increase the frequency to once a week. Between deep cleans, you can maintain brilliance by simply wiping the diamond with a clean, dry microfiber cloth at the end of each day to remove surface oils before they have a chance to harden. By adhering to this gentle, scientifically sound cleaning protocol, your gold and diamond jewelry will remain as radiant and secure as the day you first acquired it.


