How to Clean Gold Jewelry at Home: Expert Guide for All Karats
Learn how to clean gold jewelry at home safely. Expert tips for 10k, 14k, 18k, and 24k gold, plus safe solutions for gemstones and vermeil.

The Science of Gold Tarnish and Grime
Before diving into the mechanics of cleaning, it is crucial to understand why gold jewelry loses its luster. Pure gold (24k) is a noble metal, meaning it is virtually indestructible and does not oxidize or tarnish. However, pure gold is too soft for everyday jewelry, so it is alloyed with metals like copper, silver, zinc, and nickel to increase durability. According to the Gemological Institute of America (GIA), it is these alloy metals—not the gold itself—that react with sulfur, chlorine, and oxygen in the environment to create tarnish.
Furthermore, the dull film that accumulates on your rings and chains is often a microscopic layer of sebum (skin oils), dead skin cells, cosmetic residues, and environmental dust. This grime traps moisture against the alloy metals, accelerating oxidation. Understanding this distinction is the first step in learning how to clean gold jewelry at home without causing micro-abrasions or chemical damage to the underlying alloys.
The Universal Mild Soap Method (Step-by-Step)
For solid gold pieces without porous gemstones, the mild soap method is the gold standard recommended by jewelers and conservationists alike. This process safely lifts oils and grime without triggering chemical reactions with copper or silver alloys.
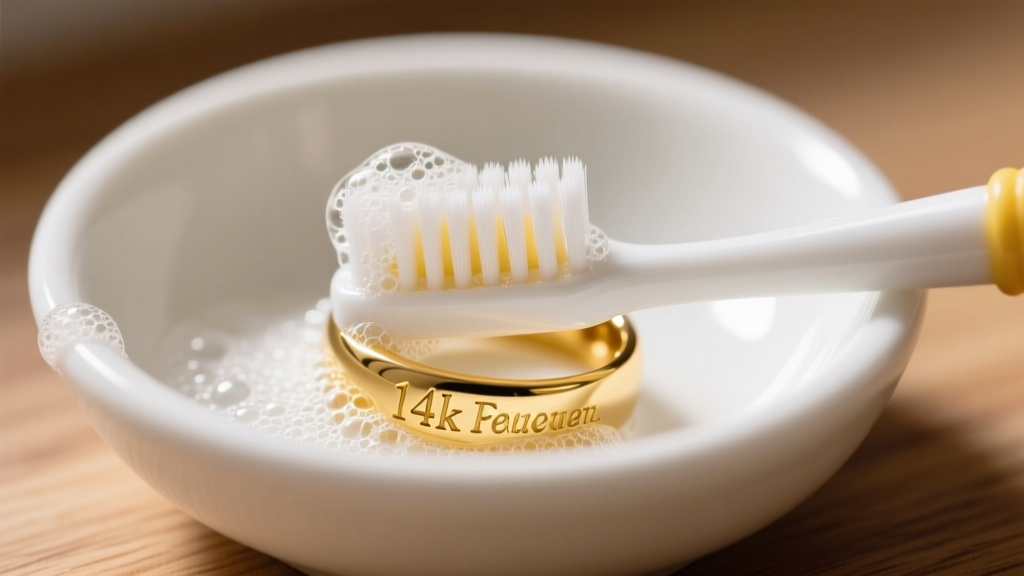
- Step 1: Prepare the Solution. Fill a small ceramic or glass bowl with lukewarm water (ideally between 85°F and 95°F). Add 3 to 4 drops of a phosphate-free, mild dish soap (such as Dawn Ultra). Avoid hot water, as extreme heat can shock certain gemstone inclusions and weaken epoxy adhesives in jewelry settings.
- Step 2: The Soak. Submerge your solid gold jewelry in the solution for 15 to 20 minutes. This dwell time allows the surfactants in the soap to break down the molecular bonds of the sebum and cosmetic buildup.
- Step 3: Gentle Agitation. Using an extra-soft baby toothbrush (with bristles no thicker than 0.1mm), gently brush the jewelry. Pay special attention to the back of ring settings (the gallery) and chain links, where grime accumulates most heavily. Brush in small, circular motions, never aggressively scrubbing.
- Step 4: The Rinse. Rinse the piece thoroughly under a gentle stream of lukewarm water. For the best results, use distilled water for the final rinse to prevent hard water minerals (calcium and magnesium) from leaving microscopic spots on high-polish finishes.
- Step 5: Drying. Pat the jewelry dry with a clean, lint-free microfiber cloth. Never use paper towels or tissue paper, as the wood pulp fibers can cause microscopic scratches on highly polished gold surfaces.
Karat-Specific Cleaning Protocols
Not all gold is created equal. The karat weight dictates the ratio of pure gold to alloy metals, which in turn dictates how the metal responds to cleaning and handling.
10k and 14k Gold (High Alloy Content)
10k gold contains only 41.7% pure gold, while 14k contains 58.3%. Because the majority of these pieces consist of alloy metals like copper and zinc, they are highly durable but significantly more prone to tarnishing and oxidation. These pieces can withstand the gentle brushing described in the universal method. If heavy tarnish is present on 14k gold, you may need to repeat the soaking process twice, but never resort to abrasive pastes.
18k Gold (Balanced Purity)
Containing 75% pure gold, 18k gold offers a rich, warm color and is highly resistant to tarnish. However, the higher gold content makes the metal noticeably softer (lower on the Mohs hardness scale). When cleaning 18k gold, use an ultra-soft brush and apply minimal pressure to avoid burnishing or scratching the high-polish finish.
24k Gold (Pure Gold)
Pure 24k gold is exceptionally soft and malleable. It will not tarnish, but it scratches and dents with ease. Never use a brush on 24k gold. Simply soak the piece in the mild soap solution, agitate the water gently with your fingers, rinse, and pat dry.
What to Avoid: The Chemical Danger Zone
The internet is rife with DIY cleaning hacks that can permanently ruin gold jewelry. The Federal Trade Commission (FTC) provides strict guidelines on jewelry materials, and understanding chemical interactions is vital to protecting your investment. Below is a breakdown of common household cleaners and their effects on gold alloys.
| Cleaning Agent | Chemical Composition | Effect on Gold Alloys | Verdict |
|---|---|---|---|
| Chlorine Bleach | Sodium Hypochlorite | Causes stress corrosion cracking, permanently weakening prongs and shanks, leading to stone loss. | NEVER USE |
| Baking Soda | Sodium Bicarbonate (Mohs 9) | Micro-scratches the gold surface (Mohs 2.5-3), dulling the polish and creating a matte finish over time. | AVOID |
| Toothpaste | Hydrated Silica Abrasives | Acts like sandpaper on high-polish finishes and can lodge white residue deep into crevices and filigree. | AVOID |
| Ammonia | Ammonium Hydroxide | Can temporarily whiten copper alloys and severely damage porous gemstones like pearls and turquoise. | USE WITH CAUTION |
| Mild Dish Soap | Surfactants (Phosphate-free) | Lifts sebum and cosmetic oils without reacting with alloy metals or damaging gemstone settings. | HIGHLY RECOMMENDED |
Special Cases: Vermeil, Plated, and Gemstone Settings
The universal soaking method is strictly for solid gold. If your jewelry features alternative gold applications or delicate gemstones, you must alter your approach to prevent irreversible damage.
Gold Vermeil and Gold Plated Jewelry
Gold vermeil consists of a thick layer of gold (legally required to be at least 2.5 microns) over a sterling silver base. Standard gold plating can be as thin as 0.175 microns (flash plating). Never soak vermeil or plated jewelry. Prolonged exposure to water can penetrate microscopic pores in the gold layer, causing the underlying silver or brass to oxidize and blister the gold finish. Instead, dampen a microfiber cloth with your soapy solution, gently wipe the surface, and immediately dry it.
Porous and Treated Gemstones
If your gold jewelry is set with opals, pearls, turquoise, lapis lazuli, or emeralds, keep it out of the soaking bowl. These stones are highly porous or treated with oils and resins. Submerging them in soapy water will strip their natural oils, cause them to crack, or permanently cloud their color. Clean the gold settings around these stones using a barely damp cotton swab, carefully avoiding direct contact with the gemstone.
Drying and Polishing Techniques for Maximum Shine
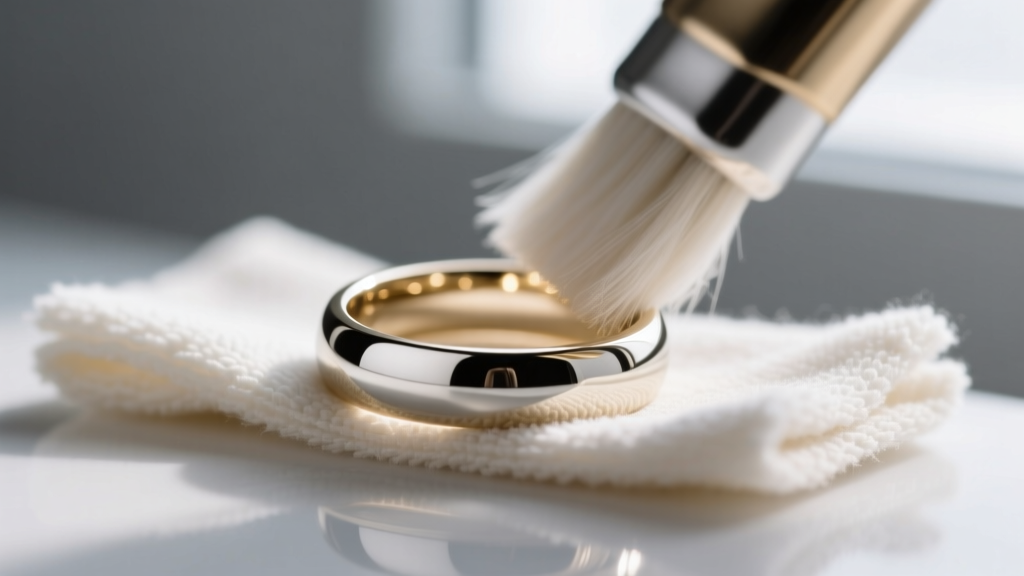
Proper drying is just as critical as the washing process. Air-drying gold jewelry often results in water spots, particularly in areas with hard tap water. Always use a dedicated, clean microfiber cloth.
For solid gold pieces that have lost their high-polish luster due to micro-scratches from daily wear, you can use a specialized jeweler's polishing cloth. These cloths are impregnated with microscopic jeweler's rouge (iron oxide) that gently buffs away the top layer of scratched metal, revealing the pristine, mirror-like finish beneath. Note: Never use a rouge-impregnated cloth on matte, satin, or sandblasted finishes, as it will inadvertently polish them into a high shine, ruining the intended texture. Furthermore, avoid using these cloths on gold-plated items, as the mild abrasives will strip the gold layer entirely.
Frequently Asked Questions
How often should I clean my gold jewelry?
For everyday pieces like wedding bands and stud earrings, a quick clean every two weeks is ideal to prevent sebum and lotion buildup. For occasional wear items, cleaning them before and after wearing ensures they remain pristine and free of environmental tarnish agents.
Can I use an ultrasonic cleaner on my gold jewelry?
Ultrasonic cleaners use high-frequency sound waves to create microscopic cavitation bubbles that blast grime away. While highly effective for solid gold and diamonds, ultrasonic waves can shatter fragile gemstones (like emeralds and opals) and shake loose stones from worn prongs. Unless you are certain of your setting's integrity and stone hardness, stick to the manual soak-and-brush method.


