How to Test for Gold Jewelry: The Vintage Trend Hunter Guide
Master how to test for gold jewelry with our 2026 stylist guide. Learn acid testing, hallmark decoding, and karat mixing for vintage curation.

The 2026 Archival Gold Movement: Why Authenticity Matters
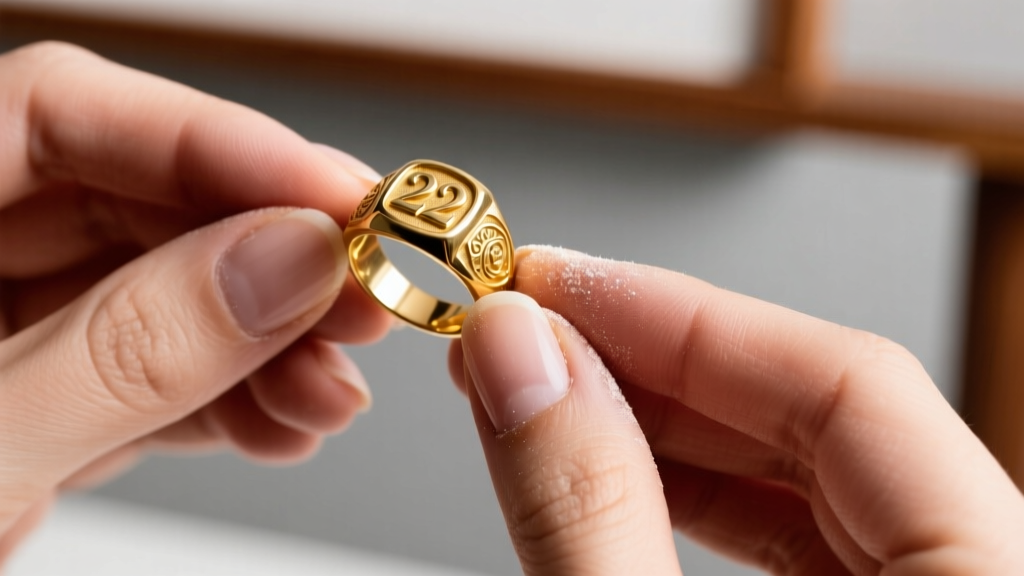
The jewelry landscape of 2026 has decisively shifted away from mass-produced, gold-plated fast fashion toward "heirloom curation" and archival sourcing. Stylists and collectors are increasingly hunting for vintage, estate, and artisanal gold pieces, mixing high-karat antique gold with modern structural designs. However, this surge in secondhand luxury has also triggered a flood of sophisticated counterfeits and misrepresented gold-filled items on resale platforms. Knowing how to test for gold jewelry is no longer just a skill for pawnbrokers; it is an essential competency for any style-savvy collector looking to build a genuine, high-value aesthetic.
Authenticating gold requires moving beyond the flawed "bite test" or basic magnet checks. True verification involves a multi-step process combining visual hallmark decoding, chemical acid testing, and specific gravity measurements. By mastering these techniques, you can confidently navigate estate sales, vintage markets, and online auctions, ensuring your curated collection is both stylistically impeccable and materially genuine.
Decoding Hallmarks: The First Step in Gold Authentication
Before applying any chemicals or scales, a thorough visual inspection under a 10x jeweler's loupe is mandatory. Hallmarks are the primary indicators of a piece's origin and purity, but they vary wildly by region and era. According to the Federal Trade Commission's Jewelry Guides, US manufacturers are permitted to mark gold purity in karats (e.g., 14k, 18k), provided the piece is within a three-karat tolerance of the mark. However, vintage European and Asian pieces rely on millesimal fineness marks, which denote parts per thousand of pure gold.
Global Hallmark Cheat Sheet for Vintage Hunters
| Millesimal Mark | Karat Equivalent | Gold Purity % | Common Origins & Style Notes |
|---|---|---|---|
| 916 | 22k | 91.6% | Indian, Middle Eastern, and vintage Southeast Asian jewelry. Highly saturated buttery yellow color; extremely soft and prone to denting. |
| 750 | 18k | 75.0% | European luxury houses, vintage Cartier, and high-end artisanal pieces. Rich color with enough alloy for structural integrity. |
| 585 | 14k | 58.5% | Standard US and European vintage. Excellent durability, slightly paler yellow. Ideal for heavy link chains and structural cuffs. |
| 417 | 10k | 41.7% | US market minimum for "gold" classification. Often used in vintage class rings and budget-friendly estate pieces. Prone to tarnishing. |
| 375 | 9k | 37.5% | British and Australian antique jewelry (pre-1930s). High copper content gives it a distinct rose/peach hue and makes it very hard. |
Pro-Tip: Counterfeiters often stamp "18k" or "750" on gold-plated brass. If the hallmark looks deeply stamped, crisp, and perfectly aligned, it is a good sign. If the stamp is shallow, blurry, or bleeding over the edge of the metal, proceed to chemical testing immediately.
How to Test for Gold Jewelry Using the Acid Scratch Method
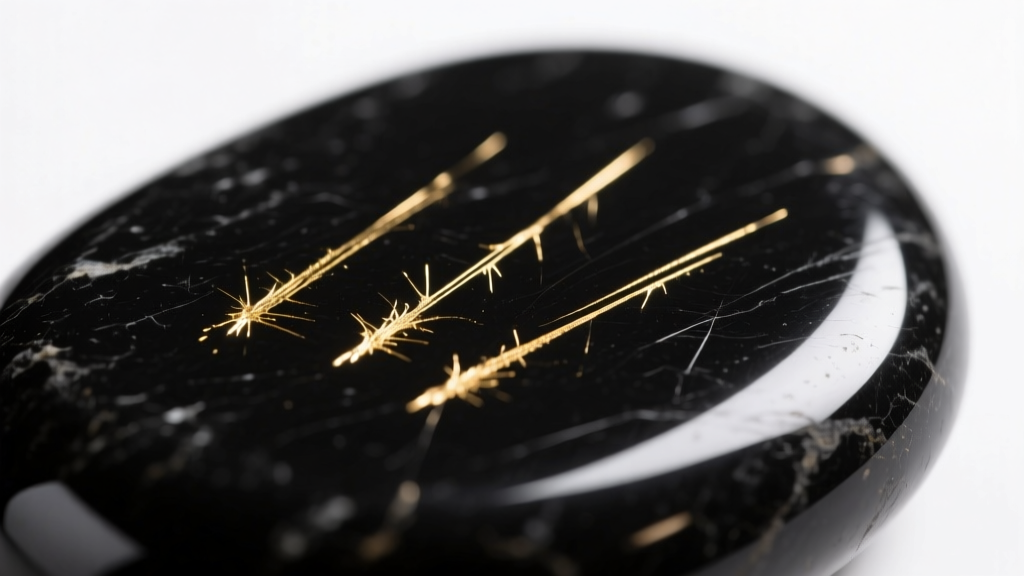
The most accessible and reliable at-home method for verifying solid gold is the acid scratch test. Gold is a noble metal, meaning it does not react with nitric acid. Base metals like copper, brass, and silver, however, will dissolve or change color upon contact. By rubbing the jewelry on a testing stone and applying specific acid solutions, you can determine the exact karat of the piece.
Step-by-Step Acid Testing Protocol
- Prep the Stone: Use a black silicate testing stone. Ensure it is clean and free of previous metal residue.
- Make the Scratch: Firmly rub the suspect gold item across the stone to leave a visible, thick streak of metal. For hollow or plated items, find a discreet area or use a small file to cut through the outer layer before rubbing.
- Apply the Acid: Place a single drop of the corresponding nitric acid solution (e.g., 14k acid) on the scratch mark.
- Observe the Reaction: Watch the mark for 10 to 15 seconds. The reaction will immediately tell you the metal's composition.
Acid Reaction Color Chart
- Mark Remains Unchanged & Bright: The gold is equal to or higher than the karat value of the acid used. (e.g., 18k gold will not react to 14k acid).
- Mark Slowly Fades or Turns Brown: The gold is lower than the acid's karat value. (e.g., 10k gold tested with 14k acid will slowly dissolve and turn a muddy brown).
- Mark Turns Green & Fizzes: The item is gold-plated brass or copper. The green reaction is the nitric acid dissolving the copper base.
- Mark Turns Milky/Cloudy: The item is gold-plated sterling silver. The silver reacts to the acid, creating a cloudy white residue.
- Mark Disappears Instantly: The item is entirely base metal with zero gold content.
Safety Note: Nitric acid is highly corrosive. Always wear nitrile gloves and safety goggles, and perform this test in a well-ventilated area. Neutralize the stone with a baking soda and water paste after testing.
Specific Gravity Testing: The Non-Destructive Alternative
For vintage pieces where scratching is undesirable—such as pristine 22k coin jewelry or delicate Etruscan revival pieces—specific gravity (SG) testing offers a non-destructive alternative based on Archimedes' principle. Pure 24k gold has a specific gravity of 19.3 g/cm³, making it significantly denser than brass (8.4 g/cm³) or tungsten (19.25 g/cm³).
To perform this test, you need a precise digital scale (accurate to 0.01g) and a suspended weighing setup in distilled water.
- Weigh the dry piece on the scale (Weight A).
- Suspend the piece in a cup of distilled water resting on the scale, ensuring it is fully submerged but not touching the sides or bottom. Tare the scale before dropping the piece in, or record the displaced water weight (Weight B).
- Divide Weight A by Weight B. If the result is near 15.0, the piece is likely 14k gold. If it is near 17.5, it is 22k gold.
According to the Gemological Institute of America (GIA), specific gravity testing is highly effective for solid pieces but will yield skewed results if the jewelry contains hollow cavities, trapped air bubbles, or heavy gemstone settings that alter the overall density.
Stylist Tips: Mixing Verified Karats for a Modern Aesthetic
Once you have successfully authenticated your pieces using the methods above, the real stylistic fun begins. The defining gold trend of 2026 is "eclectic karat layering." Rather than wearing a uniform suite of 14k jewelry, top stylists are intentionally mixing the varying hues and textures of different gold purities to create depth and visual intrigue.
The Karat Mixing Framework
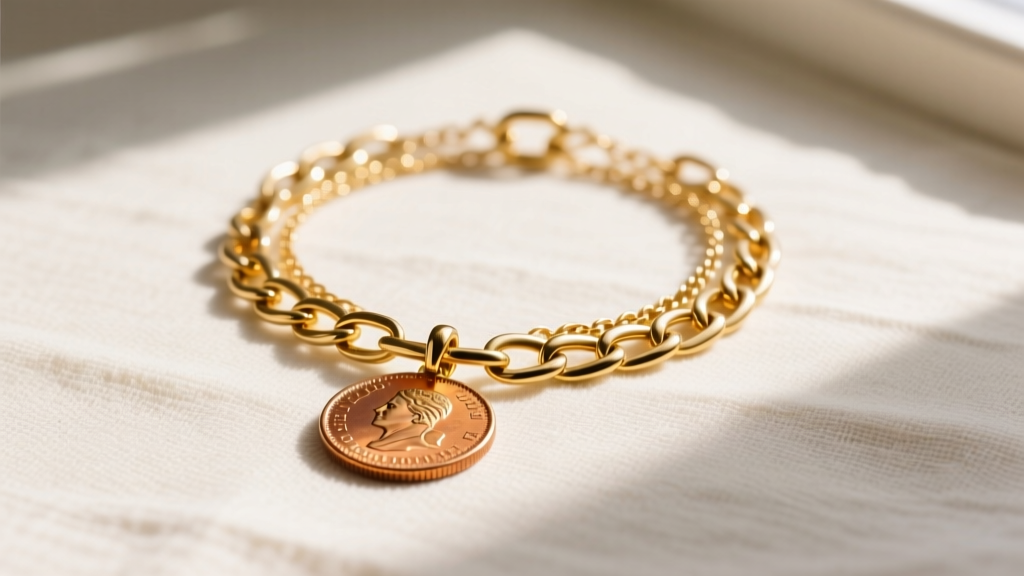
- The Base Layer (14k / 585): Use verified 14k gold for your foundational chains, such as heavy Cuban links or paperclip chains. The higher copper and zinc alloy content makes 14k incredibly durable, resistant to kinking, and capable of supporting heavy pendants without stretching.
- The Focal Point (18k / 750): Introduce an 18k vintage coin pendant, signet ring, or sculptural cuff. The 18k gold possesses a warmer, richer yellow tone that contrasts beautifully against the paler 14k chain, drawing the eye directly to the statement piece.
- The Accent (22k / 916): Incorporate 22k gold sparingly through small, intricate beads, vintage hammered cuffs, or delicate ear cuffs. Because 22k is exceptionally soft, it should be reserved for low-impact areas where its buttery, hyper-saturated yellow hue can provide a luxurious pop of color without risking structural deformation.
By mastering how to test for gold jewelry, you transition from a passive consumer to an empowered archivist. You gain the ability to rescue genuine historical pieces from the discount bin, verify their material integrity, and style them with the confidence of a true connoisseur. Whether you are navigating a Parisian flea market or a digital estate auction, your testing kit and loupe are now your most vital style accessories.


