Restore a Vintage Gold Jewelry Box: Fix Hinges, Linings & Tarnish
Learn how to restore a vintage gold jewelry box, repair broken hinges, replace acidic linings, and safely store your 14k and 18k gold pieces without damage.

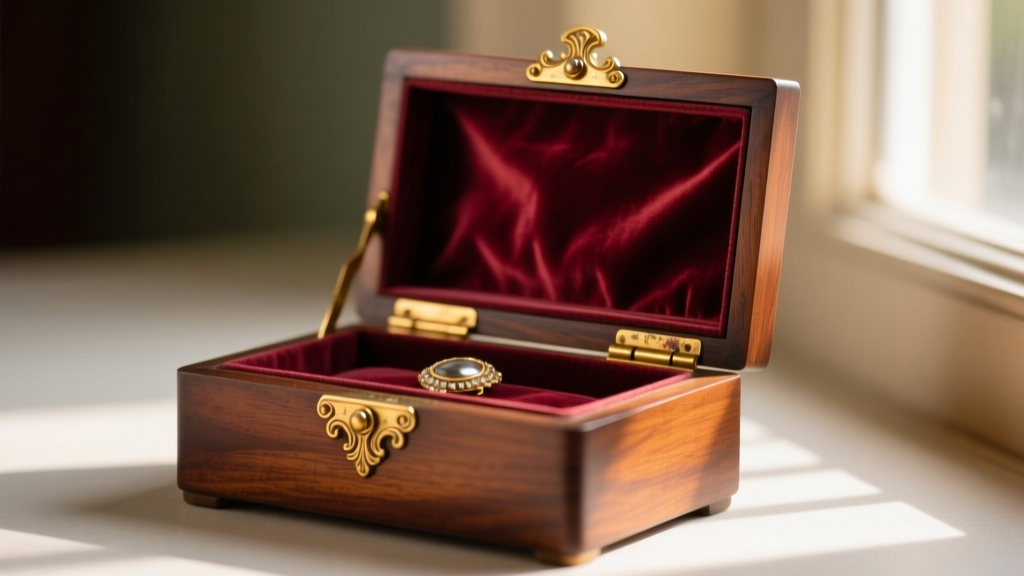
The Hidden Dangers of Antique Storage: Why Your Gold is Tarnishing
Finding a beautifully crafted vintage gold jewelry box at an estate sale or antique market is a thrill for any collector. However, these historic pieces often harbor hidden chemical dangers that can actively damage the precious metals stored inside them. While pure 24k gold is virtually impervious to environmental degradation, the 10k, 14k, and 18k gold jewelry you likely store inside is alloyed with copper, silver, and zinc to increase durability. These alloy metals are highly reactive to the micro-environments created by aging antique boxes.
The primary culprit behind mysterious tarnishing is wood off-gassing. As wood ages, it releases volatile organic compounds (VOCs), particularly acetic acid. When trapped inside a closed box, these acids react with the copper and silver in your karat gold, leading to stubborn green or black tarnish spots. Furthermore, the original velvet or silk linings in a vintage gold jewelry box were often treated with sulfur-based dyes or acidic mordants. Over decades, these fabrics degrade and release sulfur gases, which rapidly form silver sulfide on white gold and lower-karat yellow gold alloys. According to the Smithsonian Museum Conservation Institute, mitigating these acidic micro-climates is essential for preserving metal artifacts in wooden enclosures.
Troubleshooting Hardware: Fixing Gold-Plated Hinges and Clasps
The external hardware on a vintage gold jewelry box is rarely solid gold. Most antique boxes feature ormolu (gilt bronze) or brass hardware with a thin gold wash or early electroplating. The gold layer on these vintage fittings is typically between 0.1 and 0.5 microns thick—substantially thinner than modern vermeil. Using standard jewelry polishing cloths or abrasive brass cleaners will instantly strip this microscopic gold layer, exposing the base brass to rapid oxidation.
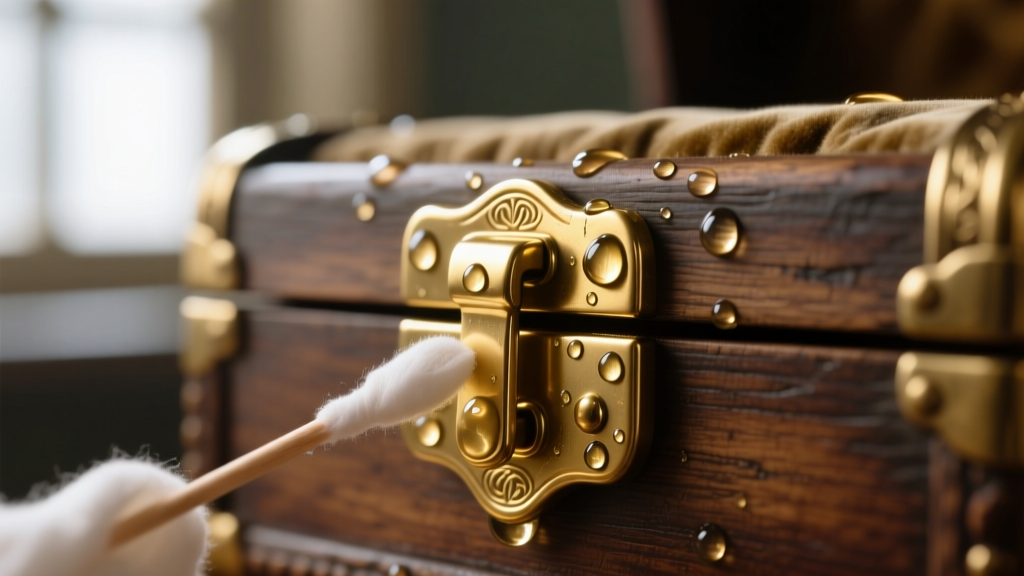
Safe Cleaning Protocol for Antique Gold Hardware
- Dust Removal: Use a soft, natural-bristle makeup brush to dislodge grit from the hinge crevices. Friction is the enemy of thin gold plating.
- Solvent Cleaning: Dip a cotton swab in a mild, non-ionic surfactant solution (like Orvus WA Paste diluted in distilled water). Gently roll the swab over the hardware without applying downward pressure.
- Drying: Immediately dry the hardware with a microfiber cloth. Do not allow moisture to pool in the hinge joints, as trapped water will cause the underlying iron or steel pins to rust and seize.
- Wax Coating: Apply a micro-thin layer of Renaissance Wax to the hardware. This museum-grade microcrystalline wax creates a barrier against oxygen and skin oils without altering the gold's luster.
Replacing the Lining: A Step-by-Step Archival Upgrade
If your vintage gold jewelry box still has its original 19th or early 20th-century fabric, it must be replaced. The original adhesives (often animal hide glue or early casein glues) have likely crystallized, and the fabric itself is a vector for acidic transfer. The Victoria and Albert Museum strongly recommends using inert, acid-free materials for any textile that comes into direct contact with jewelry metals.
Never use modern craft velvet or standard cardboard backing for your lining. Modern synthetic velvets can generate static electricity, which attracts abrasive dust, while standard cardboard contains lignin that breaks down into sulfuric acid over time.
The Restoration Process
- Remove Old Material: Carefully peel back the old velvet. If hide glue resists, apply a warm, damp compress to soften the protein bonds. Scrape residue with a wooden spatula to avoid gouging the wood.
- Seal the Wood: Brush a thin coat of water-based polyurethane or shellac over the bare interior wood. This crucial step seals the wood pores and prevents acetic acid from off-gassing into the storage compartment.
- Cut Archival Board: Measure the interior panels and cut acid-free, unbuffered mat board to size. Unbuffered board is preferred for protein-based materials, but for metals and jewelry, it provides a stable, pH-neutral base.
- Apply Archival Adhesive: Use a pH-neutral PVA adhesive (such as Lineco Neutral pH Adhesive) to bond your new fabric to the mat board. Avoid spray adhesives, which contain volatile solvents that can off-gas for years.
- Install the Panels: Press the fabric-wrapped panels into the box. For a historically accurate look, use untreated, undyed cotton velvet or pure silk in a neutral tone.
Structural Repair: Wood Types and Off-Gassing Risks
Before sealing and re-lining your vintage gold jewelry box, it is important to understand the specific wood species used in its construction. Different woods emit varying levels of corrosive VOCs. If you are restoring a box made from a high-acid wood, the interior sealing step mentioned above becomes absolutely mandatory.
| Wood Species | Acetic Acid Emission | Restoration Notes & Risks |
|---|---|---|
| Oak | High | Extremely high VOCs. Will rapidly tarnish silver and copper alloys if unsealed. Requires heavy shellac barrier. |
| Walnut | Moderate | Common in mid-century boxes. Moderate acidity; requires standard sealing and archival lining. |
| Mahogany | Low | The gold standard for antique jewelry boxes. Naturally stable with low VOC emissions. Still requires sealing for long-term storage. |
| Rosewood | Low / Oily | High natural oil content. Oils can bleed through thin fabrics and stain light-colored gold jewelry or pearls. |
For structural joint repairs, avoid modern cyanoacrylate (Super Glue) or standard yellow carpenter's glue, which are highly acidic and irreversible. Instead, use reversible conservation adhesives or traditional hot hide glue for authentic, museum-quality structural restoration.
Safe Storage Practices for High-Karat Gold in Restored Boxes
Once your vintage gold jewelry box is structurally sound and archivally lined, implementing proper storage protocols will ensure your collection remains pristine. The goal is to control humidity and neutralize any residual atmospheric contaminants.
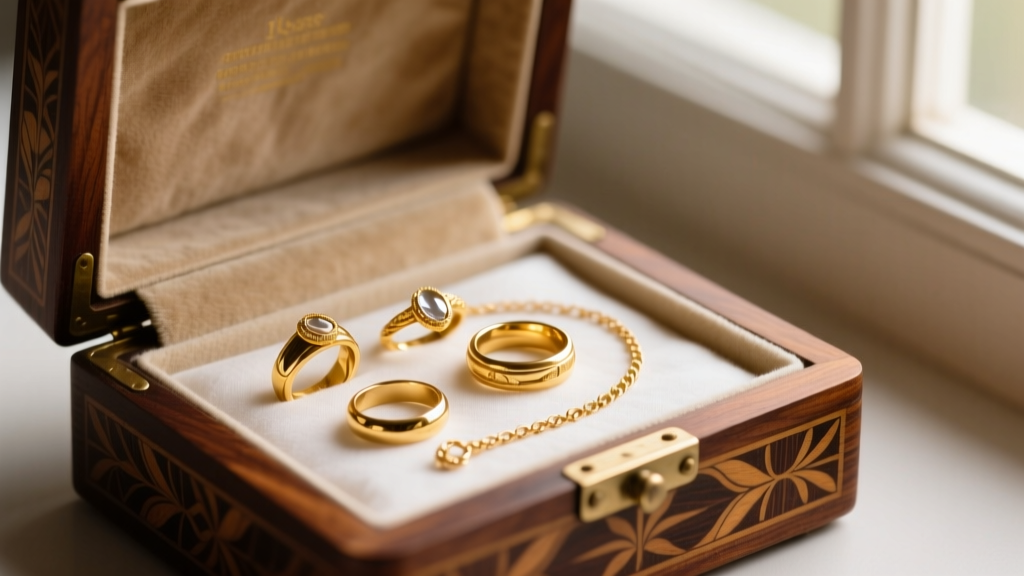
Climate and Contaminant Control
Gold alloys tarnish fastest in environments with fluctuating humidity. Instead of using standard silica gel packets—which can become saturated and leak moisture back into the air—opt for conditioned silica gel or Archival Methods recommended clay desiccants. Place these in a small, breathable cotton sachet tucked into the corner of the box.
Additionally, incorporate activated charcoal or specialized anti-tarnish strips (like 3M Anti-Tarnish Strips) into the lining. These strips absorb sulfur compounds and hydrogen sulfide before they can react with the copper and silver in your 14k and 18k gold pieces. Replace these strips every six months to maintain an inert micro-climate.
Physical Separation
Finally, never stack gold chains or rings directly on top of one another. While gold is relatively soft, diamond or sapphire accents in adjacent pieces can easily scratch the metal. Use acid-free, unbuffered tissue paper to wrap individual pieces, or have a conservator sew custom silk dividers into your newly restored vintage gold jewelry box. By combining historical restoration techniques with modern conservation science, you can preserve both the antique beauty of the box and the intrinsic value of the gold it holds.


