Safe DIY Gold Jewelry Cleaner: Step-by-Step Mixing Guide
Learn how to mix a safe, effective DIY gold jewelry cleaner at home. Step-by-step recipes for solid, plated, and gemstone-set gold pieces.

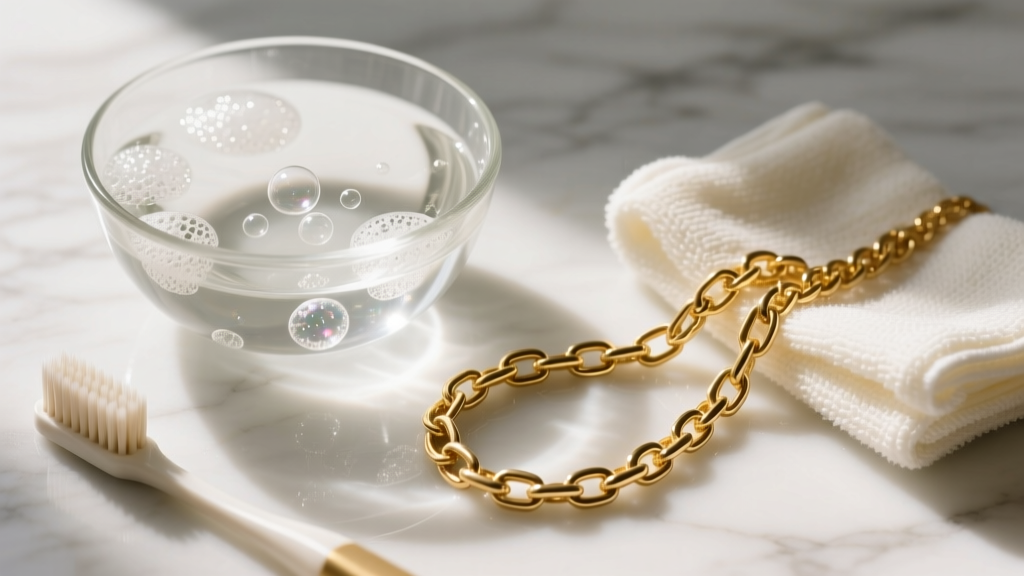
Gold is a noble metal, meaning pure gold will never tarnish, rust, or corrode. However, the jewelry you wear is rarely 24k pure gold. To create durable 14k or 18k gold, metallurgists alloy pure gold with metals like copper, silver, zinc, and nickel. Over time, these alloyed metals react with sulfur, chlorine, and the natural acids in your skin, leading to dullness, darkening, and grime buildup in the crevices of your jewelry. While commercial ultrasonic cleaners and chemical dips exist, they can be overly aggressive for everyday maintenance. Crafting a safe DIY gold jewelry cleaner at home gives you precise control over the chemical environment, ensuring your pieces are cleaned without stripping their luster or damaging delicate gemstone settings.
The Chemistry of Gold Alloys and Surface Grime
Before mixing any solutions, it is crucial to understand what you are actually cleaning. The 'tarnish' on a 14k gold ring is not the gold itself; it is a microscopic layer of silver sulfide or copper oxide formed by the alloy metals. Furthermore, the cloudy film that builds up on the underside of your rings and the backs of your pendants is primarily composed of sebum (skin oils), dead skin cells, and cosmetic residues like lotions and sunscreens.
A highly effective DIY gold jewelry cleaner must accomplish two things: it must break down lipid-based (oil) films using a mild surfactant, and it must gently lift particulate matter without acting as an abrasive. According to the Gemological Institute of America (GIA), the safest approach to routine gold maintenance relies on mild, non-detergent soaps and lukewarm water, avoiding harsh chemicals that can degrade the structural integrity of the alloy over time.
Essential Tools and Ingredients
To formulate the safest and most effective cleaner, gather the following specific materials. Do not substitute these with harsher alternatives.
- Surfactant: Phosphate-free, non-ultra concentrated liquid dish soap (e.g., standard Dawn or Ivory). Ultra-concentrated formulas often contain heavy degreasers and optical brighteners that leave a stubborn, cloudy film on gold.
- Solvent: Distilled water. Tap water contains dissolved minerals (calcium and magnesium) that will leave hard water spots on your gold as it dries.
- Agitation Tool: An extra-soft baby toothbrush. Standard 'soft' adult toothbrushes have bristles that are too stiff (often exceeding 0.15mm in diameter) and can cause micro-scratches on high-polish gold or loosen delicate pave diamond settings.
- Drying Material: A lint-free, tightly woven microfiber cloth or unbleached cotton jeweler's cloth. Avoid standard paper towels, as their wood-pulp fibers can scratch soft 18k and 22k gold.
The 'Never Use' List
Warning: Never use bleach, chlorine, acetone, or commercial silver dip on gold jewelry. Chlorine reacts violently with the copper and silver alloys in 14k and 18k gold, causing a phenomenon known as 'stress corrosion cracking,' which can literally cause your ring's shank or prongs to snap.
Step-by-Step: The Master DIY Gold Jewelry Cleaner Recipe
This master recipe is the gold standard for cleaning solid 10k, 14k, and 18k yellow, white, and rose gold jewelry that does not contain porous gemstones.
Step 1: Prepare the Solution
In a clean glass or ceramic bowl (avoid metal bowls to prevent galvanic reactions), mix 1 cup of lukewarm distilled water (approximately 90°F to 100°F) with 4 to 5 drops of your mild dish soap. Swirl gently to create suds. Avoid using hot water, as extreme thermal shifts can cause thermal shock in included diamonds or fracture surface-reaching fissures in emeralds.
Step 2: The Soak
Submerge your solid gold jewelry in the solution. Let it soak for exactly 15 to 20 minutes. This dwell time allows the surfactant molecules to penetrate and emulsify the hardened sebum and lotion trapped beneath the gemstone settings and inside the ring's under-gallery.
Step 3: Gentle Agitation
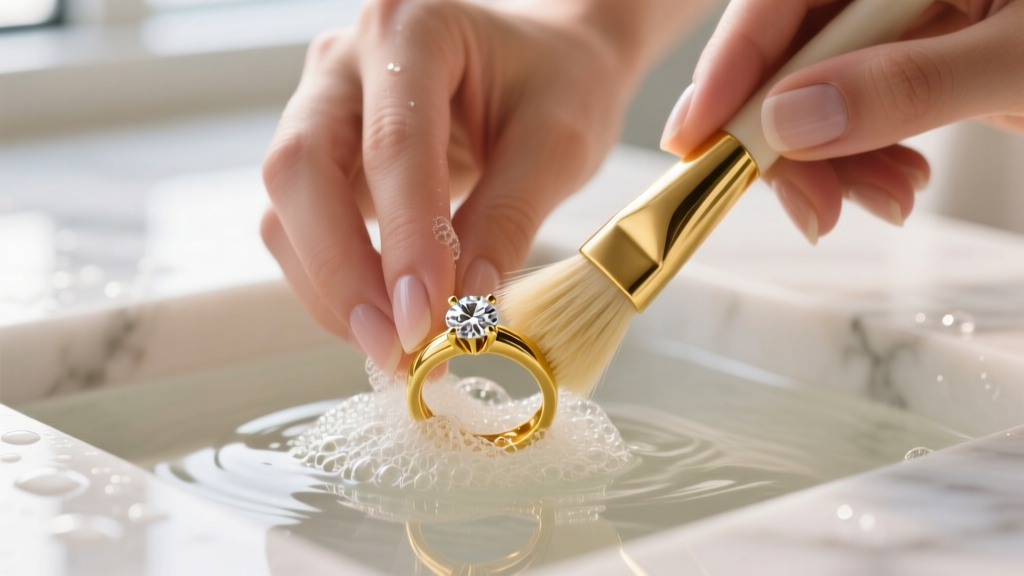
Remove the piece from the water. Using your extra-soft baby toothbrush, gently brush the jewelry. Focus on the back of the settings and the interior of the band. Always brush away from the prongs, never toward them, to avoid catching and bending the metal claws holding your stones.
Step 4: The Distilled Rinse
Rinse the jewelry under a gentle stream of lukewarm distilled water. Do not use tap water for this step. The distilled water ensures no mineral deposits are left behind to dull the gold's finish.
Variant Recipes for Specific Gold Types
Not all gold jewelry is created equal. Gold vermeil, gold-filled, and gold-plated pieces require a drastically different approach because their gold layer is measured in microns. According to Jewelers of America, abrasive cleaning or prolonged soaking can wear through the thin gold plating, exposing the base metal beneath.
| Gold Type | Cleaning Solution | Soak Time | Brushing Allowed? |
|---|---|---|---|
| 10k, 14k, 18k Solid Gold | Master Recipe (Dish Soap + Distilled Water) | 15-20 Minutes | Yes (Extra-Soft Brush) |
| Gold Vermeil / Plated | Dish Soap + Distilled Water (No Ammonia) | 1-2 Minutes Maximum | No (Use Cotton Swab Only) |
| Gold with Diamonds/Sapphires | 6 Parts Water to 1 Part Clear Household Ammonia | 10 Minutes | Yes (Extra-Soft Brush) |
| Gold with Pearls/Opals/Turquoise | Damp Microfiber Cloth Only (No Submersion) | 0 Minutes | No |
Cleaning Gold Vermeil and Gold Plated Pieces
For gold vermeil (a thick layer of gold over sterling silver) or standard gold-plated brass, skip the soak entirely. Dampen a soft cotton cloth or a cotton swab in the soapy distilled water, gently wipe the surface of the jewelry to lift oils, and immediately dry it. Prolonged exposure to water can seep into the microscopic pores of the plating and oxidize the base metal underneath, causing the piece to turn green or black.
The Ammonia Boost for Plain Diamonds
If you have a solid 14k or 18k gold ring set with a high-hardness gemstone like a diamond, sapphire, or ruby (Mohs hardness 8-10), you can add a degreasing boost. Mix six parts lukewarm water with one part clear, non-sudsing household ammonia. Ammonia is highly effective at stripping the oily film that makes diamonds look cloudy. Never use ammonia on porous stones like emeralds, opals, pearls, or turquoise, as it will strip their natural hydration and cause irreversible cracking.
The Drying and Polishing Protocol
How you dry your gold jewelry is just as important as how you wash it. Air-drying is not recommended, as even distilled water can leave microscopic watermarks as it evaporates.
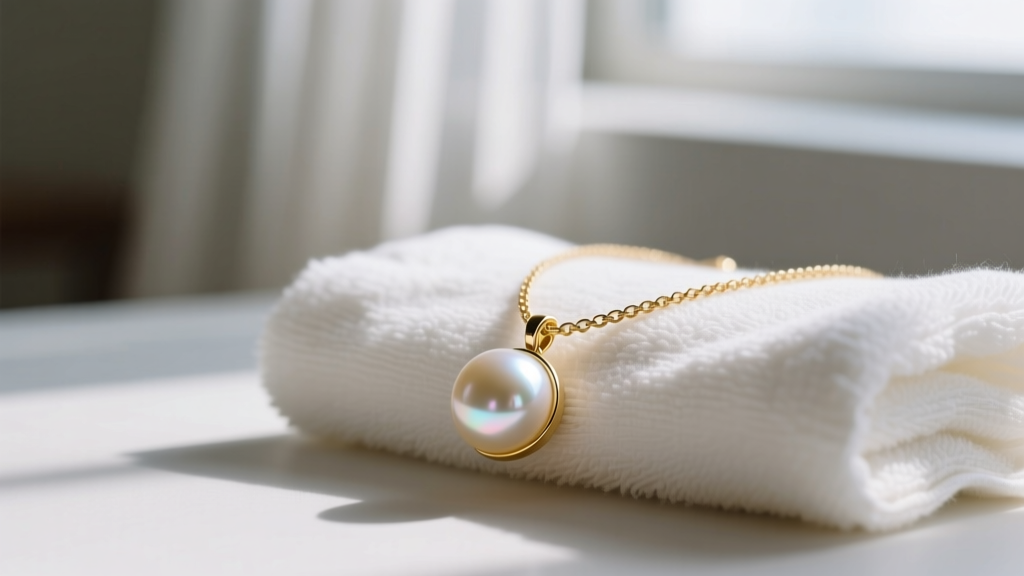
- Pat Dry: Immediately after the distilled rinse, place the jewelry on a clean, dry microfiber cloth and gently pat it to absorb the bulk of the moisture.
- Detail Drying: Use a wooden toothpick or a dry cotton swab to carefully wick away water trapped in the crevices of the setting and the under-gallery. Trapped moisture can lead to skin irritation when you wear the ring.
- Final Buff: Once completely dry, use a dedicated jeweler's polishing cloth (impregnated with mild jeweler's rouge) to gently buff the plain gold bands. This restores the high-polish mirror finish by smoothing out microscopic surface abrasions.
Expert Troubleshooting: When DIY Isn't Enough
Sometimes, a DIY gold jewelry cleaner cannot solve every issue. Here is how to diagnose persistent problems:
- White, chalky spots after drying: This is hard water scale. If tap water was accidentally used during the rinse, dip the piece in a 50/50 mixture of distilled water and white vinegar for 2 minutes, then rinse with distilled water again.
- Dull, soapy film remains: You likely used an ultra-concentrated dish soap. Dip the jewelry in a small cup of 90% isopropyl alcohol for 30 seconds. The alcohol will dissolve the soap scum and evaporate instantly without leaving a residue.
- Darkened, blackened prongs: If the gold band is shiny but the prongs holding your diamond look black, this is deep silver sulfide tarnish in the alloy. A DIY soak will not remove this. The piece requires professional mechanical polishing or, in the case of white gold, a re-plating of rhodium.
Maintenance Schedule for Long-Lasting Shine
To minimize the need for deep cleaning, adopt a proactive maintenance schedule. Wipe your gold jewelry with a dry microfiber cloth every night before bed to remove the day's accumulation of skin oils and lotions. Perform the full DIY master soak and brush routine once every two to three weeks for daily-wear pieces like engagement rings, and once every two months for occasional-wear pendants and earrings. By understanding the chemistry of your gold alloys and using these precise, gentle methods, your jewelry will retain its structural integrity and brilliant shine for generations.


