Safe Gold Jewelry Cleaner DIY: Step-by-Step Karat Guide
Learn how to make a safe gold jewelry cleaner DIY recipe. Step-by-step karat guide for 10k, 14k, 18k, and vermeil to restore shine without damage.

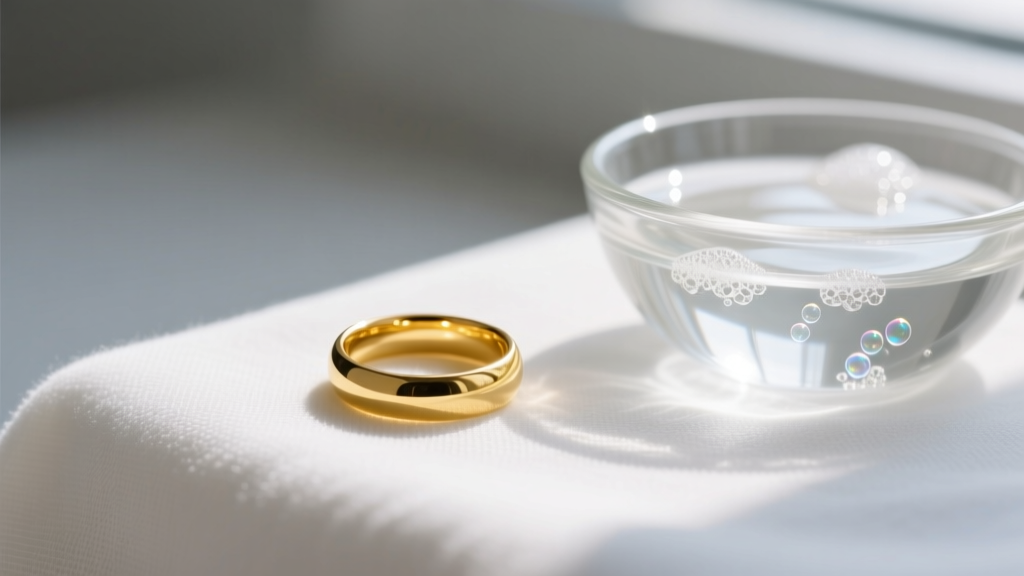
Gold jewelry is an investment in both craftsmanship and enduring style. Yet, daily wear exposes your pieces to a relentless accumulation of sebum, dead skin cells, cosmetic residues, and environmental pollutants. Over time, this microscopic layer of grime dulls the reflective properties of the metal and suffocates the brilliance of gemstones. While the market is saturated with commercial dips and ultrasonic machines, many of these products contain harsh chemicals that can permanently damage specific gold alloys and delicate settings. Crafting a safe, highly effective gold jewelry cleaner DIY solution requires an understanding of metallurgy, gemology, and surface chemistry. This comprehensive guide will walk you through the exact protocols for cleaning every karat and gold type, ensuring your collection remains pristine without risking structural or cosmetic damage.
Why Commercial Cleaners Can Ruin Your Gold
Before mixing your own solution, it is crucial to understand why off-the-shelf jewelry dips are often a liability. Many commercial liquid cleaners rely on ammonia or strong alkaline surfactants to strip away tarnish and grease. While ammonia is generally safe for high-karat yellow gold and diamonds, it is highly corrosive to the alloy metals used in lower karats. Furthermore, if you own white gold, ammonia can accelerate the degradation of the rhodium plating, leading to premature yellowing. For gold vermeil or gold-filled pieces, commercial dips can penetrate microscopic pores in the plating, causing the underlying sterling silver or brass core to oxidize and blister. By formulating your own gold jewelry cleaner DIY mixture, you control the pH level and surfactant strength, eliminating the risk of chemical etching.
The Master Gold Jewelry Cleaner DIY Recipe
The most effective homemade cleaner relies on a delicate balance of mild degreasers and temperature-controlled water. Avoid heavily fragranced dish soaps or those containing added lotions, as these leave a stubborn hydrophobic film on the gold surface.
Ingredients and Tools
- Surfactant: 4 drops of pH-neutral, lotion-free dish soap (Dawn Ultra Original or an unscented liquid castile soap).
- Solvent: 1 cup of distilled water. (Tap water contains dissolved calcium and magnesium that will leave hard water spots upon evaporation).
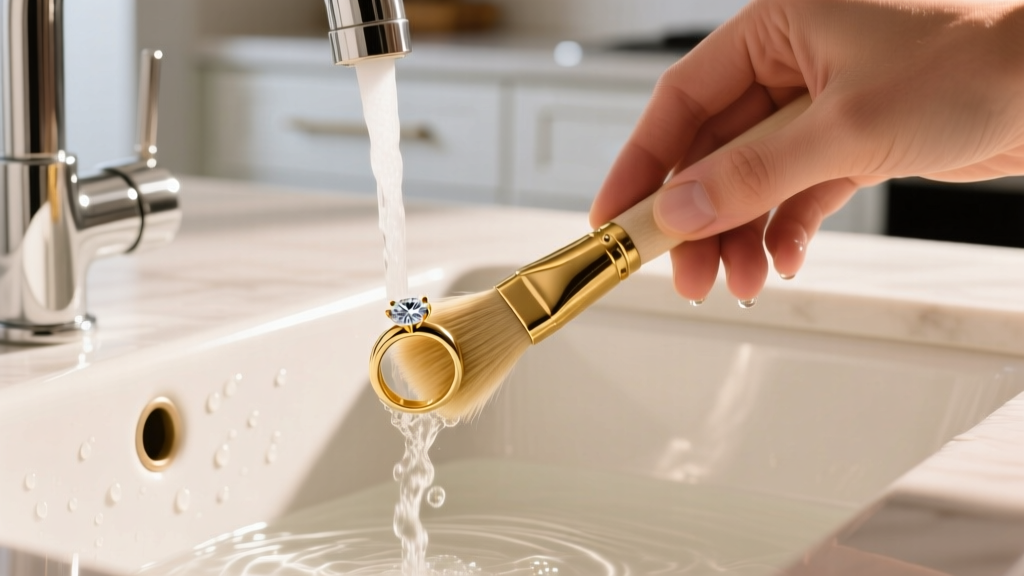
- Agitation Tool: An extra-soft baby toothbrush with 0.1mm bristles. Standard adult toothbrushes feature 0.2mm bristles that can inflict micro-scratches on high-polish 18k and 24k gold.
- Vessel: A small glass or ceramic bowl. Avoid metal bowls to prevent galvanic reactions if your jewelry contains mixed metals.
Step-by-Step Preparation
Heat the distilled water to exactly 95°F (35°C). This temperature is warm enough to liquefy sebum and cosmetic oils but cool enough to prevent thermal shock to temperature-sensitive gemstones. Add the soap and stir gently to avoid creating a thick layer of suds, which can trap dirt particles against the metal.
Karat-Specific Cleaning Protocols
Not all gold is created equal. The purity of the gold dictates its Vickers hardness (HV) and its tolerance to mechanical agitation. Pure gold is exceptionally soft, while alloyed gold is much more resilient. Adjust your soaking and brushing times based on the specific material composition of your jewelry.
| Material Type | Composition & Hardness | Max Soak Time | Brushing Allowed? |
|---|---|---|---|
| 24k Solid Gold | 99.9% Gold (Extremely Soft, ~25 HV) | 3 Minutes | No (Swish only) |
| 18k Solid Gold | 75% Gold (Moderate, ~120 HV) | 10 Minutes | Yes (Extra-soft brush) |
| 14k Solid Gold | 58.3% Gold (Hard, ~150 HV) | 15 Minutes | Yes (Soft brush) |
| 10k Solid Gold | 41.7% Gold (Very Hard, ~180 HV) | 20 Minutes | Yes (Soft brush) |
| Gold Vermeil | Sterling Silver base, 2.5µm Gold | 30 Seconds | No (Wipe gently) |
| Gold Plated | Brass/Copper base, <0.5µm Gold | No Soaking | No (Damp cloth only) |
When brushing, always work from the back of the setting toward the front. The underside of a ring (the gallery) traps the most lotion and dead skin. Use short, flicking motions to dislodge debris from beneath the prongs rather than scrubbing in circles, which can bend delicate 14k or 18k prongs over time.
The Gemstone Caveat: When to Ditch the Soak
A gold jewelry cleaner DIY approach must account for the gemstones set within the metal. The Mohs scale of mineral hardness dictates not just scratch resistance, but chemical stability and porosity. According to the Gemological Institute of America (GIA), porous organic gems and heavily included stones require entirely different care regimens.
- Safe for DIY Soak: Diamonds (Mohs 10), Sapphires (Mohs 9), and Rubies (Mohs 9). These stones are non-porous and chemically inert in mild soapy water.
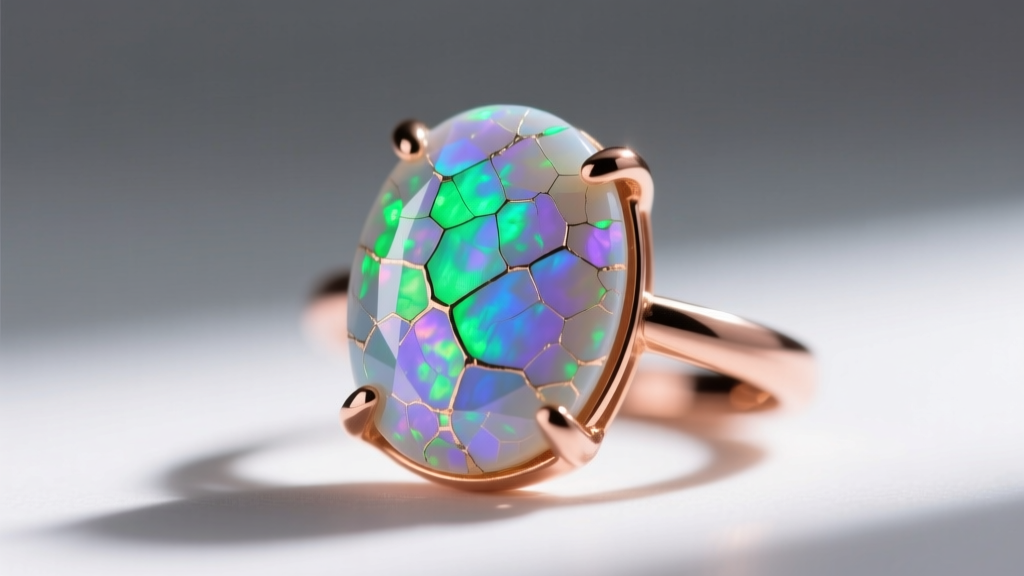
- NEVER Soak: Pearls (Mohs 2.5), Opals (Mohs 5.5-6.5), Emeralds (Mohs 7.5-8), and Turquoise (Mohs 5-6). Pearls and opals contain water and will dehydrate or crack. Emeralds are almost universally treated with cedar oil to mask fractures; soapy water will strip this oil, turning a vibrant green stone cloudy and heavily included.
For pieces featuring these delicate stones, bypass the soak entirely. Dip your extra-soft brush in the soapy water, shake off the excess, and gently brush only the gold metal, avoiding direct contact with the gemstone. Wipe the stone with a barely damp, lint-free cloth.
Step-by-Step Drying and Polishing Technique
The drying phase is where most accidental damage occurs. Never use paper towels, tissues, or cotton balls to dry your gold jewelry. Paper products are manufactured from wood pulp, which contains microscopic silica and wood fibers hard enough to leave a web of micro-scratches on high-polish gold surfaces. Cotton balls can snag on microscopic burrs in prong settings, pulling them away from the gemstone.
Instead, remove the jewelry from the bowl and rinse it under a gentle stream of lukewarm distilled water to wash away any suspended dirt. Place the piece on a clean, high-pile microfiber cloth. Allow it to air dry for 5 to 10 minutes. Once the bulk of the moisture has evaporated, use a dry section of the microfiber cloth to gently buff the metal using straight, linear strokes. This restores the mirror finish without generating the static electricity that circular rubbing can cause, which attracts dust.
What NEVER to Put in Your DIY Gold Cleaner
The internet is rife with destructive cleaning hacks. To protect the structural integrity of your jewelry, you must strictly avoid the following common household items:
1. Baking Soda (Sodium Bicarbonate)
While baking soda is a popular DIY cleaner for silver, it is disastrous for gold. Baking soda registers at a 9 on the Mohs scale, while pure gold is a 2.5. The crystalline structure of baking soda features microscopic sharp edges that will permanently scour and dull the mirror finish of your gold, leaving it with a matte, scratched appearance.
2. Toothpaste
Toothpaste contains hydrated silica and calcium carbonate—both highly abrasive compounds designed to scrub enamel. When applied to gold jewelry, especially gold vermeil or plated pieces, toothpaste will strip the gold layer entirely, exposing the base metal beneath.
3. Bleach and Chlorine
Chlorine is the ultimate enemy of karat gold. As noted in metallurgical studies referenced by the Federal Trade Commission (FTC) Jewelry Guides, chlorine reacts violently with the copper, silver, and zinc alloys present in 10k, 14k, and 18k gold. This reaction causes "stress corrosion cracking," a phenomenon where the chemical literally dissolves the grain boundaries of the metal. A 14k gold ring exposed to bleach can become so brittle that it will snap in half under the minor tension of being taken on and off your finger.
By adhering to this precise gold jewelry cleaner DIY methodology, you ensure that your jewelry remains structurally sound and optically brilliant. Consistent, gentle cleaning every two to three weeks prevents the calcification of cosmetic buildup, preserving both the sentimental and financial value of your gold collection for generations.


