How to Build a Custom Silver Jewelry Jar for Tarnish-Free Storage
Learn how to build a custom silver jewelry jar for display and storage. Step-by-step guide to preventing tarnish using silica, chalk, and anti-tarnish strips.

The Aesthetic Appeal vs. The Chemical Reality
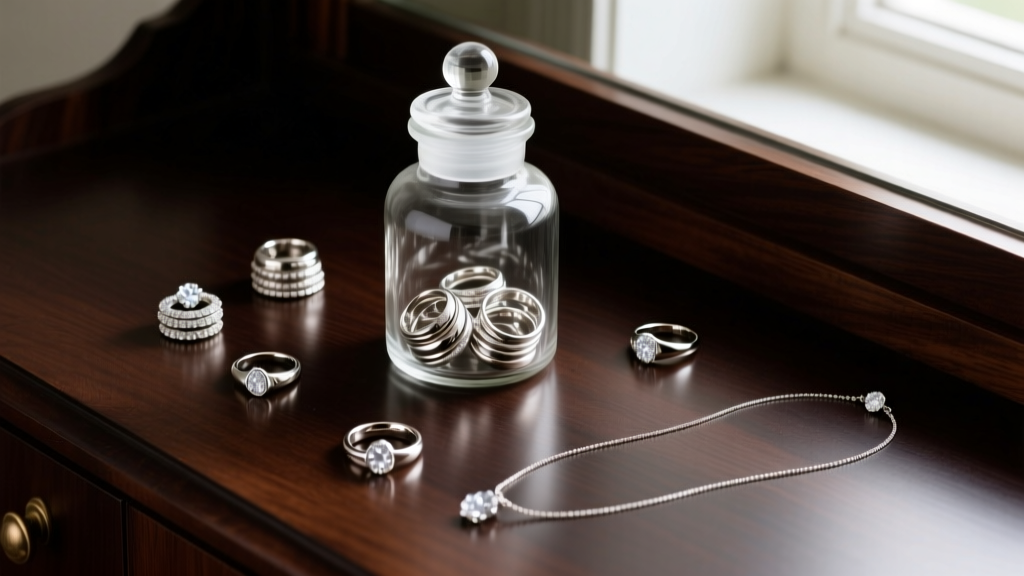
The trend of displaying a silver jewelry jar on a vanity or dresser has taken the interior design and jewelry organization worlds by storm. There is undeniable visual appeal in stacking intricate 925 sterling silver bangles, coiled rope chains, and turquoise-inlaid rings inside a clear glass apothecary or Mason jar. It transforms a private collection into a curated art piece. However, from a metallurgical and conservation standpoint, standard glass jars are notorious humidity traps that can rapidly accelerate the tarnishing process if not properly engineered.
When you build a custom silver jewelry jar, you are essentially creating a microclimate. Without the right environmental controls, the very vessel meant to showcase your collection will become a catalyst for silver sulfide formation. This step-by-step guide will teach you how to construct a museum-grade, tarnish-proof silver jewelry jar that balances stunning visual display with rigorous chemical protection for your 925 sterling, fine silver, and silver-plated pieces.
The Science of Silver Tarnish in Glass Enclosures
Tarnish is not a defect in your jewelry; it is a predictable electrochemical reaction. Sterling silver (92.5% pure silver and 7.5% copper alloy) is particularly vulnerable because the copper content accelerates the reaction with atmospheric sulfur compounds. When hydrogen sulfide (H2S) or carbonyl sulfide in the air meets silver, it forms silver sulfide (Ag2S), which presents as a yellow, brown, or black film on the metal's surface.
Moisture acts as the primary catalyst for this reaction. According to the Canadian Conservation Institute (CCI), silver tarnish rates peak when relative humidity (RH) hovers between 70% and 80%. When you drop silver into a standard glass jar and seal the lid, you trap the ambient moisture of the room inside. As temperatures fluctuate throughout the day, condensation forms on the interior glass, creating a high-humidity microclimate that aggressively speeds up blackening. To build a functional silver jewelry jar, we must neutralize both the sulfur and the moisture.
Materials Required for a Museum-Grade Silver Jewelry Jar
Before assembling your display, gather the following conservation-approved materials. Avoid cheap alternatives, as they often contain the very chemicals that destroy silver.
- The Vessel: A borosilicate glass jar (like a high-grade apothecary jar or a vintage Pyrex container) with a tight-sealing, non-reactive lid. Borosilicate is preferred over standard soda-lime glass because it is less porous and highly resistant to thermal shock.
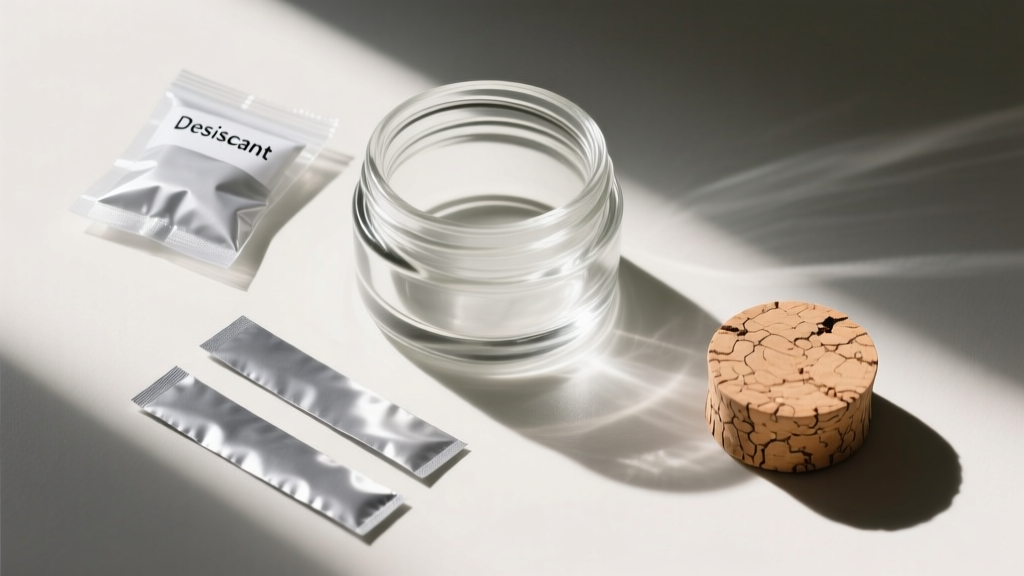
- Active Sulfur Absorbers: 3M Anti-Tarnish Strips. These utilize copper-based particles to chemically bind with H2S and sulfur dioxide before they reach your silver.
- Moisture Control: Indicating silica gel beads (cobalt-free, orange-to-green or blue-to-pink). You will use these to maintain the RH below 40%.
- Cushioning and Separation: Unbleached, undyed muslin cloth, acid-free archival tissue paper, or Pacific Silvercloth. Never use standard felt or dyed cotton.
- Sealant (Optional): A thin strip of PTFE (Teflon) tape to wrap around the jar threads for an airtight seal.
Step-by-Step Assembly Guide
Step 1: Vessel Selection and Preparation
Begin by thoroughly washing your glass jar and lid. Do not use tap water, as it contains chlorides and dissolved minerals that can leave microscopic salt deposits on the glass. Wash the jar with distilled water and a mild, phosphate-free dish soap. Rinse thoroughly with distilled water and allow it to air-dry completely in a low-humidity environment. If your lid features a rubber or foam gasket, remove it if possible, as vulcanized rubber emits sulfur gas. Wrap the glass threads with a single layer of PTFE tape to ensure an airtight seal when closed.
Step 2: Establishing a Microclimate (Moisture Control)
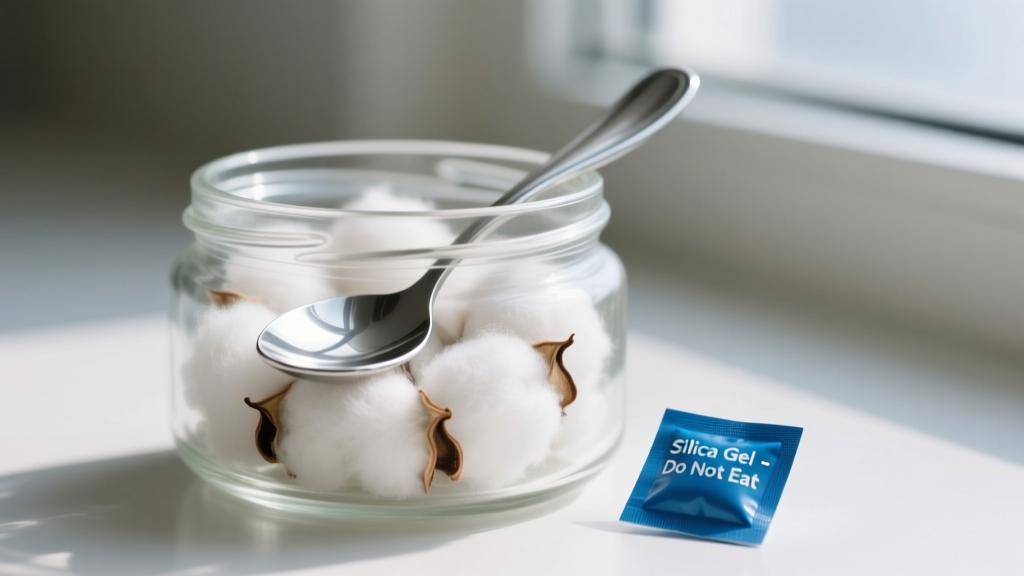
To prevent the humidity trap effect, you must introduce a desiccant. The general rule of thumb for enclosed display cases is 5 grams of indicating silica gel per quart (approx. 1 liter) of jar volume. Place the silica gel in a small, breathable muslin sachet or a perforated plastic capsule. Position this sachet at the very bottom of the jar. The indicating beads will change color (e.g., from orange to dark green) when they have absorbed their maximum moisture capacity, alerting you that it is time to reactivate them in the oven.
Step 3: Active Tarnish Inhibition
Next, introduce the sulfur absorbers. A single, standard 3M Anti-Tarnish strip is designed to protect one cubic foot of airspace for roughly six months. A standard 1-quart Mason jar holds only about 0.03 cubic feet. Therefore, using a whole strip is overkill and can lead to rapid saturation. Cut the strip into quarters. Tuck one quarter into the side of the jar or adhere it to the underside of the lid using a tiny piece of double-sided, acid-free archival tape. This strip will intercept any ambient sulfur trapped inside the jar during assembly.
Step 4: Cushioning and Strategic Placement
Line the interior walls and base of the jar with unbleached muslin or Pacific Silvercloth. This serves two purposes: it prevents the silver from clinking against the hard glass (which causes micro-abrasions and work-hardening stress), and it provides a secondary physical barrier against airborne pollutants. When placing your jewelry inside, ensure that individual pieces do not touch one another. Sterling silver is relatively soft (Mohs hardness of 2.5 to 3), and heavier items like chunky chain links will easily scratch delicate filigree rings or oxidized finishes.
Maintenance Schedule and Desiccant Tracking
A silver jewelry jar is not a "set it and forget it" solution. Because the jar is opened and closed to retrieve jewelry, fresh moisture and sulfur are introduced regularly. You must maintain the internal microclimate using the following schedule.
| Maintenance Component | Lifespan in Sealed Jar | Lifespan with Daily Opening | Reactivation / Replacement Method |
|---|---|---|---|
| Indicating Silica Gel (5g/quart) | 12 - 18 Months | 2 - 4 Months | Bake at 250°F (120°C) for 2 hours until color resets. |
| 3M Anti-Tarnish Strips | 6 - 12 Months | 3 - 5 Months | Cannot be reactivated. Discard and replace with new strip. |
| Pacific Silvercloth Liner | 2 - 5 Years | 1 - 2 Years | Cannot be washed. Replace when the cloth turns dark brown/black. |
Critical Mistakes: What NEVER to Put Inside Your Silver Jewelry Jar
Even with the best desiccants and anti-tarnish strips, introducing reactive materials into your silver jewelry jar will overwhelm the system and cause rapid corrosion. The Smithsonian Museum Conservation Institute explicitly warns against storing silver near certain everyday materials that off-gas destructive compounds.
- Rubber Bands and Latex: Never use rubber bands to bundle chains or secure tags inside the jar. The sulfur used in the vulcanization process of rubber will cause severe, localized blackening of the silver within days.
- Oak Wood and MDF: While an oak base or wooden display riser inside the jar looks rustic and appealing, oak wood naturally emits acetic acid vapors. Medium-density fiberboard (MDF) and plywood off-gas formaldehyde. Both acids will cause silver corrosion and permanent pitting.
- Newspaper and Cardboard: Never wrap silver in newspaper or rest it on standard cardboard inserts before placing it in the jar. The acidic inks and sulfur-based pulping processes used in cheap paper will transfer directly to the metal.
- Other Metals: Do not mix base metals, raw copper, or low-karat gold alloys in the same jar without physical barriers. Galvanic corrosion can occur if dissimilar metals touch in the presence of even trace moisture.
Long-Term Care and Polishing Protocols
When you retrieve a piece from your custom silver jewelry jar for wear, the natural oils from your skin will actually help protect the metal temporarily. However, before returning the piece to the jar, gently wipe it down with a clean, dry microfiber cloth to remove sweat, lotions, and environmental salts. If a piece has developed a light golden hue (the first stage of silver sulfide formation), use a high-quality polishing cloth impregnated with jeweler's rouge before sealing it back inside the jar. By strictly controlling the humidity, neutralizing sulfur, and avoiding reactive materials, your silver jewelry jar will remain a stunning, tarnish-free focal point in your dressing space for decades to come.


