Step-by-Step Guide to Using a Commercial Jewelry Silver Cleaner
Learn how to safely use a liquid jewelry silver cleaner on 925 sterling, plated, and oxidized pieces with our step-by-step restoration guide.

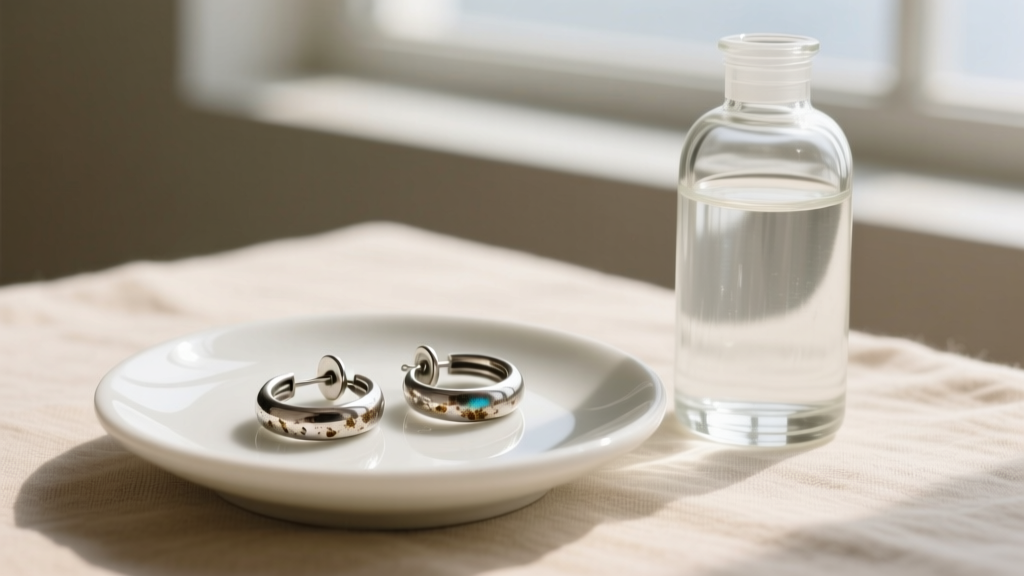
Silver jewelry is a timeless staple, but its tendency to tarnish is an unavoidable chemical reality. When sterling silver reacts with sulfur compounds in the air, it forms silver sulfide, resulting in that familiar dull, blackened coating. While a quick wipe with a polishing cloth handles light surface oxidation, heavy tarnish requires a more aggressive approach. This is where a commercial jewelry silver cleaner becomes essential. However, these chemical dips are powerful and can permanently damage your pieces if used incorrectly.
The Chemistry of Tarnish and Chemical Dips
Before submerging your favorite rings or chains, it is crucial to understand what a liquid jewelry silver cleaner actually does. Most commercial dips rely on acidic thiourea-based solutions. According to the Library of Congress, these acids chemically reverse the tarnishing process by dissolving the silver sulfide layer without abrading the underlying metal. It is important to remember that 925 sterling silver contains 7.5% copper, which is actually the primary culprit behind rapid tarnishing. Pure silver rarely tarnishes, but the copper alloy reacts aggressively with household humidity and airborne sulfur. While highly effective at stripping this copper-sulfur oxidation, the chemical reaction in commercial dips is strictly time-sensitive. Leaving your jewelry in the solution for too long can cause micro-pitting, permanently scarring the metal's surface and creating a rough texture that attracts tarnish even faster in the future.
Step-by-Step Guide to the Dip Method
Follow this precise protocol to restore your silver safely and effectively.
Step 1: Sort and Inspect
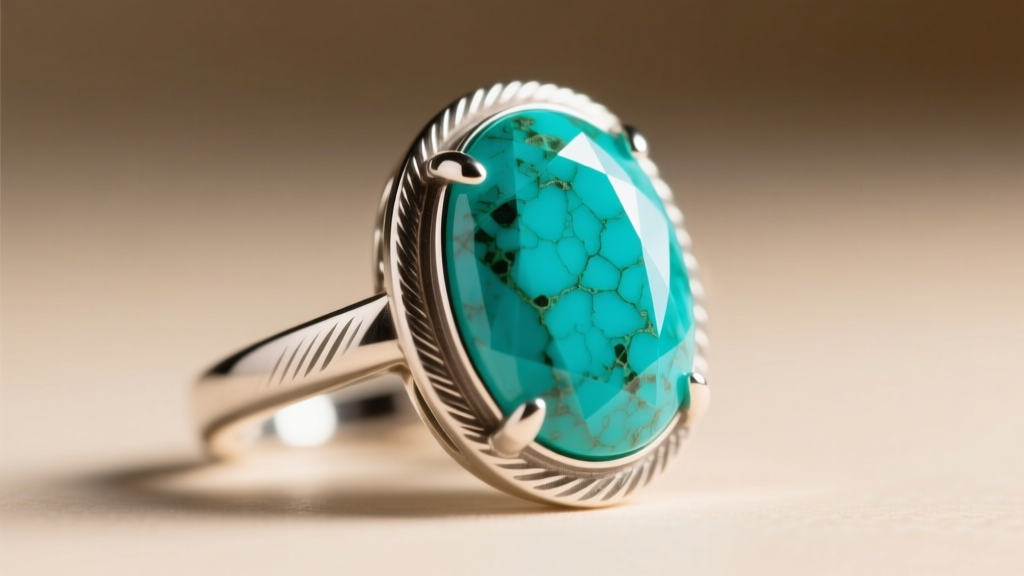
Never blindly drop a jewelry box into a chemical bath. Sort your items by material and gemstone settings. As noted by the Gemological Institute of America (GIA), porous gemstones like turquoise, opal, pearl, lapis lazuli, and malachite will absorb the acidic cleaner, leading to irreversible discoloration and structural degradation. If a piece contains these stones, do not submerge it; use a targeted application method with a cotton swab instead.
Step 2: The 10-Second Submersion
Using the plastic basket provided with your jewelry silver cleaner, lower the silver pieces into the liquid. Do not exceed 10 to 15 seconds. You will see the tarnish dissolve almost instantly. If heavy black tarnish remains after 15 seconds, remove the piece, rinse it, and repeat the process later. Forcing the reaction by leaving it in for minutes will strip the top layer of the silver alloy.
Step 3: Alkaline Neutralization (The Pro Secret)
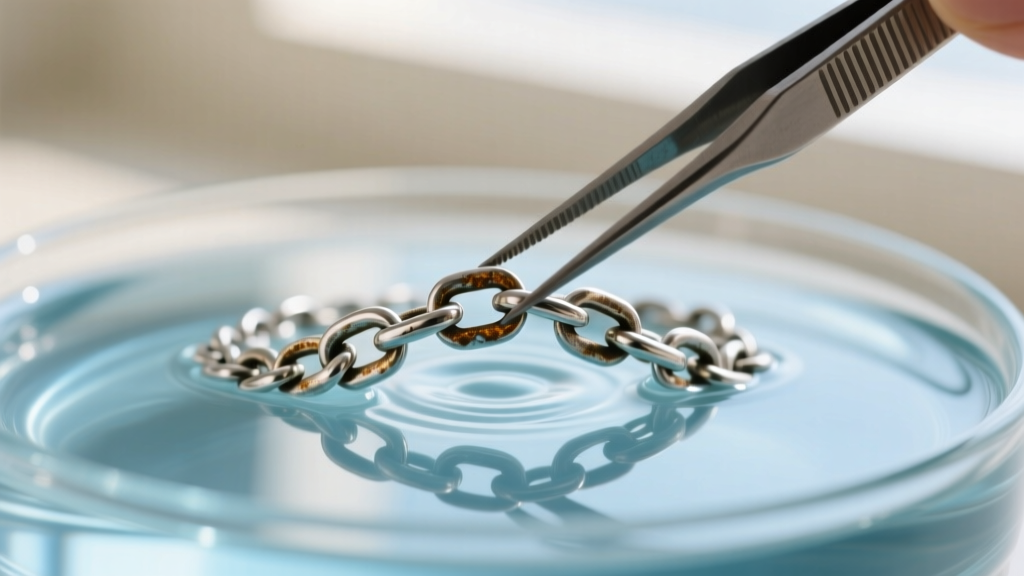
This is the step most amateurs skip, leading to recurring tarnish. Commercial dips are highly acidic. If you simply rinse with tap water, microscopic acid residue remains in the crevices of your jewelry, eating away at the metal over the next few weeks. Prepare a neutralization bath using one tablespoon of baking soda dissolved in a cup of warm distilled water. Submerge the cleaned silver in this alkaline solution for exactly 30 seconds to halt the chemical reaction completely.
Step 4: Final Rinse and Microfiber Drying
Rinse the neutralized jewelry under lukewarm distilled water (tap water contains chlorine and minerals that can cause water spots). Pat dry with a lint-free microfiber cloth. Avoid paper towels, as their wood pulp fibers can leave micro-scratches on highly polished silver surfaces.
Material Compatibility Chart
Not all silver is created equal. Use this reference table to determine how your specific pieces will react to a liquid jewelry silver cleaner.
| Material Type | Composition | Cleaner Compatibility | Special Considerations |
|---|---|---|---|
| 925 Sterling Silver | 92.5% Silver, 7.5% Copper | Excellent (Short dips) | Copper alloy causes tarnish; dips remove it safely if timed right. |
| Fine Silver (999) | 99.9% Pure Silver | Good (Rarely needed) | Tarnishes very slowly; use only for severe neglect. |
| Silver-Plated | Brass/Copper base, thin silver coat | Risky | Acids can strip the plating if the layer is thin or worn. |
| Oxidized/Antiqued | Sterling with intentional dark patina | Do Not Use | The cleaner will strip the intentional black oxidation, ruining the design. |
| Rhodium-Plated Silver | Sterling coated in rhodium | Unnecessary | Rhodium does not tarnish; clean with mild soap and water instead. |
Troubleshooting Common Cleaning Disasters
Even with careful timing, things can go wrong. Here is how to diagnose and fix the most frequent issues encountered when using chemical dips.
The "White Haze" Effect
If your sterling silver emerges from the bath looking dull, cloudy, or covered in a white frost, you have over-cleaned it. The acid has etched the copper alloy within the sterling silver. The Fix: You cannot reverse this chemically. You must use a specialized silver polishing compound (like Simichrome or Flitz) and a buffing wheel or heavy manual elbow grease to mechanically polish away the etched microscopic layer and restore the shine.
Stripped Oxidation on Detailed Pieces
If you accidentally submerged an antiqued piece and the black crevices turned bright white, the intentional patina is gone. The Fix: You will need to re-oxidize the piece using a liver of sulfur solution, then carefully hand-polish the high points with a polishing cloth to recreate the contrast.
DIY vs. Commercial Cleaners: When to Use Which
The internet is flooded with DIY silver cleaning hacks, but they are not all created equal. Here is a practical framework for deciding between a commercial jewelry silver cleaner and home remedies.
- Aluminum Foil & Baking Soda (Electrochemical): Best for heavily tarnished, solid sterling silver chains with no gemstones. It creates a galvanic reaction that transfers sulfur from the silver to the aluminum. It is less abrasive than dips but can leave a dull finish that requires subsequent polishing.
- Toothpaste: Never use. Modern toothpastes contain silica micro-abrasives that are harder than silver. You will permanently scratch the surface, creating grooves where future tarnish will embed itself.
- Commercial Liquid Dips: Best for intricate, solid silver pieces with non-porous gemstones (like diamonds or sapphires) where polishing cloths cannot reach the deep crevices.
Post-Cleaning Storage and Tarnish Prevention
Once your silver is restored, the goal is to delay the next cleaning cycle. Silver sulfide forms when silver is exposed to airborne sulfur and moisture. Store your freshly cleaned pieces in airtight ziplock bags alongside 3M Anti-Tarnish Strips. These strips absorb ambient sulfur gases before they can reach your jewelry. Additionally, include a small packet of silica gel desiccant in the bag to eliminate moisture, which acts as a catalyst for the tarnishing reaction. Crucially, never secure your silver bags with rubber bands, as the vulcanization process in rubber releases high levels of sulfur gas that will cause severe, localized black tarnishing. Similarly, avoid storing silver in oak wooden jewelry boxes, as oak naturally emits acidic vapors that accelerate oxidation. By combining chemical restoration with proactive, sulfur-free storage, you can keep your sterling silver brilliant for years between deep cleans.


