Best Homemade Jewelry Cleaner for Silver: Safe DIY Guide
Learn how to make a safe, effective homemade jewelry cleaner for silver. Step-by-step DIY methods for 925 sterling, fine, and plated pieces.

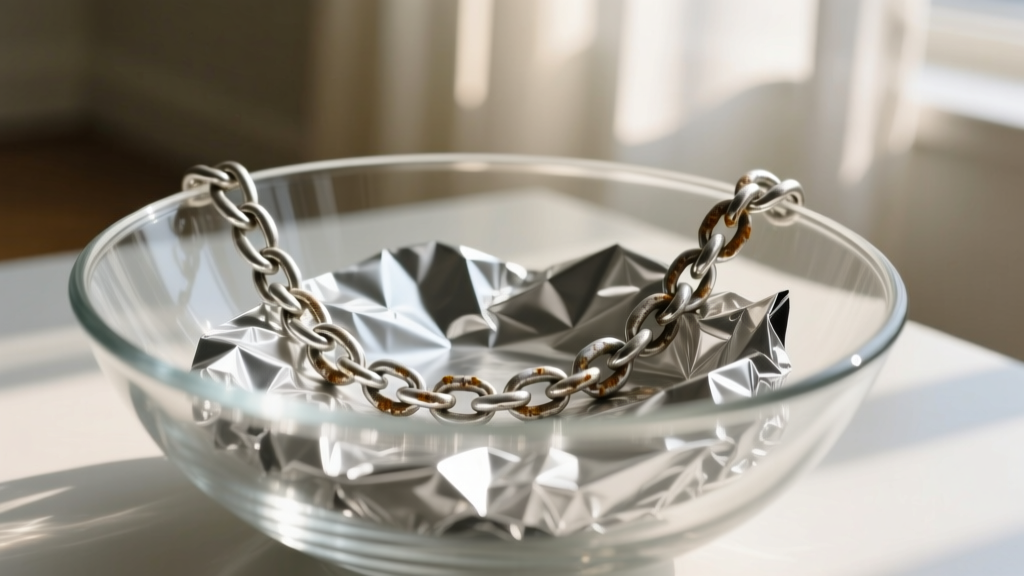
Silver jewelry is a staple in any collection, but its tendency to tarnish can turn a brilliant accessory into a dull, blackened disappointment. While commercial dips and polishes are readily available, they often contain harsh chemicals like thiourea that strip away microscopic layers of silver and degrade soft gemstones over time. For a safer, more sustainable approach, crafting a homemade jewelry cleaner for silver is not only highly effective but also relies on basic electrochemistry to reverse tarnish without abrasion.
This comprehensive guide will walk you through the exact formulations, material limitations, and step-by-step protocols for safely cleaning 925 sterling silver, fine silver, and silver-plated pieces at home.
The Electrochemistry of Tarnish: Why DIY Works
Before mixing any solutions, it is crucial to understand what you are actually cleaning. Silver tarnish is not dirt; it is a chemical compound called silver sulfide (Ag2S). It forms when the copper alloyed in 925 sterling silver (or trace impurities in fine silver) reacts with hydrogen sulfide in the ambient air.
The most effective homemade jewelry cleaner for silver does not scrub the tarnish away. Instead, it uses a galvanic reaction to convert silver sulfide back into pure silver. By introducing aluminum (which has a higher oxidation potential than silver) into an electrolyte solution (baking soda and hot water), the sulfur atoms are drawn away from the silver and bond to the aluminum foil. This means zero silver is lost in the cleaning process, preserving the structural integrity and weight of your jewelry.
Method 1: The Aluminum Foil & Baking Soda Bath
This method is the gold standard for plain sterling silver chains, bangles, and un-set bands. It is incredibly fast and reaches into the microscopic crevices of chain links that a cloth could never reach.
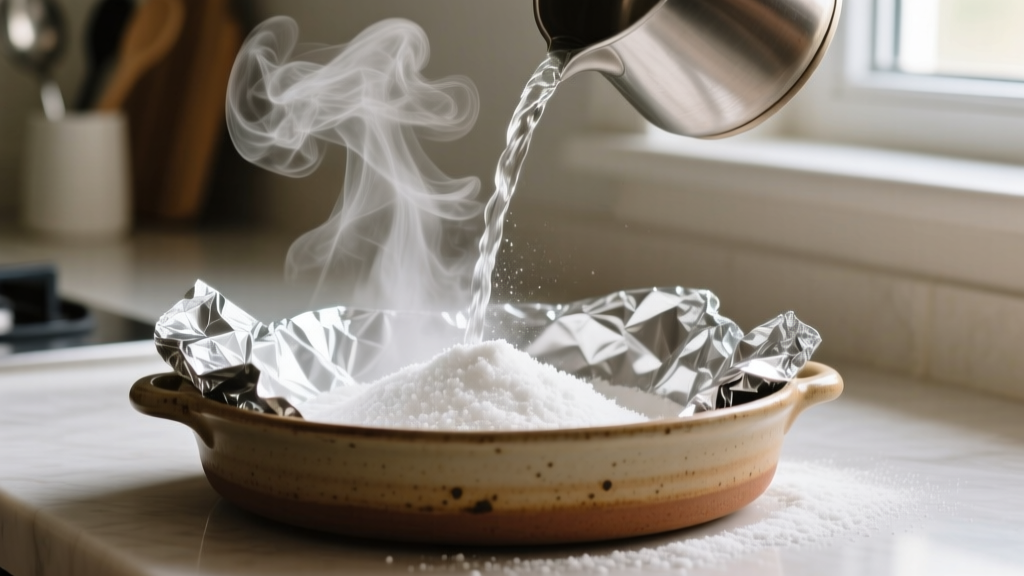
Materials Needed:
- 1 cup of boiling water
- 1 tablespoon of baking soda (sodium bicarbonate)
- 1 tablespoon of coarse sea salt (optional, boosts electrolyte conductivity)
- Heavy-duty aluminum foil
- A glass or ceramic bowl (never use a metal bowl, which will interfere with the ion exchange)
- Soft microfiber cloth
Step-by-Step Instructions:
- Prep the Bowl: Line the inside of your glass bowl with aluminum foil, ensuring the shiny side faces up. The silver must physically touch the foil or be in very close proximity for the ion exchange to occur.
- Add the Electrolytes: Sprinkle the baking soda and sea salt evenly over the foil.
- Activate the Solution: Carefully pour the boiling water into the bowl. You will see immediate bubbling as the baking soda dissolves and reacts.
- Submerge the Silver: Using wooden or plastic tongs, gently lower your plain silver jewelry into the solution. Ensure the pieces touch the aluminum foil.
- Monitor the Reaction: Leave the jewelry in the bath for 3 to 5 minutes. For heavy, blackened tarnish, you may leave it for up to 10 minutes, but no longer.
- Rinse and Dry: Remove the jewelry, rinse thoroughly under lukewarm running water to halt the chemical reaction, and pat completely dry with a lint-free microfiber cloth.
Method 2: The Mild Surfactant Wash for Gemstone Silver
The aluminum foil method is strictly for plain silver. If your jewelry features gemstones, pearls, or intentional oxidation (antiquing), the boiling water and alkaline baking soda will cause catastrophic damage. Boiling water can fracture heat-sensitive stones like opals and emeralms, while the electrochemical reaction will strip the dark antiquing that gives vintage-style pieces their depth.
According to the Gemological Institute of America (GIA), porous and fragile gems require a strictly neutral, non-abrasive cleaning approach.
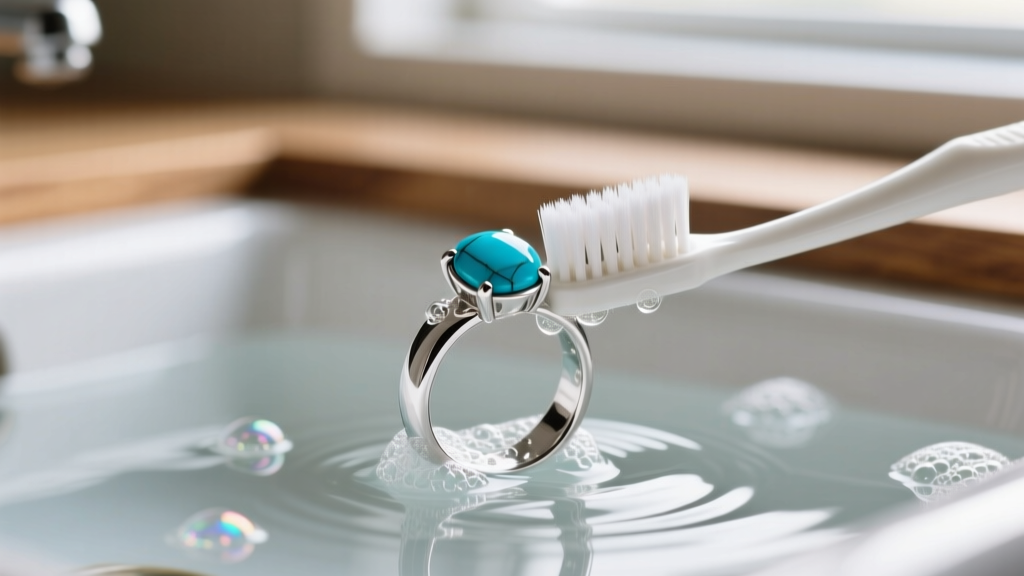
The Safe Gemstone Protocol:
- Mix the Surfactant: In a small bowl, combine 1 cup of lukewarm water (never hot) with 3 drops of a mild, phosphate-free dish soap (such as original blue Dawn).
- Soak Briefly: Submerge the gemstone silver jewelry for no more than 3 minutes. This loosens sebum, lotion, and surface dirt without compromising the stone's structural integrity.
- Agitate Gently: Using an extra-soft baby toothbrush, gently sweep the bristles over the silver settings and the back of the gemstone (the pavilion). Do not scrub the face of soft stones like turquoise or lapis lazuli, as they sit low on the Mohs hardness scale and will scratch.
- Rinse and Air Dry: Rinse in a closed basin (to prevent losing loose stones down the drain) and lay flat on a paper towel to air dry completely.
Household Ingredients: Safe vs. Destructive
The internet is flooded with dangerous DIY cleaning hacks. To protect your 925 sterling and fine silver, you must avoid common household items that cause micro-scratches or irreversible chemical burns.
| Household Ingredient | Verdict | Metallurgical Impact on Silver |
|---|---|---|
| Toothpaste | AVOID | Contains hydrated silica abrasives that scratch silver and leave a dull, matte finish. |
| Bleach / Chlorine | AVOID | Chlorine reacts instantly with silver to form silver chloride, a permanent black stain that cannot be reversed. |
| Lemon Juice / Vinegar | USE CAUTION | Highly acidic. Can strip anti-tarnish rhodium plating and degrade porous gemstone matrices. |
| Baking Soda (Paste) | AVOID | When used as an abrasive paste, the crystalline structure of baking soda micro-scratches high-polish silver. |
| Mild Dish Soap | SAFE | Neutral pH surfactants safely lift oils without reacting with silver alloys or gemstone treatments. |
Post-Cleaning Protocol: Drying & Storage
Cleaning your silver is only half the battle. The Smithsonian Museum Conservation Institute notes that moisture and airborne sulfur are the primary catalysts for tarnish. If you store your freshly cleaned silver while it is still damp, you will accelerate the tarnishing process.
Expert Storage Guidelines:
- Total Moisture Removal: After rinsing, use a hairdryer on the 'cool' setting to blow water out of intricate chain links and under gemstone prongs.
- Anti-Tarnish Textiles: Store pieces in Pacific Silvercloth or treated flannel pouches. These fabrics are embedded with microscopic silver particles that intercept and absorb hydrogen sulfide gas before it reaches your jewelry.
- Humidity Control: Keep your jewelry box in a room with a relative humidity (RH) below 50%. Include silica gel desiccant packets in your storage drawers and replace them every six months.
- Isolate from Sulfur Sources: Never store silver in bathrooms (sulfur in personal care products) or near rubber bands and latex (which off-gas high levels of sulfur).
Troubleshooting Stubborn Tarnish & Damage
Sometimes, a piece of jewelry will not respond to the aluminum foil bath. Before you assume the homemade jewelry cleaner for silver failed, consider the following metallurgical realities:
'If a silver item does not react to an electrolytic aluminum bath, it is almost always due to a physical barrier. The piece may be plated with rhodium or clear lacquer, or the 'tarnish' may actually be base metal corrosion bleeding through a worn silver-plating layer.'
— Principles of Metal Conservation
Diagnostic Checklist:
- Rhodium Plating: Many modern 925 sterling silver pieces are flash-plated with rhodium to prevent tarnish. The foil method will not work on these. Clean them using only the mild dish soap method (Method 2).
- Silver Plate Wear: If the piece has a pinkish or brassy undertone showing through the black tarnish, the silver plating has worn away, exposing the brass or copper core. No cleaner will fix this; the piece requires professional re-plating.
- Lacquer Coatings: Some vintage silver is coated in a clear acrylic lacquer. If the lacquer has cracked and tarnish has formed underneath, chemical dips cannot penetrate the plastic barrier. A jeweler must strip the lacquer with acetone before cleaning.
By understanding the chemistry of your jewelry and utilizing the correct homemade jewelry cleaner for silver based on the piece's construction, you can maintain a brilliant, scratch-free collection that will easily last for generations.


