How to Create Silver Jewelry: Polishing & Care Guide
Learn how to create silver jewelry with lasting shine. Expert finishing, anti-tarnish sealing, and maintenance tips for silversmiths and hobbyists.

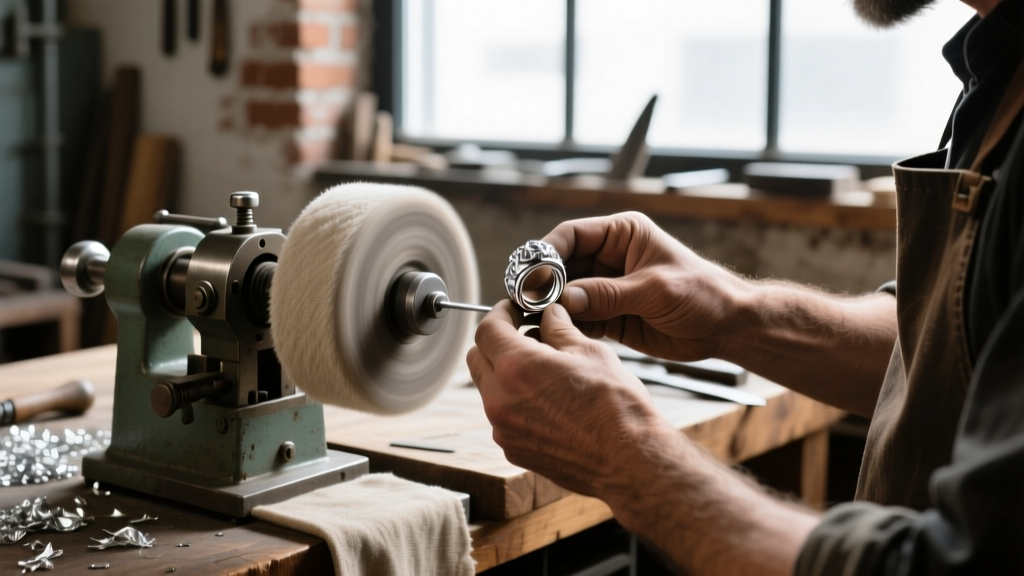
The Foundation: Alloy Selection and Tarnish Dynamics
When learning how to create silver jewelry, many beginners focus entirely on sawing, soldering, and forming, treating the final finish as an afterthought. However, a piece's longevity, wearability, and market value are dictated by its surface preparation and post-bench care. To master silversmithing, you must first understand the metallurgical realities of your chosen alloy.
Standard 925 sterling silver contains 7.5% copper to provide structural hardness. When exposed to the oxygen and heat of a soldering torch, this copper migrates to the surface, forming a stubborn, dark layer known as fire scale (cupric oxide). Fine silver (999) lacks copper and will not fire scale, but its softness makes it unsuitable for rings or high-stress clasps. For makers seeking a middle ground, Rio Grande and other major suppliers heavily recommend Argentium silver (935 or 960). Argentium replaces some copper with germanium, which forms a transparent, self-healing germanium dioxide layer that drastically slows tarnish and virtually eliminates fire scale.
Eradicating Fire Scale: The Pickling Process
If you are working with traditional 925 sterling, fire scale removal is a non-negotiable step before polishing. Attempting to buff out fire scale without chemical pickling will simply smear the copper oxide into the microscopic pores of the silver, resulting in a muddy, grayish finish that tarnishes prematurely.
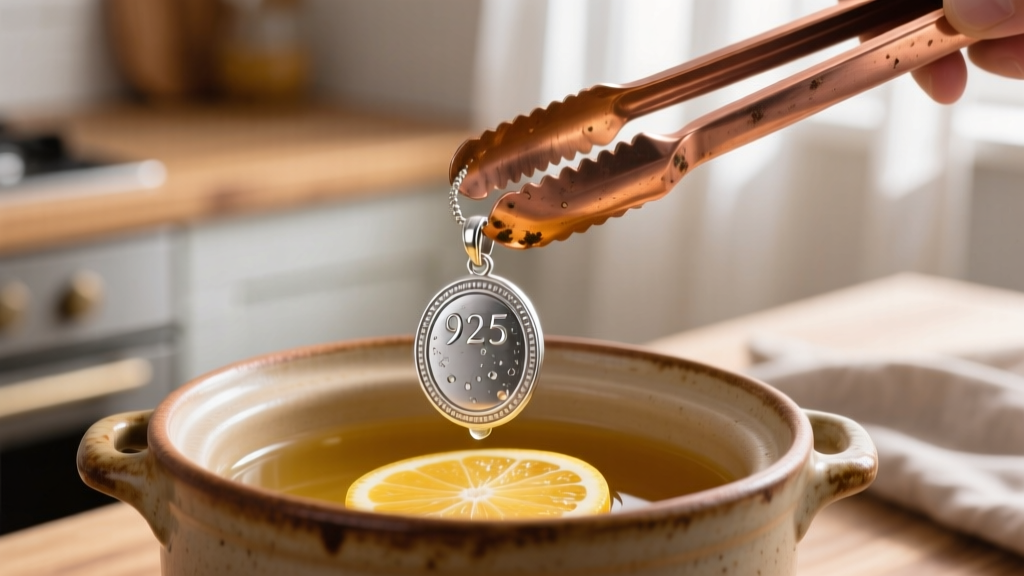
Choosing Your Pickle Solution
- Sodium Bisulfate (Sparex #2): The industry standard. It works quickly at 140°F (60°C) but requires careful neutralization with baking soda before disposal to comply with local environmental regulations.
- Citric Acid: A safer, eco-friendly alternative. While it takes slightly longer to dissolve oxidation, it is non-toxic and ideal for home studios or makers with limited ventilation. According to metallurgical resources like Ganoksin, a 5% to 10% citric acid solution in distilled water is highly effective when kept at a steady simmer.
Crucial Maker Tip: Never use steel tweezers in your pickle pot. The acid will strip the copper from the silver and plate it onto the steel, which then transfers a microscopic layer of pure copper back onto your jewelry, causing immediate, localized tarnishing. Always use copper, brass, or wooden tongs.
The Polishing Sequence: Compounds and Wheels
Achieving a flawless mirror finish requires a systematic progression of abrasives. Skipping grits will leave deep micro-scratches that become glaringly obvious under direct sunlight or jewelry store halogen lighting. Most bench jewelers utilize a dual-shaft polishing lathe running at 3400 RPM, dedicating one side to cutting compounds and the other to final coloring.
| Compound | Color | Abrasive Type | Wheel Material | Best Application |
|---|---|---|---|---|
| Tripoli | Brown | Medium Cut | Treated Muslin / Felt | Initial scratch removal and fire scale leveling on 925 sterling |
| Zam | Green | Fine Cut | Untreated Muslin | Pre-polishing and light oxidation removal without aggressive metal loss |
| Red Rouge | Red | Ultra-Fine | Loose Flannel / Cotton | Final high-mirror shine and burnishing of the silver surface |
| Black Rouge | Black | Fine | Hard Felt | Best for platinum/white gold; generally too harsh and messy for soft silver |
Lathe Safety and Technique
When polishing, always keep the piece moving and work from the center of the wheel outward. Holding a ring stationary against a spinning muslin wheel will generate immense friction heat, which can warp thin gauge silver (22g or higher) or melt delicate solder joints. Furthermore, always wear a NIOSH-approved respirator; inhaling aerosolized heavy metals and compound binders is a severe long-term health hazard for silversmiths.
Sealing the Surface: Anti-Tarnish Coatings
Once your piece is polished and ultrasonically cleaned to remove compound residue, you must decide how to protect it. The Silver Institute notes that silver sulfide (tarnish) forms when silver reacts with sulfur compounds in the ambient air. While you cannot stop this chemical reaction entirely, you can severely delay it using physical barriers.
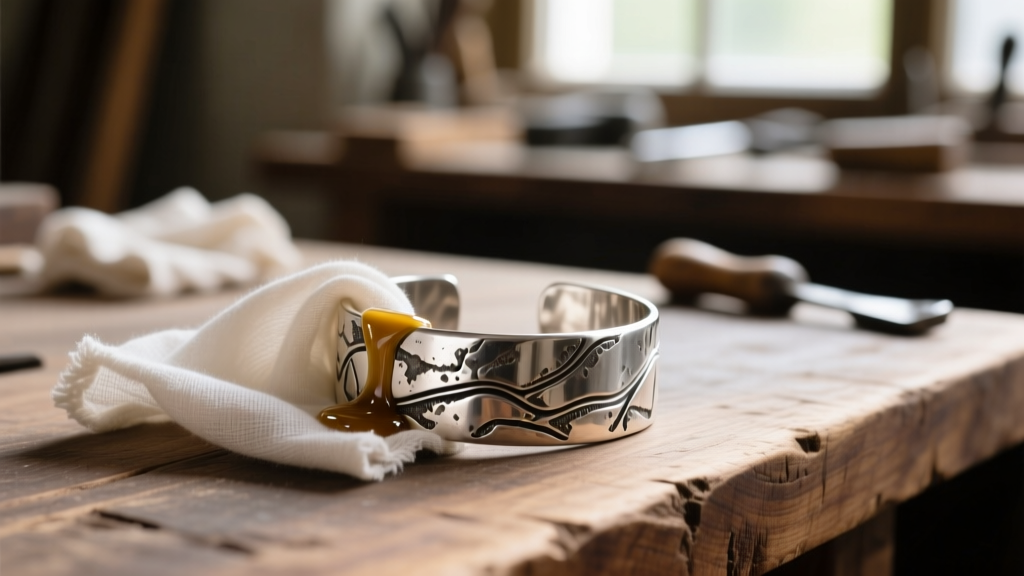
Coating Options for Makers
- Microcrystalline Wax (e.g., Renaissance Wax): Originally developed for the British Museum, this wax provides a hard, moisture-resistant barrier. It is ideal for oxidized silver pieces where you want to protect the dark patina in the recesses without adding a plastic-like gloss. Apply sparingly, let it haze for 10 minutes, and buff gently with a microfiber cloth.
- Copolymers (e.g., ProtectaClear): A clear, skin-safe coating that cures into a tough, invisible shield. It is highly recommended for high-wear items like bracelets and rings that are exposed to skin acids and cosmetics. Note that while durable, it will eventually wear off on high-friction contact points and cannot be easily spot-repaired; the entire piece must be stripped and recoated.
- Lacquers: Traditional spray lacquers are generally discouraged for fine jewelry. They tend to chip, yellow over time, and create a thick, artificial-looking barrier that detracts from the natural luster of the metal.
Ultrasonic and Steam Cleaning Parameters
For makers producing at scale, ultrasonic cleaners are indispensable for removing polishing compounds from intricate filigree and prong settings. Use a 40 kHz frequency for standard sterling silver. Maintain the solution temperature between 120°F and 140°F (49°C - 60°C) to maximize cavitation efficiency. Never place intentionally oxidized silver or porous gemstones (like turquoise, opals, or pearls) in an ultrasonic bath. The high-frequency vibrations will strip your carefully applied patinas and fracture delicate stone matrices.
Post-Creation: Packaging and Client Care Instructions
Your responsibility as a maker extends beyond the bench. How you package and present your jewelry dictates the customer's first impression and the piece's condition upon arrival. Educational care cards reduce return rates and build brand trust.
Maker's Checklist for Shipping and Storage:
1. Seal the polished jewelry in an airtight ziplock bag.
2. Include a 3M anti-tarnish strip (replace every 6 months in your own inventory).
3. Avoid rubber bands or sulfur-rich tissue paper for wrapping, as these accelerate blackening.
4. Include a care card advising clients to remove jewelry before swimming in chlorinated pools or using household bleach, which causes irreversible pitting in sterling silver.
Mastering how to create silver jewelry is a journey of continuous refinement. By treating the finishing, sealing, and care phases with the same rigor as your metalsmithing techniques, you elevate your work from amateur craftsmanship to heirloom-quality art.


