How to Polish Silver Jewelry Safely: A Beginner's Guide
Learn how to polish silver jewelry safely at home. Discover expert-backed cleaning methods for 925 sterling, fine silver, and gemstone pieces.

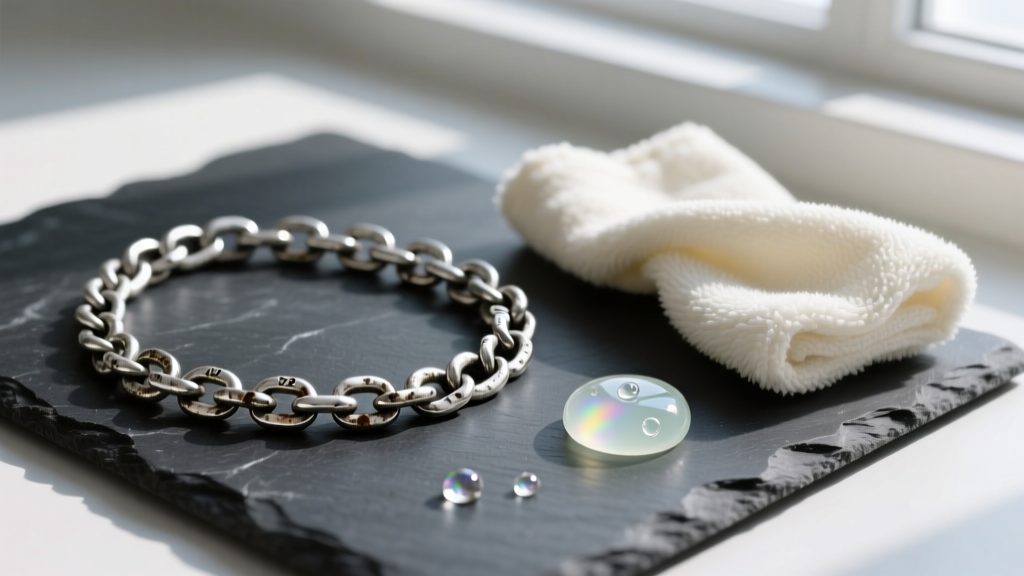
Silver jewelry is a timeless staple, but its tendency to darken over time can frustrate new collectors. If you are wondering how to polish silver jewelry without causing microscopic scratches or ruining delicate finishes, you are in the right place. Tarnish is a natural chemical reaction, not a sign of poor quality or dirt. In fact, pure silver does not tarnish easily; it is the copper alloyed into 925 sterling silver that reacts with sulfur in the air to create silver sulfide, that familiar yellowish-black film.
As a beginner, the most critical lesson is that polishing and cleaning are two different things. Cleaning removes oils, lotions, and dirt. Polishing removes tarnish. Using the wrong method can strip away intentional oxidized details, wear through silver plating, or scratch high-mirror finishes. Below is a comprehensive, beginner-friendly guide to restoring your silver safely.
Step 1: Identify Your Silver Type
Before applying any solution, examine your piece for hallmarks. The method you choose depends entirely on the metal's composition.
- 925 Sterling Silver: Contains 92.5% silver and 7.5% copper. This is the most common jewelry grade and responds well to most polishing methods.
- 999 Fine Silver: Contains 99.9% pure silver. It is highly tarnish-resistant and very soft. Avoid abrasive polishes, as fine silver scratches incredibly easily.
- Silver-Plated (EPNS): A thin layer of silver over a base metal like brass or copper. Warning: Aggressive polishing or chemical dips can rub the silver layer right off, exposing the dull base metal beneath.
- Oxidized Silver: Sterling silver that has been intentionally treated with sulfur to create dark, antique-looking crevices. Standard polishing will ruin this intentional contrast.
Method 1: The Mild Soap Bath (For Everyday Grime)
If your silver looks dull but isn't heavily blackened, it likely just has a buildup of skin oils and cosmetics. According to Tiffany & Co.'s official jewelry care guidelines, a gentle soap bath is the safest first step for routine maintenance.
What You Need:
- Lukewarm water (never hot)
- A few drops of phosphate-free dish soap (like Dawn)
- A baby toothbrush (extra-soft bristles)
- A lint-free microfiber cloth
The Process:
Mix the soap into a bowl of lukewarm water. Let the jewelry soak for 5 to 10 minutes. Gently brush the crevices with the baby toothbrush. Rinse thoroughly under cool water and immediately pat dry with the microfiber cloth. Leaving silver wet causes water spots and accelerates future tarnishing.
Method 2: The Aluminum Foil Ion Exchange (For Heavy Tarnish)
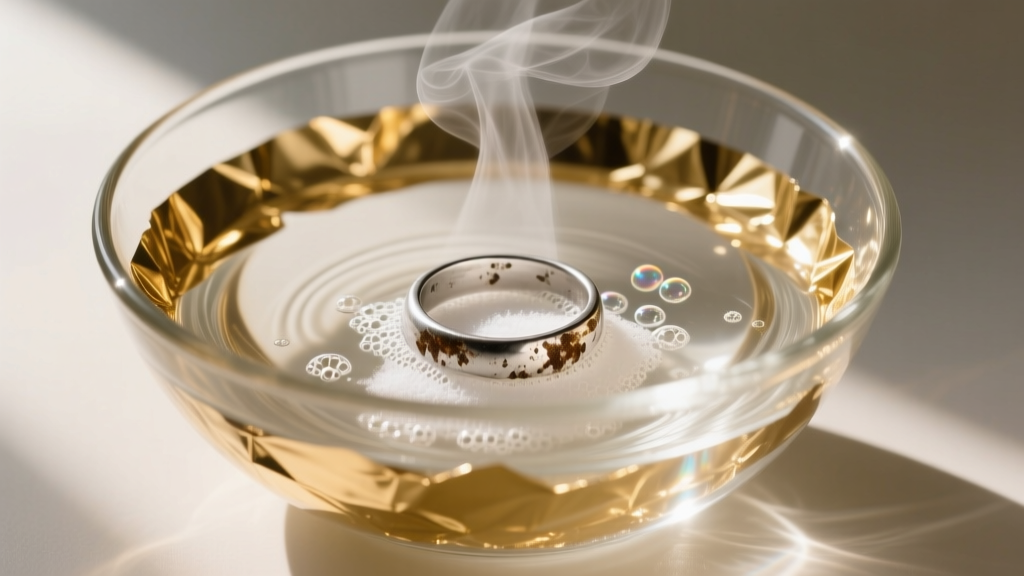
When your 925 sterling silver turns completely black, you need more than soap. The aluminum foil method is a favorite among jewelers because it uses chemistry, not friction, to remove tarnish. As explained by the chemistry educators at Compound Chem, this process relies on an electrochemical reaction where aluminum (being more reactive) pulls the sulfur away from the silver sulfide, leaving pure silver behind.
The Exact Recipe:
- Line a glass or ceramic bowl with aluminum foil, shiny side up.
- Place your tarnished silver jewelry on the foil (the metal must touch the foil).
- Sprinkle 1 tablespoon of baking soda and 1 tablespoon of kosher salt over the jewelry.
- Pour 1 cup of boiling water into the bowl. You will see bubbles and smell a faint sulfur (rotten egg) odor—this means the reaction is working.
- Leave for 2 to 5 minutes. Use wooden tongs to remove the jewelry, rinse in cool water, and buff dry with a soft cloth.
CRITICAL WARNING: Never use this boiling water and alkaline method on jewelry featuring porous or organic gemstones. Pearls, opals, turquoise, lapis lazuli, and amber will be permanently damaged by the heat and chemical shift. For gemstone pieces, stick to Method 1 or use a damp Q-tip to carefully clean only the metal.
Method 3: Commercial Silver Polishes (For Mirror Finishes)
For deep scratches or when you want to restore a high-shine mirror finish, a dedicated silver polishing cream is required. These creams contain ultra-fine micro-abrasives (usually calcium carbonate) that physically level the surface of the silver.
Comparing Popular Polishes
| Polish Type | Best Used For | Abrasiveness | Finish Result |
|---|---|---|---|
| Wright's Silver Cream | Heavy tarnish, solid sterling flatware and chains | Low-Medium | High Shine |
| Hagerty Silver Foam | Intricate designs, light tarnish | Low | Satin to Shine |
| Silver Polishing Cloths | Quick touch-ups, travel, plated silver | Ultra-Low | Maintains Current Shine |
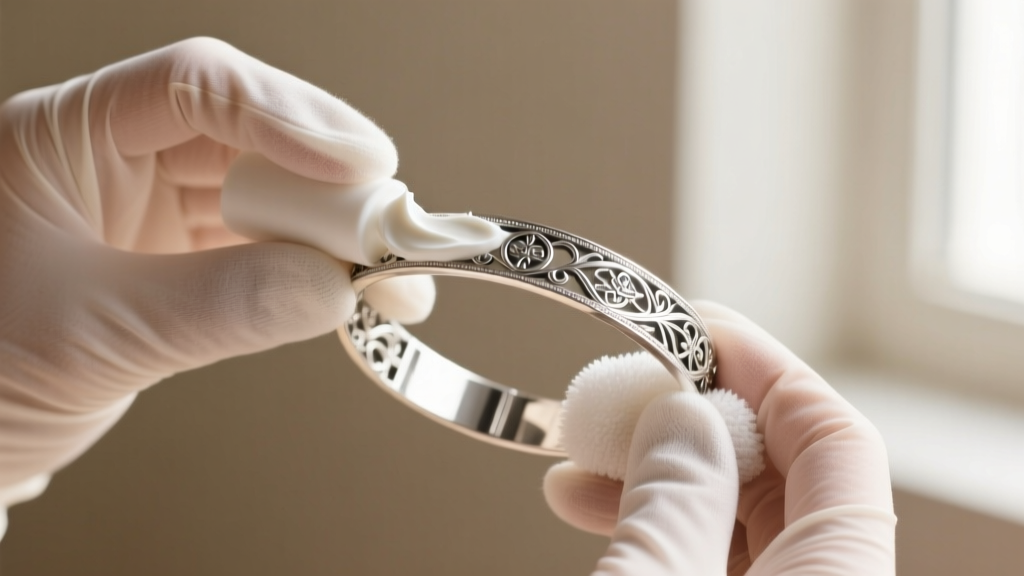
When applying cream polishes, always use straight, back-and-forth motions rather than circular ones. Circular motions will highlight microscopic scratches in the metal, whereas straight lines blend with the natural grain of the silver.
Common Beginner Mistakes to Avoid
The internet is full of DIY silver cleaning hacks that will permanently damage your jewelry. Avoid these common pitfalls:
- The Toothpaste Myth: Whitening toothpastes contain hydrated silica, an abrasive meant to scrub enamel. Silver is only a 2.5 to 3 on the Mohs hardness scale. Toothpaste will leave a web of micro-scratches that actually increases the metal's surface area, making it tarnish faster in the future.
- Using Paper Towels: Paper towels and tissues are made from wood pulp. Wiping silver with a paper towel is essentially rubbing it with microscopic wood splinters, guaranteeing light surface scratching.
- Rubber Bands: Never secure silver jewelry with rubber bands for storage. Rubber contains high levels of sulfur and will cause severe, localized black tarnish that is incredibly difficult to polish out.
Pro Tips for Tarnish Prevention
The best way to polish silver is to prevent it from tarnishing in the first place. Tarnish requires sulfur and moisture to form. By controlling the environment, you can keep your jewelry bright for months.
- Anti-Tarnish Strips: Brands like 3M make specialized anti-tarnish tabs that absorb airborne sulfur compounds. Drop one into your jewelry box or storage bag, and replace it every 6 months.
- Pacific Silvercloth: This is a specialized flannel embedded with microscopic silver particles. The cloth tarnishes instead of your jewelry, acting as a sacrificial shield.
- The Chalk Trick: If you are storing silver in a wooden chest or a glass display case, place a few pieces of standard blackboard chalk nearby. Chalk is highly porous and absorbs ambient moisture, slowing the chemical reaction.
By understanding the chemistry of your metals and choosing the right method for the level of tarnish, you can confidently maintain your collection. Whether you are using a simple soap bath or an ion-exchange reaction, treating your silver with care ensures it will remain a brilliant part of your wardrobe for decades to come.


