How to Remove Tarnish From Silver Jewelry: An Expert Chemistry Guide
Learn exactly how to remove tarnish from silver jewelry using electrochemical reduction and micro-abrasives. Expert chemistry and safety guide.

The Chemistry of Silver Tarnish: Understanding Silver Sulfide
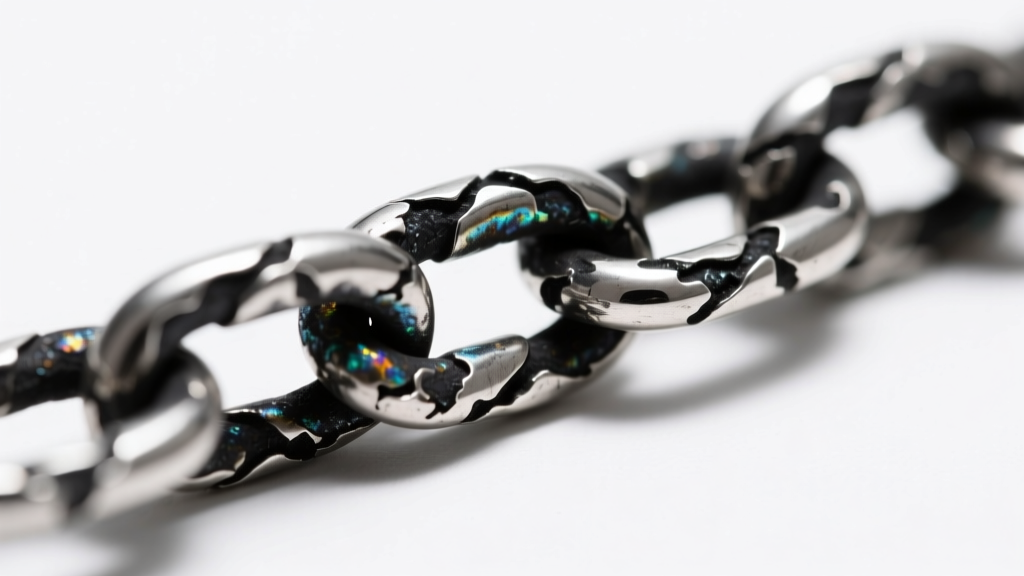
To master how to remove tarnish from silver jewelry, you must first understand what tarnish actually is. Unlike iron, which oxidizes and flakes away as rust, silver reacts primarily with sulfur compounds in the environment to form silver sulfide (Ag2S). This manifests as a dull yellowing that eventually deepens into a stark, matte black. According to the Gemological Institute of America (GIA), hydrogen sulfide (H2S) is the primary culprit, present in trace amounts in the atmosphere, human sweat, and even certain foods like eggs and onions.
Because 925 sterling silver contains 7.5% copper to increase its Mohs hardness, the copper can also oxidize, creating a complex dual-layer of copper oxide and silver sulfide. This dual-layer is why some tarnished silver takes on a reddish or purplish hue before turning completely black. Removing this layer without stripping the underlying precious metal requires precise chemical or micro-mechanical intervention.
Method 1: Electrochemical Reduction (The Aluminum Foil Bath)
For uniform, heavy black tarnish on solid sterling silver chains, bangles, and flatware, electrochemical reduction is the gold standard. This method does not abrade or remove any silver; instead, it reverses the chemical bond, converting silver sulfide back into elemental silver.
The Galvanic Cell Setup
This process creates a makeshift galvanic cell. Aluminum has a much lower standard electrode potential (-1.66 V) compared to silver (-0.80 V). When placed in an electrolyte solution, the aluminum acts as the anode, sacrificing itself to pull the sulfur atoms away from the silver (the cathode).
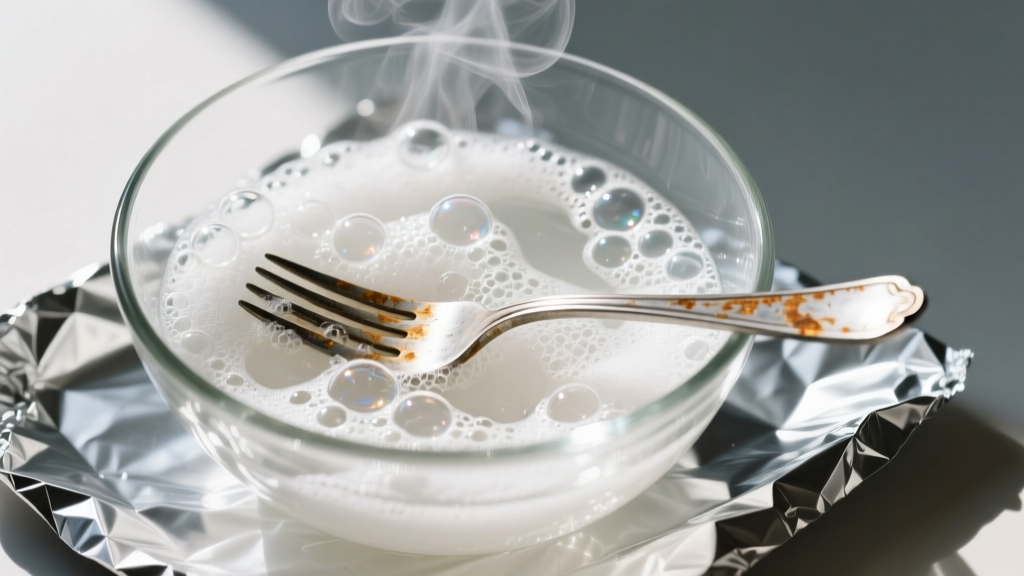
- Step 1: Line a glass or ceramic bowl with heavy-duty aluminum foil, shiny side up. Ensure the silver will physically touch the foil.
- Step 2: Add 1 tablespoon (approx. 15g) of baking soda (sodium bicarbonate) and 1 tablespoon of non-iodized salt per liter of water. The salt increases the ionic conductivity of the water.
- Step 3: Pour boiling water (100°C) into the bowl to dissolve the salts and activate the reaction.
- Step 4: Submerge the silver jewelry, ensuring direct contact with the aluminum foil. You will immediately smell rotten eggs (hydrogen sulfide gas releasing) and see bubbling.
- Step 5: Leave for 2 to 5 minutes. Use wooden tongs to remove the piece, rinse thoroughly in distilled water, and pat dry with a microfiber cloth.
Critical Failure Modes: When NOT to Use Electrochemical Reduction
While highly effective for plain silver, this method will ruin specific jewelry finishes. Never use an electrochemical bath on oxidized silver (where the dark patina in the crevices is intentional), as it will strip the designer's antiquing. Furthermore, avoid this method for jewelry set with porous gemstones like turquoise, lapis lazuli, or opals, as the boiling water and alkaline baking soda can cause severe thermal shock and chemical degradation to the stones.
Method 2: Micro-Abrasive Polishing (For Complex Tarnish and Scratches)
When silver tarnish is mixed with skin oils, lotions, and environmental dirt, it forms a hardened grime that electrochemical baths cannot penetrate. In these cases, you must rely on micro-abrasive polishing. However, not all polishes are created equal. Using the wrong abrasive will result in micro-scratches that actually increase the surface area of the silver, causing it to tarnish faster in the future.
| Abrasive Compound | Primary Ingredient | Mohs Hardness | Best Use Case | Risk Level |
|---|---|---|---|---|
| Precipitated Calcium Carbonate | Chalk/Limestone | 3.0 | Light tarnish, high-polish mirror finishes, daily maintenance | Low (Safest for silver) |
| Aluminum Oxide | Corundum | 9.0 | Heavy scratching, deep oxidation, initial sanding | High (Will scratch silver) |
| Iron Oxide (Jeweler's Rouge) | Hematite | 5.5 | Final buffing on a high-speed wheel, achieving mirror shine | Medium (Requires skill) |
| Silica (Diatomaceous Earth) | Fossilized Algae | 6.5 | Stubborn grime, heavily neglected antique pieces | High (Leaves micro-marring) |
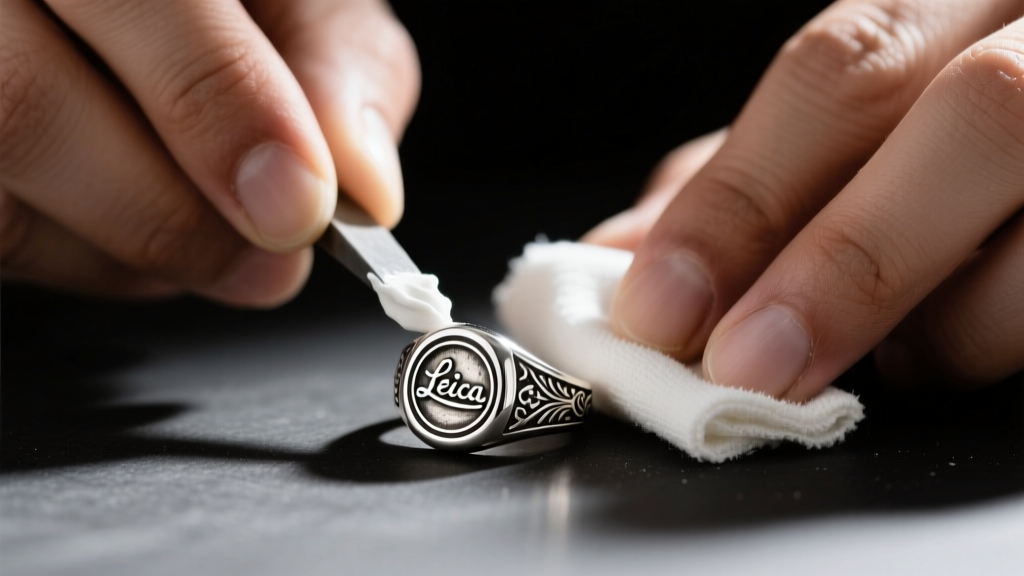
For at-home maintenance of 925 sterling silver, creams utilizing precipitated calcium carbonate (such as Wright's Silver Cream) are the safest choice. Because calcium carbonate is softer than silver (which sits around 2.5 to 3 on the Mohs scale depending on the alloy), it effectively scours away the silver sulfide layer without gouging the underlying metal. Apply with a damp cellulose sponge, working in straight lines rather than circles to prevent visible swirl marks.
The Danger Zone: Chemical Dips and Ultrasonic Risks
Many consumers turn to instant liquid silver dips out of convenience, but professional jewelers and conservators strongly advise against them. According to the National Park Service Museum Handbook, most commercial liquid dips rely on thiourea, a highly toxic organosulfur compound.
The Thiourea Problem
Thiourea dissolves silver sulfide almost instantly, which is why the results look like magic. However, it also strips a microscopic layer of elemental silver, leaving the surface highly porous at a microscopic level. This increased surface area acts as a sponge for atmospheric sulfur, meaning the jewelry will tarnish significantly faster and darker after a chemical dip than it did originally. Over years of repeated dipping, the silver jewelry will literally lose mass and develop a dull, gray, etched appearance that can only be fixed by aggressive machine polishing.
Ultrasonic Cleaners: A Gemstone Hazard
Ultrasonic cleaners use high-frequency sound waves (typically 35-45 kHz) to create cavitation bubbles in a liquid solvent. While excellent for removing diamond grime, they are dangerous for silver jewelry. The violent micro-implosions can easily fracture emeralds, shatter opals, and loosen the adhesive used in foil-backed or cabochon settings. Furthermore, if the silver is rhodium-plated (common in anti-tarnish white gold and silver pieces), prolonged ultrasonic exposure can cause the rhodium layer to delaminate and peel.
Preventative Maintenance and Storage Protocols
The most effective way to manage tarnish is to prevent the sulfur-silver reaction from occurring in the first place. Proper storage is not just about keeping jewelry untangled; it is about atmospheric control.
- Activated Charcoal and Silica Gel: Tarnish accelerates in high humidity. Store silver in airtight polyethylene zip-lock bags with a 5-gram packet of silica gel to maintain relative humidity below 40%.
- Anti-Tarnish Strips: 3M anti-tarnish strips utilize copper-based particles that act as a sacrificial anode, absorbing hydrogen sulfide gas before it reaches your silver. These strips must be replaced every 6 months in a sealed environment.
- Pacific Silvercloth: For high-value heirlooms, wrap the pieces in Pacific Silvercloth. This specialized cotton flannel is embedded with microscopic silver particles that capture and neutralize sulfur gases, effectively shielding the jewelry inside.
"Conservation-grade silver care is about minimizing intervention. Every time you polish or strip tarnish, you are removing a microscopic layer of history and metal. Airtight storage with sulfur-absorbing agents is always preferable to reactive cleaning."
Summary: Choosing the Right Method
Knowing how to remove tarnish from silver jewelry safely requires matching the method to the specific condition of the piece. Use the electrochemical aluminum bath for solid, un-gemmed chains and bangles with uniform black sulfide buildup. Rely on calcium carbonate micro-abrasives for pieces with mixed grime, oils, and localized tarnish. Strictly avoid thiourea chemical dips to preserve the microscopic integrity of your sterling silver, and invest in sulfur-absorbing storage materials to drastically extend the time between cleanings. By respecting the chemistry of silver, your jewelry will retain its brilliance and structural integrity for generations.


