Best Silver Cleaning Solution for Jewelry: Beginner Guide
Discover the safest silver cleaning solution for jewelry. Learn DIY recipes, commercial picks, and expert tips to restore sterling and plated pieces.

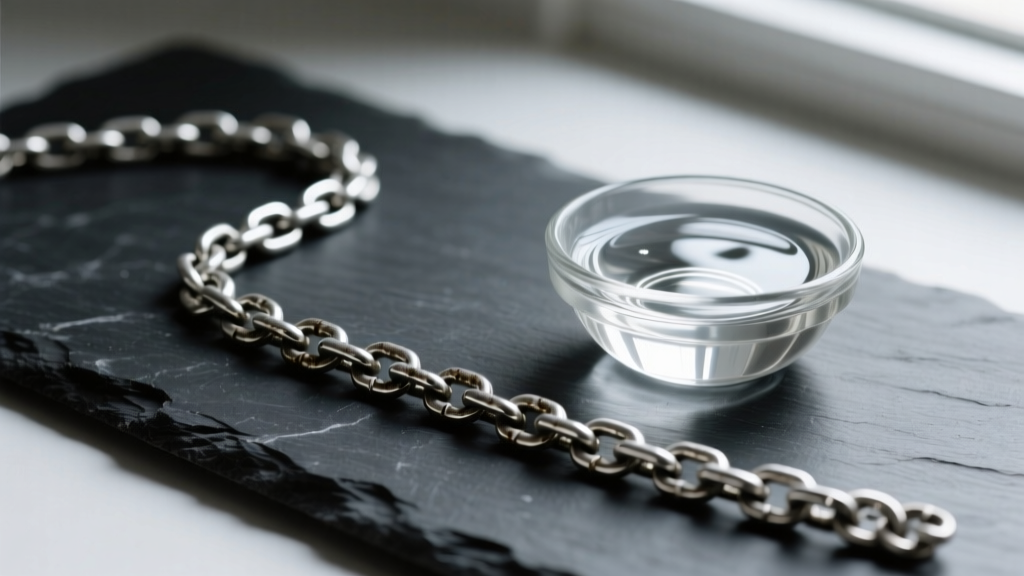
When your favorite 925 sterling silver necklace or vintage ring loses its brilliant shine and turns a dull, yellowish-black, it is easy to panic. As a beginner in jewelry care, the sheer volume of products and home remedies available can be overwhelming. Choosing the wrong silver cleaning solution for jewelry can result in micro-scratches, stripped plating, or irreparable damage to delicate gemstones. This comprehensive guide breaks down the chemistry of tarnish, compares commercial versus DIY solutions, and provides a foolproof framework for safely restoring your silver pieces to their original luster.
The Chemistry of Tarnish: Why Silver Turns Black
Before selecting a silver cleaning solution for jewelry, it is crucial to understand what you are actually cleaning. Many beginners mistakenly believe that silver tarnish is a form of rust or dirt. In reality, tarnish is a chemical reaction. Pure silver is highly unreactive, but sterling silver is an alloy composed of 92.5% silver and 7.5% other metals—usually copper. It is this copper content that reacts with sulfur compounds in the air, humidity, and even your skin's natural oils to form silver sulfide (Ag2S).
According to the Gemological Institute of America (GIA), silver sulfide initially appears as a faint yellowish hue before deepening into brown and eventually black. Because this is a surface-level chemical compound rather than embedded grime, your cleaning method must either chemically reverse the reaction or gently polish away the microscopic layer of sulfide without removing the underlying healthy silver.
Commercial vs. DIY: Which Solution is Best?
The market is flooded with liquid dips, polishing creams, and ultrasonic machines. However, not every silver cleaning solution for jewelry is created equal. Below is a comparative breakdown of the most common methods, evaluating their safety, efficacy, and best use cases.
| Cleaning Method | Active Mechanism | Safety for 925 Sterling | Safety for Plated/Gemstones | Best Use Case |
|---|---|---|---|---|
| Commercial Liquid Dips | Thiourea-based chemical reduction | Moderate (can cause pitting if overused) | Poor (strips plating, ruins porous stones) | Heavily tarnished, solid chains without stones |
| Polishing Cloths | Mild abrasives and anti-tarnish agents | High | High | Light tarnish, routine maintenance, plated items |
| DIY Electrolysis (Foil/Baking Soda) | Ion exchange (aluminum sacrifices to reduce silver sulfide) | High | Moderate (heat can fracture some stones) | Intricate filigree, solid sterling chains, heavily oxidized items |
| Mild Soap & Water | Surfactant lifting oils and dirt | High | High | Removing body oils and surface dirt, not heavy tarnish |
While commercial liquid dips work in seconds, they rely on harsh acids and thiourea. If left in the solution for even a few seconds too long, these dips can strip the copper alloy from the surface, leaving the silver microscopically porous and prone to faster, darker retarnishing. For beginners, a DIY electrolytic bath or a high-quality micro-abrasive cloth is vastly superior for long-term jewelry health.
Step-by-Step: The DIY Electrolytic Silver Cleaning Solution
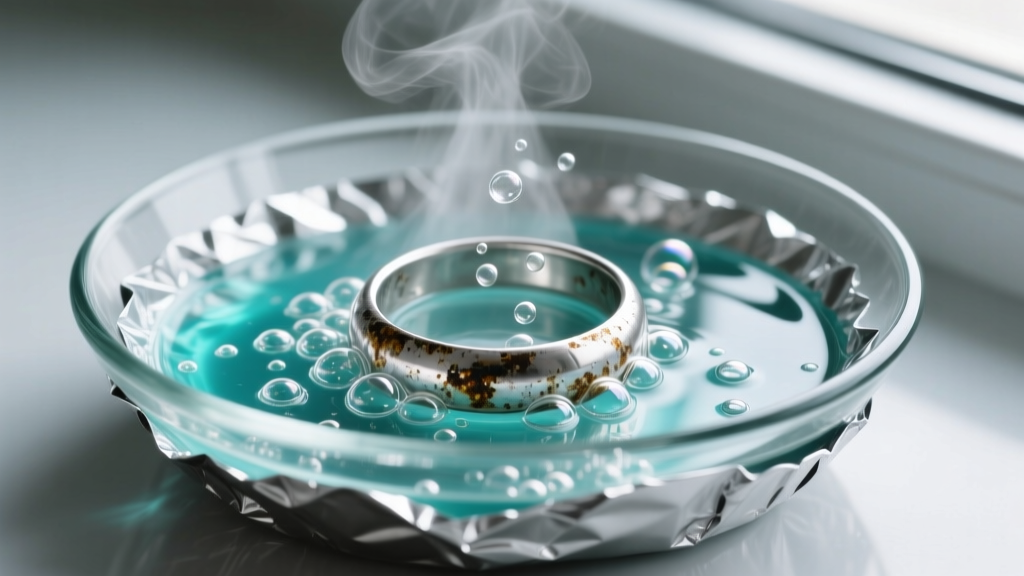
The most effective, non-abrasive silver cleaning solution for jewelry utilizes a basic principle of electrochemistry. By creating a galvanic cell, you force the sulfur to leave the silver and bond with aluminum instead. This method is miraculous for intricate chains or filigree rings where a polishing cloth cannot reach.
What You Will Need:
- A glass or ceramic baking dish (never use a metal bowl, as it will interfere with the ion exchange)
- Heavy-duty aluminum foil
- 1 tablespoon of baking soda (sodium bicarbonate)
- 1 tablespoon of sea salt (sodium chloride)
- Boiling water
- Soft microfiber cloth for drying
The Process:
- Prep the Chamber: Line the bottom and sides of your glass dish with aluminum foil, shiny side up. Ensure the foil is smooth to maximize surface contact.
- Add the Catalysts: Sprinkle the baking soda and sea salt evenly across the foil.
- Activate the Solution: Pour boiling water into the dish. You will see immediate bubbling as the baking soda and salt dissolve and react with the aluminum. Stir gently with a wooden or plastic spoon.
- Submerge the Jewelry: Using plastic tongs, lower your sterling silver jewelry into the solution. Critical Rule: The silver must physically touch the aluminum foil for the electron transfer to occur.
- Monitor the Reaction: Leave the jewelry in the solution for 2 to 5 minutes. You may smell a faint, rotten-egg odor—this is hydrogen sulfide gas releasing as the sulfur leaves your jewelry.
- Rinse and Dry: Remove the piece, rinse it thoroughly under warm running water to halt the chemical reaction, and buff it completely dry with a microfiber cloth. Any trapped moisture will cause immediate water spotting.
Crucial Exceptions: When NOT to Use Liquid Solutions
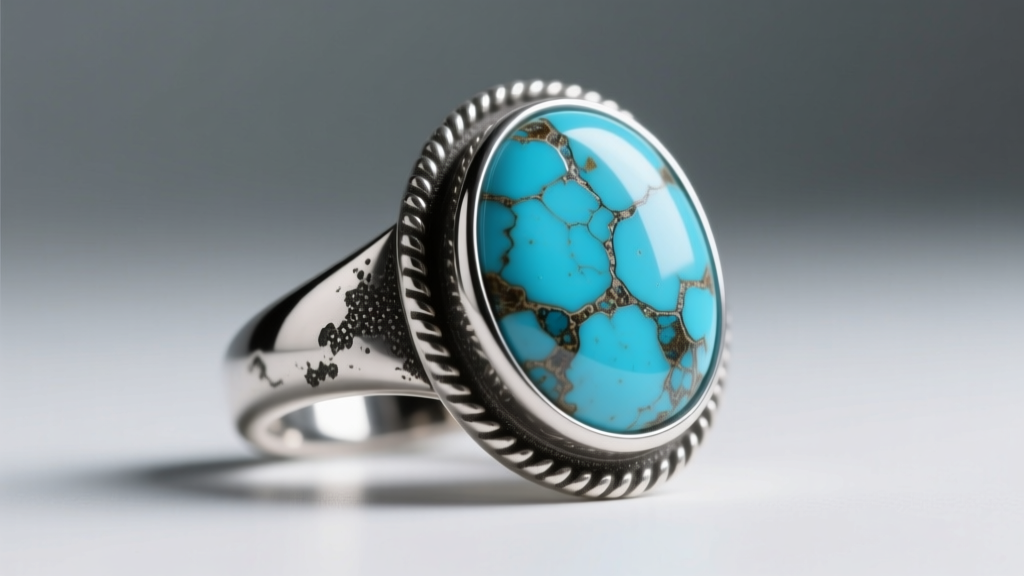
While the DIY electrolytic bath is a phenomenal silver cleaning solution for jewelry, it is not universally safe. As a beginner, you must learn to identify the exceptions to prevent catastrophic damage to your collection.
1. Porous and Soft Gemstones
Never submerge jewelry featuring turquoise, opal, pearl, lapis lazuli, or malachite in any liquid cleaning solution. These stones rank low on the Mohs hardness scale and are highly porous. They will absorb the alkaline baking soda solution, which can permanently alter their color, cause internal fracturing, or dissolve their natural oils. For these pieces, use a damp microfiber cloth to carefully wipe only the silver bezels, avoiding the stones entirely. The Tiffany & Co. jewelry care guidelines explicitly warn against using liquid silver dips on any gem-set jewelry for this exact reason.
2. Intentionally Oxidized Silver
Many artisan and designer pieces feature "oxidized" silver—a deliberate chemical darkening applied to the recessed areas of a design to create contrast and highlight intricate details. Submerging these pieces in an electrolytic bath or a commercial dip will strip away the intentional patina, leaving the piece looking flat, overly bright, and aesthetically ruined. Stick to gentle, targeted polishing with a treated cloth, avoiding the darkened crevices.
3. Worn Silver-Plated Items
Silver-plated jewelry consists of a microscopic layer of pure silver over a base metal like brass or copper. If the plating is already wearing thin, aggressive polishing or prolonged soaking in acidic commercial dips can strip the remaining silver entirely, exposing the base metal underneath. If your plated piece is tarnished, use a mild dish soap and water solution, followed by a gentle buff with a dry, untreated polishing cloth.
Post-Cleaning Care and Tarnish Prevention
Once you have successfully used your silver cleaning solution for jewelry, the goal shifts from restoration to preservation. Silver begins to react with airborne sulfur the moment it is cleaned. To extend the time between cleanings, implement the following storage protocols:
- Anti-Tarnish Strips: Place 3M anti-tarnish strips inside your jewelry boxes or ziplock bags. These strips contain copper or zinc particles that act as sacrificial metals, absorbing sulfur compounds before they can reach your silver.
- Silica Gel Packets: Moisture accelerates the tarnishing process. Toss a few silica gel packets into your storage drawers to keep the ambient humidity low.
- Chalk or Activated Charcoal: If you store silver in a large armoire or display case, placing small bowls of activated charcoal or even standard blackboard chalk nearby will naturally absorb excess moisture and airborne pollutants.
- Wear It Often: Surprisingly, the natural friction of your clothing and the mild oils from your skin act as a continuous, gentle polish. Silver jewelry that is worn daily rarely develops heavy tarnish compared to pieces left sitting in a dark drawer.
By understanding the science of tarnish and choosing the correct silver cleaning solution for jewelry based on the specific materials and construction of your pieces, you can confidently maintain your collection. Avoid the temptation of harsh, instant-fix chemical dips, and rely on the gentle, proven methods of electrolysis and micro-abrasive polishing to keep your 925 sterling silver radiant for decades to come.


