Mastering Silver Solder for Jewelry: Step-by-Step Repair Guide
Learn how to choose and apply silver solder for jewelry repairs. This step-by-step guide covers hard, medium, and easy grades, flux, and torch techniques.

The Metallurgy of Silver Solder for Jewelry
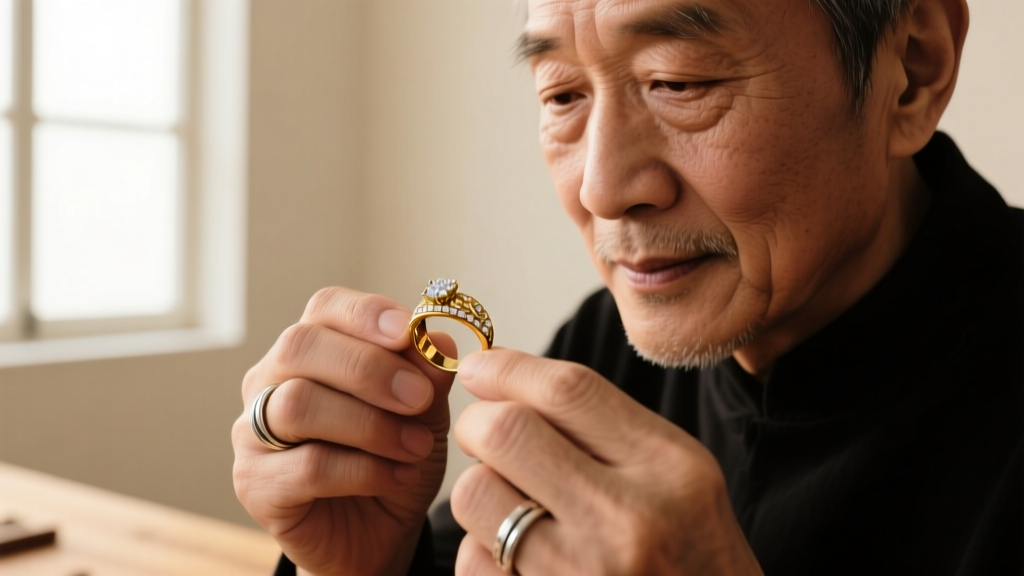
When repairing or fabricating sterling silver pieces, using the correct materials is non-negotiable. Unlike hardware store solder, which is a low-melting lead or tin alloy, silver solder for jewelry is actually a specialized silver alloy. It contains silver, copper, and zinc, engineered to melt at specific temperatures that are just below the melting point of sterling silver (1640°F / 893°C). This precise metallurgical balance allows the solder to flow into a joint via capillary action without melting the parent metal.
Choosing the right grade and executing the soldering process requires an understanding of heat control, flux chemistry, and joint preparation. In this guide, we break down the exact methodology used by professional bench jewelers to achieve invisible, structurally sound seams.
Understanding the Three Grades of Silver Solder
Jewelry solder is categorized into three primary grades based on its flow temperature. Professional jewelers use a 'step-down' soldering method, starting with Hard solder for the first joint, Medium for the second, and Easy for the final repairs. This prevents previously soldered joints from melting open during subsequent heating.
| Solder Grade | Melt Temperature | Flow Temperature | Primary Use Case |
|---|---|---|---|
| Hard | 1450°F (788°C) | 1425°F (774°C) | Fabrication, sizing rings, initial structural joints |
| Medium | 1410°F (766°C) | 1390°F (754°C) | Adding settings, attaching jump rings, secondary joints |
| Easy | 1325°F (718°C) | 1270°F (688°C) | Final repairs, closing catch joints, low-heat fixes |
For sterling silver repairs, Rio Grande and Ganoksin both recommend keeping all three grades on your bench. Using Easy solder for a major ring shank repair will result in a weak joint that may fail under daily wear stress, while using Hard solder for a delicate jump ring risks melting the wire entirely.
Essential Tools for the Jeweler's Bench
Before striking your torch, ensure you have the following specialized tools prepared:
- Torch System: A Smith Little Torch (acetylene/oxygen or propane/oxygen) is the industry standard. The #2 or #3 welding tip provides the pinpoint, reducing flame necessary for silver.
- Flux: Standard borax-based flux (like Handy Flux) is ideal for sterling silver. It dissolves oxides and protects the metal from firescale up to 1400°F.
- Soldering Surface: A charcoal block reflects heat back onto the workpiece, while a honeycomb ceramic board dissipates heat. Use charcoal for small, concentrated repairs.
- Pickle Solution: A warm sodium bisulfate solution (like Sparex #2) or a citric acid alternative to remove oxidation post-soldering.
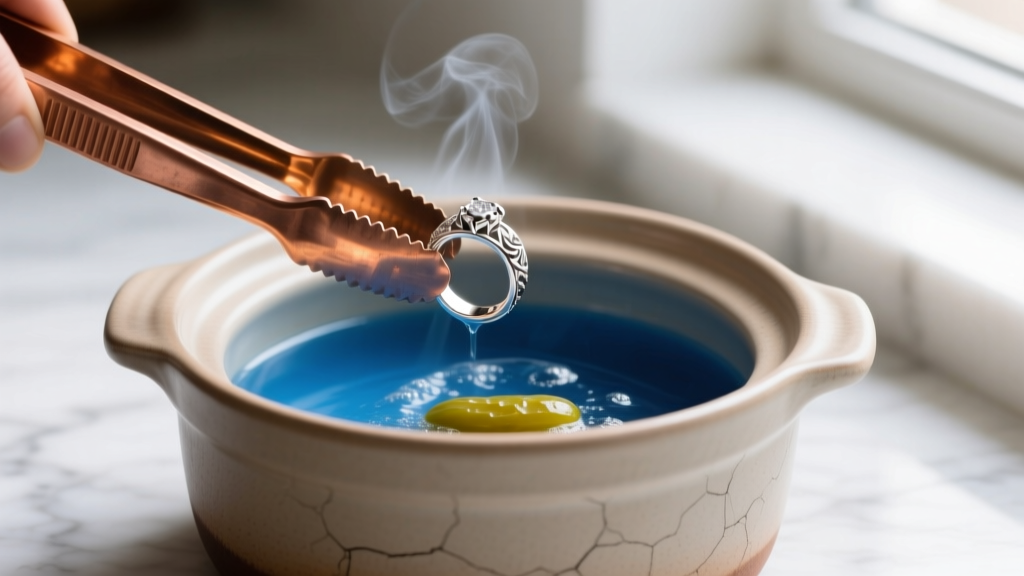
- Copper Tongs: Never use steel tweezers in your pickle pot; steel will deposit a layer of copper plating onto your silver through an electrochemical reaction.
Step-by-Step Guide: Soldering a Sterling Silver Ring Shank
Step 1: Joint Preparation and Filing
Capillary action is the driving force behind successful soldering. For the solder to be pulled into the seam, the two ends of the sterling silver shank must meet perfectly flush. Use a #2 cut needle file to square off both ends of the break. Hold the ring up to a light source; if you see any light passing through the seam, file it again. A tight joint requires less solder and leaves a nearly invisible line after polishing.
Step 2: Flux Application and Heat Sinking
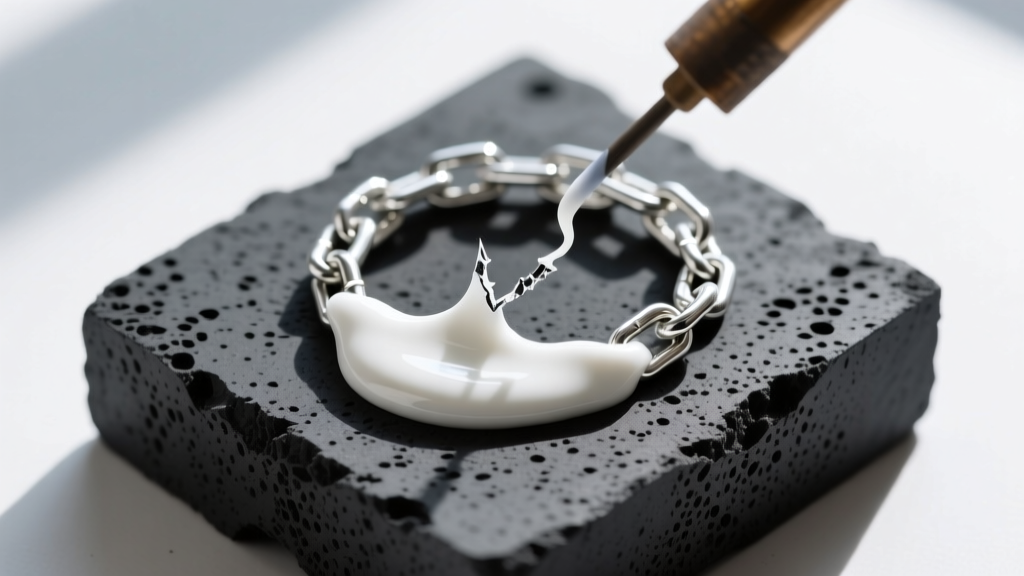
Paint a thin, even layer of flux over the entire ring, concentrating slightly on the joint. The flux will bubble and turn white as the water evaporates, then turn clear and glassy as it reaches its active temperature. If you are working near a heat-sensitive area (like a gemstone setting), apply a heat-sink compound or use a third-hand tweezers to draw heat away from the stone.
Step 3: The Soldering Process
Place a small chip (pallion) of Hard or Medium silver solder directly on or just adjacent to the seam. Ignite your torch and adjust to a soft, bushy reducing flame. Do not point the flame directly at the solder chip. Instead, heat the entire ring in broad, circular motions. The parent metal must reach the flow temperature before the solder will move.
Watch the flux: when it turns completely clear and glassy, the ring is approaching soldering temperature. Move the flame closer to the joint. The moment the solder flashes and snaps into the seam via capillary action, immediately pull the torch away. Overheating will cause the zinc in the solder to burn out, leaving a brittle, pitted joint.
Step 4: Quenching and Pickling
Allow the ring to cool on the charcoal block until the red glow fades completely (about 30 seconds). Quenching hot silver in water can cause thermal shock and crack the metal or any included stones. Once cool, drop the ring into the warm pickle pot for 5 to 10 minutes to dissolve the glassy flux and surface firescale.
Troubleshooting Common Soldering Failures
Pro Tip: If your solder balls up and refuses to flow into the joint, stop heating immediately. Let the piece cool, re-pickle it, and start over. Continuing to heat a balled-up chip will only burn out the flux and oxidize the silver, making a second attempt impossible without re-filing the joint.
Even experienced bench jewelers encounter soldering failures. Here is how to diagnose and fix the most common issues:
- Solder Balls Up (Does Not Flow): This happens when the joint is not tight enough, the flux has burned out, or you are heating the solder directly instead of heating the parent metal. Ensure the seam is flush and heat the surrounding metal.
- Pitted or Porous Solder Line: Caused by overheating. The zinc in the silver solder vaporizes at high temperatures, leaving microscopic voids. Use a softer flame and remove heat the exact second the solder flashes.
- Firescale (Purple/Grey Staining): Sterling silver contains 7.5% copper, which oxidizes deeply when heated. Always use a generous coat of flux, and consider using a boric acid and denatured alcohol dip before fluxing to create a primary firescale barrier.
Post-Soldering Cleanup and Finishing
Once the piece emerges from the pickle, it will have a matte, frosty white appearance. Inspect the joint under a 10x loupe. If the seam is visible or slightly raised, use a fine needle file to gently level it, followed by progressively finer sandpaper (400, then 600 grit).
Finish the repair using a radial bristle disk on a flex shaft to blend the repaired area seamlessly with the surrounding metal. Finally, polish with a rouge-charged muslin buff to restore the high-mirror finish characteristic of premium sterling silver jewelry. By mastering the thermal dynamics of silver solder for jewelry, you ensure that every repair is not just cosmetically flawless, but structurally permanent.


