Troubleshooting Silver Solder Jewelry: Fixing Failed Joints
Master silver solder jewelry repairs with our expert troubleshooting guide. Fix balling, brittle joints, and firescale in 925 sterling pieces.

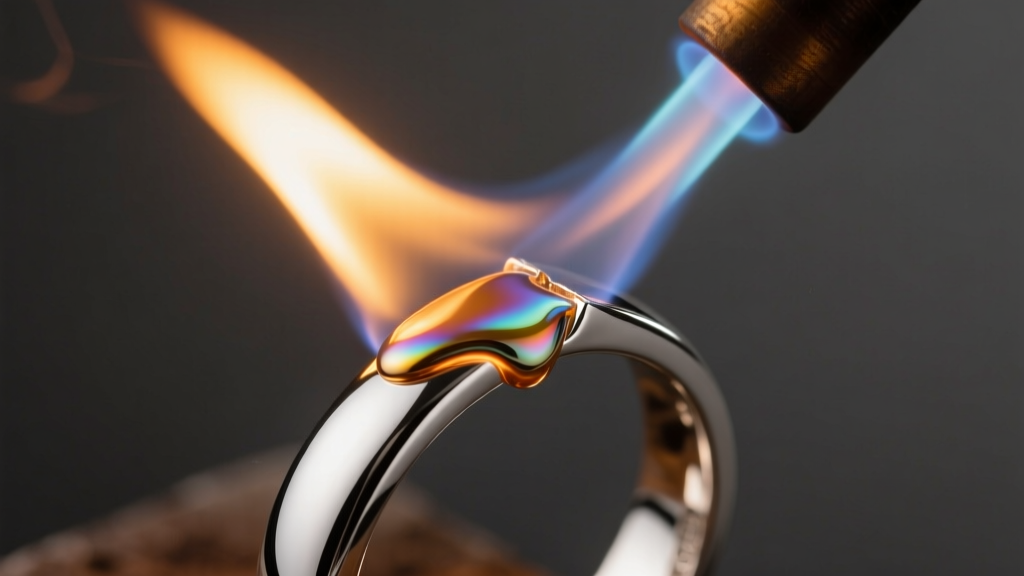
Fabricating and repairing 925 sterling silver requires a mastery of thermal dynamics, metallurgy, and chemical fluxes. When a silver solder jewelry joint fails, it rarely happens without a traceable physical or chemical cause. Whether you are dealing with solder that stubbornly balls up, joints that crack under minimal stress, or base metal that pits and melts, diagnosing the root failure mode is the first step toward a permanent repair. This guide bypasses generic advice and dives deep into the specific troubleshooting frameworks used by professional bench jewelers to salvage and perfect silver solder jewelry.
The Anatomy of a Failed Silver Solder Joint
A successful solder joint relies entirely on capillary action, not gravity. The molten alloy must be drawn into a microscopic gap between two meticulously clean, properly fluxed, and evenly heated surfaces. When a joint fails, it is almost always due to a breakdown in one of three variables: surface chemistry (oxides and contamination), thermal distribution (uneven heating), or joint geometry (improper gap tolerances). Understanding which of these three pillars has collapsed is critical for troubleshooting silver solder jewelry effectively.
Troubleshooting Flow Issues: Why Solder Balls Up
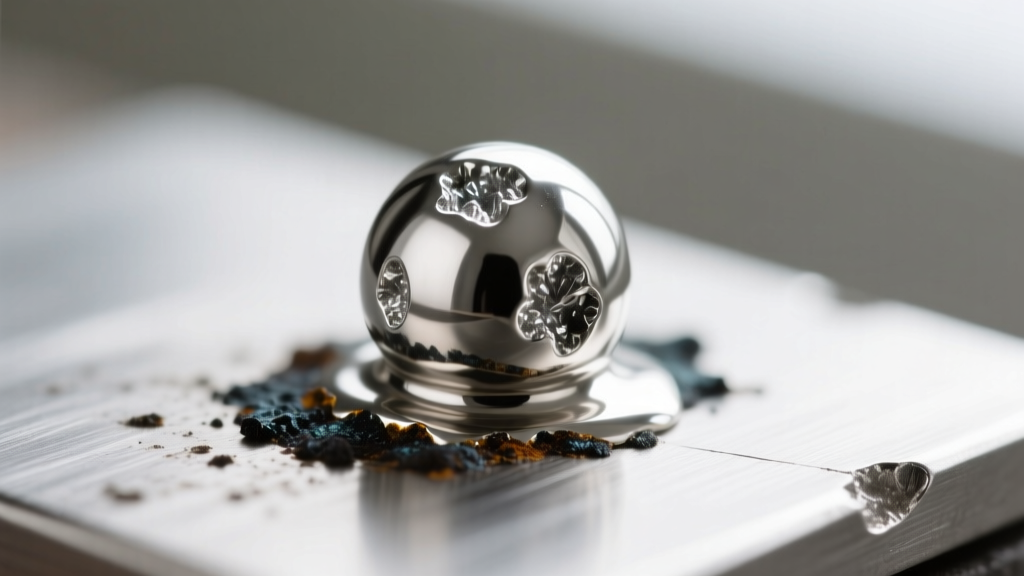
The most common frustration at the bench is watching silver solder melt into a perfect, shiny sphere and refuse to flow into the seam. This phenomenon, known as 'balling,' is a clear indicator that the solder is reacting to surface tension and oxides rather than capillary draw.
Flux Failures and Oxide Barriers
Sterling silver contains 7.5% copper, which rapidly oxidizes when exposed to torch temperatures. If the copper oxide layer is not completely dissolved by flux, the solder will not wet the surface. Standard borax-based fluxes (like Stay-Silv White) are excellent for general use, but they break down if the metal is overheated before the solder reaches its flow point. If your flux turns black and glassy, it has been burned and is no longer protecting the metal. The Fix: Quench the piece, re-pickle in a warm sodium bisulfate solution (like Sparex #2) to strip the glassy flux residue, re-clean with pumice powder, and apply a fresh layer of fluoride-based flux for higher thermal endurance.
Heat Distribution Errors
Solder flows toward the hottest part of the metal. If you are applying the torch flame directly to the solder chip rather than the surrounding silver, the solder will melt prematurely while the base metal remains too cool to accept the alloy. Furthermore, if one side of a ring shank is significantly thicker than the other, the thicker side will act as a heat sink, pulling thermal energy away from the seam. The Fix: Use a broader, 'bushy' flame to heat the entire component evenly. Focus the inner blue cone of the flame on the thicker areas of the metal, allowing ambient heat to bring the thinner areas and the solder chip up to the flow temperature simultaneously.
Structural Weakness: Brittle Joints and Gap Tolerances
If your silver solder jewelry flows beautifully but the joint snaps or cracks during polishing or wear, you are likely dealing with a gap tolerance issue or the wrong solder grade. Solder is not a gap-filler like brazing paste; it requires a tight capillary gap, ideally between 0.002 and 0.005 inches. If the gap is too wide, the solder will cool with internal crystalline weaknesses, leading to a brittle joint.
| Solder Grade | Flow Temp (°F) | Best Use Case | Capillary Gap Tolerance |
|---|---|---|---|
| Hard | 1,450°F (788°C) | Initial fabrication, structural ring shanks | 0.002" - 0.004" |
| Medium | 1,390°F (754°C) | Secondary joints, attaching bezels to backplates | 0.003" - 0.005" |
| Easy | 1,325°F (718°C) | Final repairs, sizing, jump ring closures | 0.002" - 0.004" |
| Extra Easy | 1,240°F (671°C) | Emergency low-temp repairs on thin gauge | 0.001" - 0.003" |
According to technical resources from Rio Grande, using Hard solder for a repair on a piece that has already been soldered with Easy solder will result in the Easy solder remelting and alloying with the Hard solder, creating a contaminated, brittle sludge. Always step down in temperature (Hard -> Medium -> Easy) for sequential joints.
Preventing Base Metal Meltdown and Pitting
Melting a piece of silver solder jewelry is a catastrophic bench error, usually caused by misjudging the solidus temperature of the base metal versus the liquidus temperature of the solder. Fine silver melts at 1,763°F (961°C), while sterling silver melts slightly lower, around 1,640°F (893°C), due to the eutectic alloy of copper. If you are using Hard solder (flowing at 1,450°F), your margin of error is less than 200°F. When silver approaches its melting point, it takes on a dull, 'wet' orange glow and the surface will suddenly pit or slump. To prevent this, never heat a piece in a dark room where you cannot accurately read the color of the metal, and use a temperature-indicating paste or a titanium pick to gently test the metal's rigidity as it approaches flow temperature.
Firescale Management in Sterling Silver
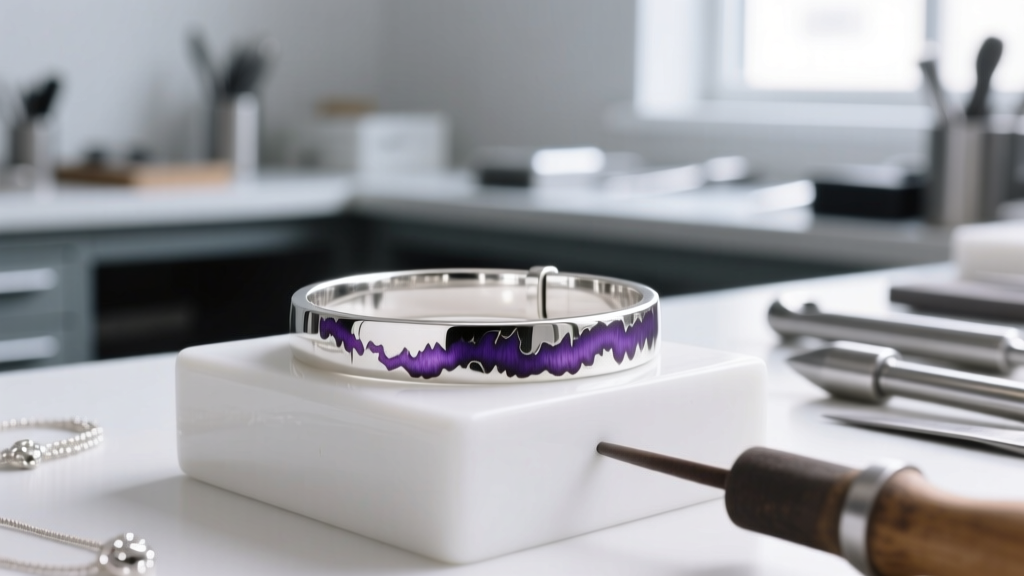
Firescale is a deep, stubborn layer of cupric oxide (CuO) that forms beneath the surface of sterling silver when copper is drawn to the surface by heat and oxidizes. It appears as a shadowy purple or black bruise that cannot be polished away without removing significant layers of metal. Troubleshooting firescale requires proactive chemical barriers. Master jewelers at Ganoksin recommend a two-step fluxing process: first, dip the entire piece in a saturated solution of boric acid and denatured alcohol, then flame it dry to create a glassy borate coating. Follow this with a localized application of a fluoride-based anti-firescale flux (like Cupronil) directly on the solder seam. This dual-barrier method starves the copper of oxygen, keeping the silver bright and drastically reducing post-solder cleanup time.
Essential Toolkit for Silver Solder Jewelry Repair
To execute these troubleshooting steps, your bench must be equipped with the correct diagnostic and repair tools:
- Smith Little Torch (Acetylene/Air or Oxy/Propane): Essential for precise, pinpoint heat control on delicate silver filigree and thin gauge wire.
- Soldering Picks (Titanium and Steel): Titanium picks do not absorb heat and will not accidentally solder themselves to your workpiece when guiding a stubborn chip of solder.
- Thermal Paste (Heat Shield): A water-based heat-absorbing compound to protect previously soldered joints or heat-sensitive gemstones during localized repairs.
- Optical Loupe (10x Triplet): For inspecting capillary seams and identifying micro-fractures or pitting before the soldering process begins.
Expert Bench Tip: Never quench a freshly soldered sterling silver piece directly into cold water if it contains any brass or steel components (like spring rings or hinge pins). The drastic thermal shock will cause the silver to warp or crack at the bimetallic junction. Always air-cool on a ceramic block until the red glow fades, then quench in room-temperature water before pickling.


