How to Untarnish Silver Jewelry: Expert Troubleshooting
Learn how to safely untarnish silver jewelry with our expert troubleshooting guide. Discover chemical fixes, gemstone safety, and DIY myths to avoid.

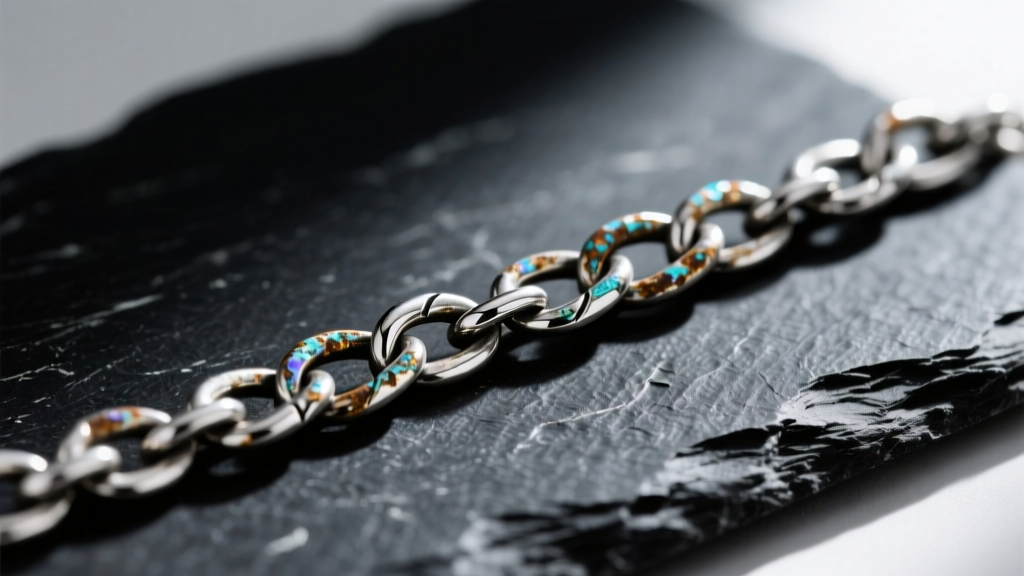
When your favorite 925 sterling silver pieces lose their luster, it is not a sign of poor quality; it is a simple chemical inevitability. However, knowing how to properly untarnish silver jewelry requires more than just scrubbing it with a cloth. As a senior metallurgical consultant for jewelers, I see countless pieces ruined by well-intentioned but chemically flawed DIY methods. Whether you are dealing with a light yellowish haze on a minimalist chain or heavy, blackened corrosion on a vintage cuff, troubleshooting the exact level of sulfidation is the key to restoring your silver without stripping its surface or destroying delicate gemstone inlays.
The Chemistry of Tarnish: Why Your Silver Turns Black
Before attempting to untarnish silver jewelry, you must understand what you are actually removing. Tarnish is not dirt, and it is not rust. According to the Australian Academy of Science, silver tarnish is primarily silver sulfide (Ag2S). When the copper alloy in 925 sterling silver (which makes up 7.5% of the metal) and the silver itself are exposed to hydrogen sulfide in the air, a chemical reaction occurs. This creates a microscopic layer of black silver sulfide on the surface. Because this is a chemical bond rather than a surface debris, mechanical scrubbing often fails and instead scratches the underlying metal.
The 3-Tier Troubleshooting Matrix for Tarnished Silver
To safely restore your pieces, categorize the tarnish into one of three tiers. Each tier requires a fundamentally different approach to avoid causing irreversible micro-abrasions.
Tier 1: Light Yellowing (Surface Sulfidation)
When silver first begins to tarnish, it takes on a pale yellow or golden hue. This indicates a very thin layer of silver sulfide, typically only a few nanometers thick.
The Fix: Do not use liquid dips or abrasive pastes for this stage. Use a high-quality, chemically treated jeweler's polishing cloth (such as a Sunshine Cloth). These cloths are impregnated with micro-abrasives and anti-tarnish agents that gently lift the nanometer-thick sulfide layer without scratching the silver. Wipe in a single direction, not in circles, to prevent cross-hatch micro-scratches that will actually accelerate future tarnishing by increasing the metal's surface area.
Tier 2: Brown and Black Spotting (Deep Sulfidation)
If the yellowing is ignored, the sulfide layer thickens, turning brown and eventually a matte, velvety black. At this stage, mechanical polishing will remove too much of the precious metal. You must use an electrochemical reduction bath to reverse the chemical reaction.
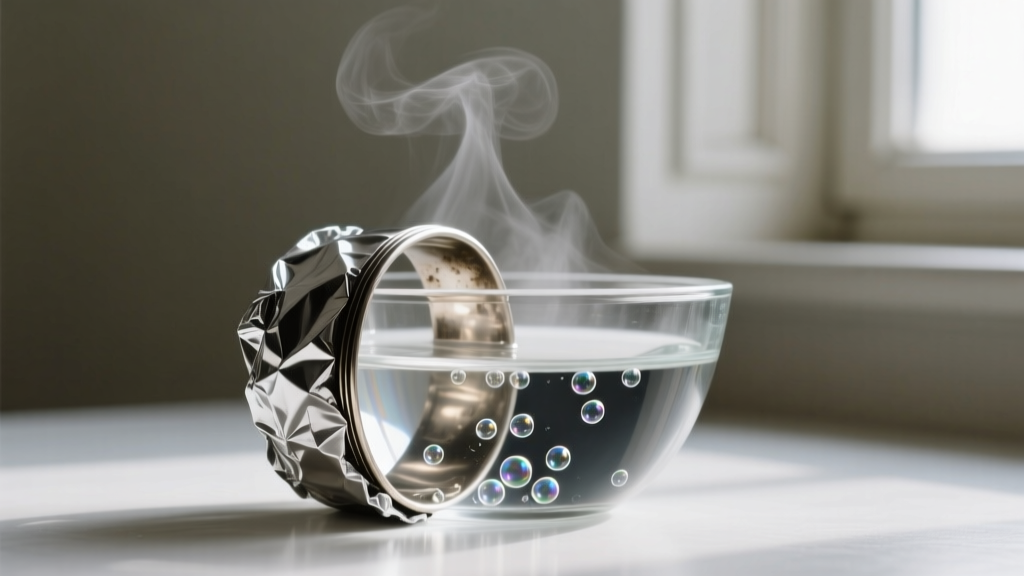
The Electrochemical Bath Protocol:
- Line a glass or ceramic bowl with aluminum foil, shiny side up.
- Add 1 tablespoon of baking soda (sodium bicarbonate) and 1 tablespoon of non-iodized salt per cup of boiling water.
- Submerge the silver so it physically touches the aluminum foil.
- Wait 3 to 5 minutes. The aluminum is more anodic (reactive) than silver. In the electrolyte solution, the aluminum sacrifices itself, pulling the sulfur atoms away from the silver sulfide and transferring them to the foil.
- Remove with wooden tongs, rinse in distilled water, and pat dry with a microfiber cloth.
Expert Warning: Never use the electrochemical bath on intentionally oxidized silver (where the crevices are blackened for contrast) or on pieces set with porous gemstones. The bath will strip the intentional oxidation and can fracture heat-sensitive stones.
Tier 3: Pitted Corrosion and 'Burnt' Silver
If the silver feels rough to the touch, or if it has been exposed to harsh chemicals like bleach or pool chlorine, it may have formed silver chloride or deep pitting. This cannot be reversed with home chemistry. Liquid commercial dips (like Tarn-X) use thiourea, a toxic chemical that strips tarnish instantly but also microscopically etches the silver, leaving a dull, frosty finish that retarnishes twice as fast. For Tier 3 damage, the only solution is professional mechanical buffing with a jeweler's rouge on a high-speed polishing wheel to physically remove the pitted layer.
Gemstone Safety Chart: What to Avoid When Untarnishing
The most catastrophic mistakes happen when jewelers attempt to untarnish silver jewelry without considering the Mohs hardness and porosity of the set gemstones. The Gemological Institute of America (GIA) strictly warns against submerging organic and porous stones in any chemical or heated bath.
| Gemstone Material | Mohs Hardness | Electrochemical Bath Safe? | Commercial Dip Safe? | Troubleshooting Protocol |
|---|---|---|---|---|
| Diamond / Sapphire | 9 - 10 | Yes | Yes (Briefly) | Safe for most chemical and ultrasonic cleaning methods. |
| Amethyst / Topaz | 7 - 8 | Yes (Cool water only) | No | Avoid heat; thermal shock can cause internal fracturing. |
| Turquoise | 5 - 6 | No | No | Porous. Liquids will cause discoloration. Clean silver with a Q-tip. |
| Opal | 5.5 - 6.5 | No | No | Contains up to 20% water. Heat and chemicals will cause 'crazing' (cracking). |
| Pearl / Coral | 2.5 - 4 | No | No | Organic. Acids and alkalis will dissolve the nacre. Polish silver only. |
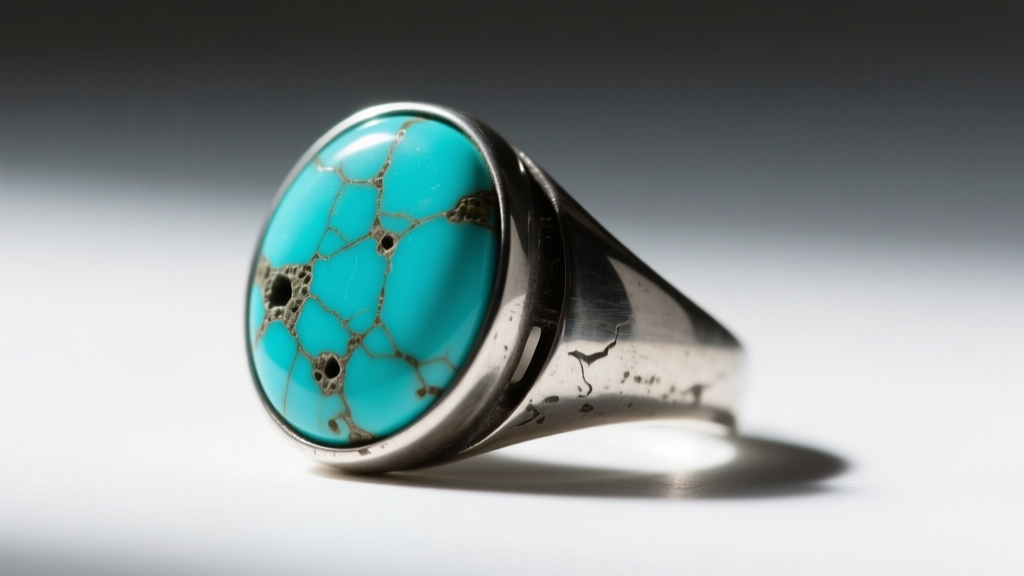
When dealing with turquoise, opal, or pearl-set silver, you must untarnish the metal using a localized approach. Wrap the gemstone tightly in plastic wrap, and use a silver polishing stick or a Q-tip dipped in a mild silver cream to carefully polish only the exposed metal, avoiding the stone's bezel entirely.
Dangerous DIY Myths That Ruin Sterling Silver
The internet is saturated with harmful hacks for cleaning silver. Here is the metallurgical truth behind the most common myths:
- The Toothpaste Myth: Toothpaste contains hydrated silica. The Relative Dentin Abrasivity (RDA) of standard toothpaste is between 70 and 100. Silver is incredibly soft (2.5 to 3 on the Mohs scale). Scrubbing silver with toothpaste acts like sandpaper, creating deep, permanent micro-scratches that trap moisture and sulfur, guaranteeing faster tarnish in the future.
- The Lemon Juice and Salt Myth: While the citric acid can dissolve some tarnish, the low pH (around 2.0) will aggressively attack the copper alloy in 925 sterling silver, leading to a condition called 'depletion gilding,' where the surface becomes porous and weak.
- The Boiling Water Myth for Gemstones: Even if a stone is hard (like a sapphire), the thermal shock of dropping a room-temperature ring into boiling water can cause the metal bezel to expand faster than the stone, cracking the gem or loosening the prongs.
Preventative Storage Protocols for 2026
The most effective way to manage tarnish is to prevent the initial chemical reaction. As of 2026, the gold standard for silver storage relies on active atmospheric scavengers rather than simple airtight bags.
- Pacific Silvercloth: This is a specialized cotton flannel embedded with thousands of micro-particles of pure silver. When stored in this cloth, the airborne hydrogen sulfide reacts with the embedded silver particles instead of your jewelry. It effectively sacrifices itself to protect your pieces.
- 3M Anti-Tarnish Strips: These strips use a proprietary copper-based polymer that absorbs sulfur gases from the surrounding air. Place one strip inside a sealed ziplock bag with your silver. They remain active for 6 to 12 months, depending on the ambient humidity and pollution levels of your environment.
- Silica Gel Packets: Moisture acts as a catalyst for the sulfidation reaction. Keeping the relative humidity inside your storage container below 40% will drastically slow down the tarnishing process. Replace silica packets every three months.
Final Thoughts
Learning how to correctly untarnish silver jewelry is an exercise in applied chemistry. By diagnosing the severity of the silver sulfide layer and respecting the physical limitations of any accompanying gemstones, you can keep your 925 sterling pieces in pristine condition for generations. Abandon the abrasive kitchen hacks, embrace electrochemical reduction for heavy tarnish, and invest in active atmospheric storage to ensure your silver stays as bright as the day it was cast.


