How to Restore Tarnished Jewelry Made of Silver at Home Fast
Discover expert troubleshooting steps to clean, restore, and prevent tarnish on jewelry made of silver. Learn safe DIY methods and chemical reactions.

There are few things more frustrating to a jewelry collector than reaching for a favorite piece only to find it has turned a dull, lifeless black. When your jewelry made of silver loses its brilliant luster, it is not permanently ruined; it is simply undergoing a predictable chemical reaction. Understanding the metallurgy of sterling silver and the environmental triggers of oxidation is the first step toward effective restoration. Whether you are dealing with a vintage heirloom or a modern minimalist band, troubleshooting silver tarnish requires a methodical approach tailored to the severity of the corrosion and the presence of any delicate gemstones.
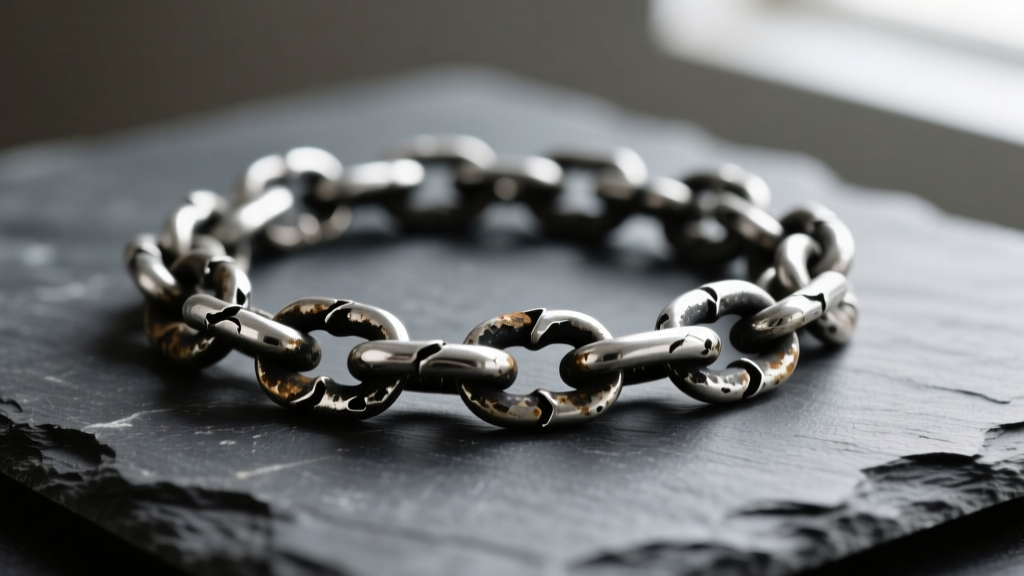
The Chemistry of Silver Tarnish: Why It Happens
To properly troubleshoot tarnished silver, we must first look at the chemistry. Pure silver (999 fine silver) is highly resistant to tarnish, but it is too soft for durable jewelry. Therefore, most jewelry made of silver is crafted from 925 sterling silver, which contains 92.5% pure silver and 7.5% alloy metals—almost always copper.
Tarnish is not a flaw in the metal; it is a surface-level chemical reaction. When the copper and silver in your jewelry are exposed to hydrogen sulfide (H2S) in the atmosphere, they form silver sulfide (Ag2S). According to the Canadian Conservation Institute, hydrogen sulfide is ubiquitous, originating from industrial pollution, volcanic activity, and even everyday household items like rubber bands, wool, and certain paints. High humidity and airborne salts drastically accelerate this electrochemical process, turning your bright jewelry into a darkened, yellowish, or blackened state.
Troubleshooting Severity: Assessing Your Silver Piece
Before applying any cleaning agents, you must accurately diagnose the tarnish level. Using an aggressive chemical dip on lightly tarnished silver can strip away the factory-applied anti-tarnish coating (often a micro-thin layer of rhodium or clear lacquer), leaving the raw metal more vulnerable to future oxidation. Conversely, using a simple polishing cloth on severe sulfide buildup will only result in hours of futile rubbing and potential scratching.
| Tarnish Stage | Visual Indicator | Primary Cause | Safe Cleaning Method |
|---|---|---|---|
| Level 1: Light | Slight yellowish or pale golden hue | Early sulfur exposure, skin oils | Dry microfiber or treated silver cloth |
| Level 2: Moderate | Brownish or coppery undertones | Prolonged air exposure, humidity | Mild soap wash or gentle liquid polish |
| Level 3: Severe | Deep black, grey, or matte charcoal | Heavy H2S saturation, neglect | Electrochemical bath or professional dip |
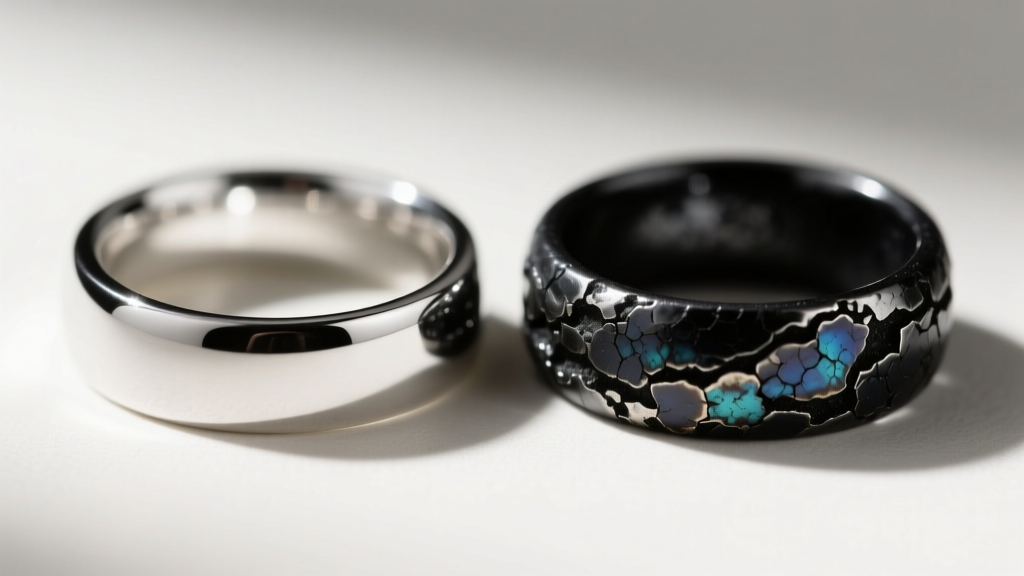
Step-by-Step Restoration Methods for Silver Jewelry
Once you have identified the severity of the tarnish on your jewelry made of silver, select the appropriate restoration protocol below. Always ensure your piece does not contain porous gemstones (like turquoise, opal, pearl, or malachite) before using liquid or chemical methods, as these stones will absorb the chemicals and fracture or discolor permanently.
Level 1: Light Tarnish (The Microfiber & Polish Method)
For early-stage yellowing, avoid liquid cleaners entirely. Use a high-quality, impregnated silver polishing cloth (such as a Sunshine Cloth). These cloths contain micro-abrasives and anti-tarnish agents that physically lift the thin layer of silver sulfide without removing significant amounts of the underlying base metal. Rub in straight, back-and-forth motions rather than circles to avoid magnifying micro-scratches in the silver.
Level 2: Moderate Tarnish (The Electrochemical Aluminum Foil Bath)
This is the gold standard for DIY silver restoration, relying on a redox (reduction-oxidation) reaction. Because aluminum is more reactive than silver, it acts as a sacrificial anode, pulling the sulfur atoms off the silver and binding to them instead.
- Line a glass or ceramic bowl with aluminum foil, shiny side up.
- Place your silver jewelry on the foil, ensuring direct contact.
- Sprinkle 1 tablespoon of baking soda (sodium bicarbonate) and 1 teaspoon of sea salt over the jewelry.
- Pour 1 cup of boiling water into the bowl. You will immediately see bubbling and smell a faint sulfur (rotten egg) odor.
- Let it sit for 3 to 5 minutes. Use wooden tongs to remove the jewelry, rinse thoroughly with distilled water, and buff dry with a lint-free cloth.
Expert Warning: Never use this boiling method on jewelry made of silver that features glued-in stones, enamel work, or oxidized (intentionally blackened) design details, as the heat and chemical reaction will dissolve the adhesives and strip the intentional patina.
Level 3: Severe Tarnish & Crevice Buildup (Ultrasonic & Chemical Dip)
For heavily blackened pieces with intricate filigree, a commercial silver dip (usually containing thiourea) is required to dissolve thick sulfide crusts. Submerge the piece for no more than 10 to 15 seconds, then rinse immediately. If tarnish remains trapped in deep crevices, an ultrasonic cleaner operating at 40kHz can dislodge it using cavitation bubbles. However, the Gemological Institute of America (GIA) strictly warns against using ultrasonic waves on fractured diamonds, emeralds, or any organic gems, as the high-frequency vibrations will shatter them.
Troubleshooting 'Green Skin' and Allergic Reactions
A common complaint regarding jewelry made of silver is the green or black smudge left on the wearer's skin. This is not an allergic reaction to silver, nor does it mean the jewelry is fake. It is a direct result of the 7.5% copper alloy reacting with the acidic pH of human sweat (which typically ranges from 4.5 to 7.0) and environmental moisture, forming copper chloride.
The Fix: If you have highly acidic skin, you must create a physical barrier between the copper alloy and your epidermis. For a temporary, zero-cost fix, paint the inner band of the ring with a thin layer of clear nail polish. For a permanent, professional solution, take the piece to a jeweler to have it plated with a 0.5-micron layer of rhodium. Rhodium is a platinum-group metal that is completely hypoallergenic, highly reflective, and impervious to oxidation.
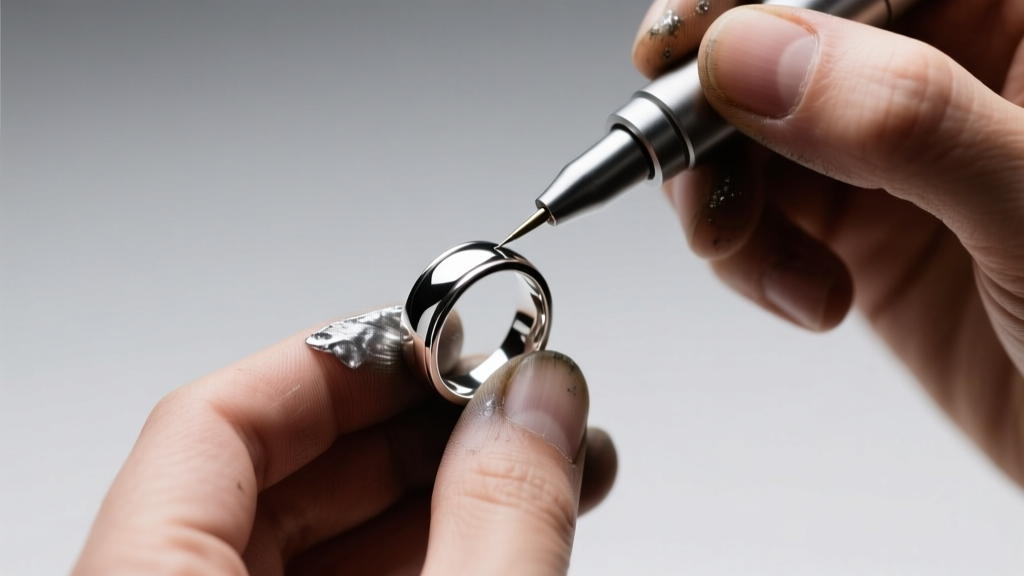
Preventative Maintenance Framework
Restoring your silver is only half the battle; preventing the sulfide reaction from restarting is crucial for long-term preservation. Implement the following storage and wear protocols to keep your collection pristine:
- Micro-Climate Storage: Store pieces in airtight ziplock bags with a piece of 3M anti-tarnish paper. These papers absorb airborne sulfur compounds before they can reach the metal.
- Pacific Silvercloth: For high-value items, wrap them in Pacific Silvercloth. This specialized cotton fabric is embedded with microscopic silver particles that act as a sacrificial shield, tarnishing themselves so your jewelry does not.
- Humidity Control: Keep your jewelry box in a room where relative humidity (RH) is maintained below 50%. Avoid storing silver in bathrooms or damp basements.
- The 'Last On, First Off' Rule: Always put your silver jewelry on after applying lotions, perfumes, and hairspray. Chemical solvents and sulfur-based cosmetics will cause instant, localized tarnishing upon contact.
By understanding the exact chemical triggers of silver sulfide and utilizing the correct electrochemical or mechanical restoration methods, you can safely bring even the most neglected jewelry made of silver back to its original, mirror-like brilliance.


