Mastering Costume Jewelry Crafts: A Beginner's Material Guide
Discover the ultimate beginner's guide to costume jewelry crafts. Learn about base metals, essential tools, wire gauges, and plating techniques.

The Modern Landscape of Costume Jewelry Crafts
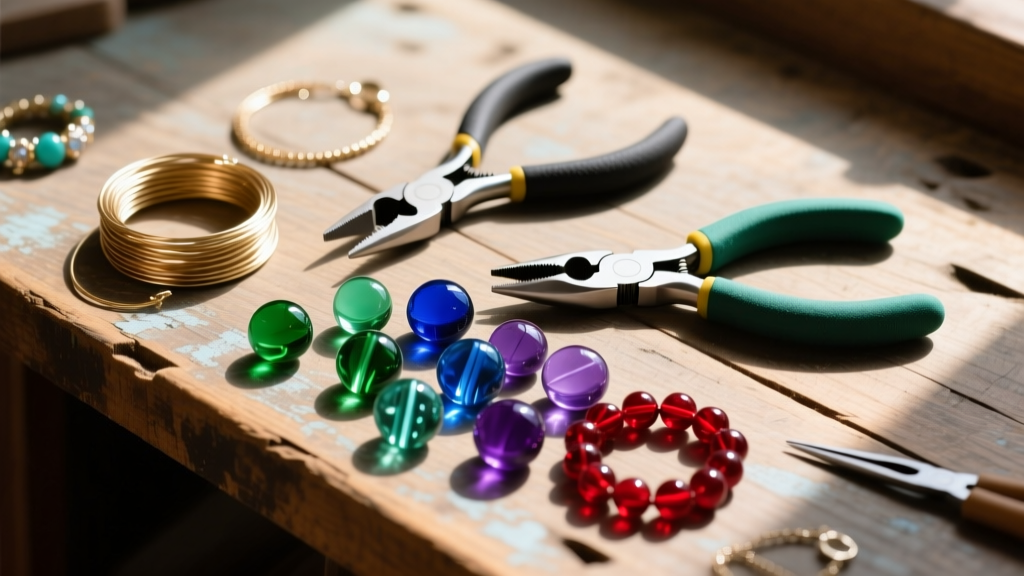
The term 'costume jewelry' often conjures images of cheap, mass-produced accessories that tarnish after a single wear. However, in 2026, the landscape of costume jewelry crafts has evolved dramatically. Today's independent artisans and hobbyists are bridging the gap between disposable fashion jewelry and high-end demi-fine pieces by utilizing architectural base metals, advanced UV resins, and meticulous wire-wrapping techniques. Whether you are looking to launch an Etsy shop or simply craft unique statement pieces for your personal collection, understanding the metallurgy and mechanics of base materials is your first step toward creating heirloom-quality costume jewelry.
This beginner-friendly explainer will walk you through the exact materials, wire gauges, and professional tools you need to elevate your craft from amateur to artisan.
The Core Materials: Upgrading Your Base Metals
The foundation of any high-quality costume piece is its base metal. Unlike fine jewelry, which relies on the intrinsic value of precious metals like 14k gold or sterling silver, costume jewelry crafts rely on the workability, color, and durability of non-precious alloys.
Jeweler's Brass (C26000)
Jeweler's brass, also known as cartridge brass, is an alloy of 70% copper and 30% zinc. It is the undisputed king of costume jewelry crafts due to its warm, golden hue that closely mimics 14k yellow gold. It is highly malleable, making it ideal for stamping, forging, and wire wrapping. However, because it contains copper, it will oxidize and develop a patina over time. Artisans often seal finished brass pieces with specialized polymer coatings to prevent skin discoloration.
Copper (C11000)
Pure copper is incredibly soft and boasts a distinct, warm reddish-orange tone. It is exceptionally forgiving for beginners learning complex wire-weaving patterns because it work-hardens slower than brass. The primary failure mode with copper is its tendency to oxidize rapidly when exposed to the natural oils and acidity of human skin, requiring a robust sealant or a deliberate antiquing treatment using liver of sulfur.
Aluminum
For massive, oversized statement earrings or chunky cuff bracelets, weight is a critical factor. Aluminum is roughly one-third the weight of brass or copper. While it cannot be easily soldered with standard jewelry torches, it is perfect for cold-connection techniques like riveting and wire-wrapping. Anodized aluminum wire also offers a spectrum of vibrant, fade-resistant colors without the need for toxic chemical dyes.
Understanding Wire Gauges and Tempers
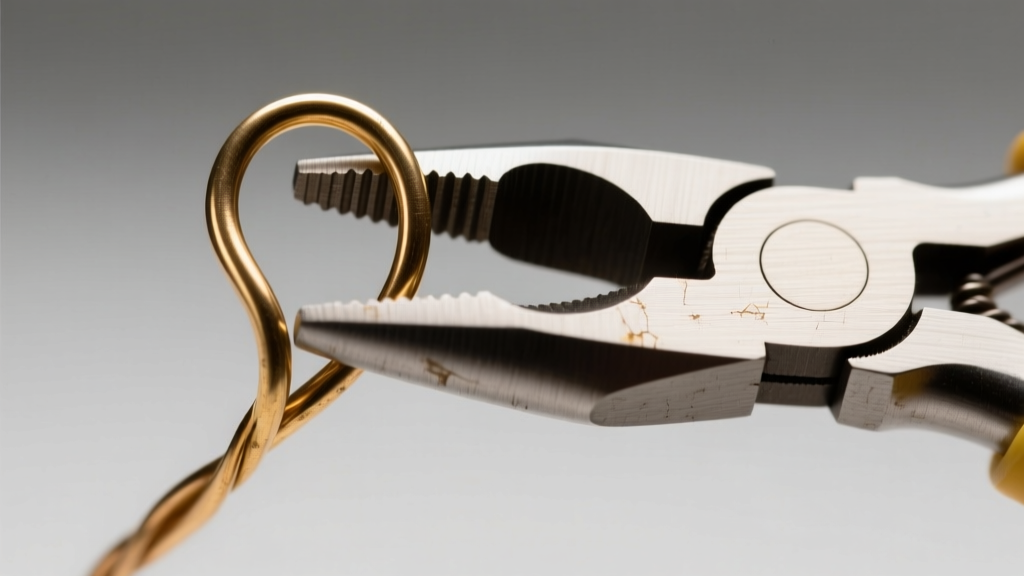
Selecting the correct wire gauge (thickness) and temper (hardness) is where most beginners fail. Using a wire that is too thin will result in a piece that loses its shape, while a wire that is too thick will cause hand fatigue and break your tools.
- 24-Gauge (0.51mm): Dead soft. Best for intricate wire weaving, coiling, and wrapping beads. Too fragile for structural components.
- 20-Gauge (0.81mm): Half-hard. The universal standard for ear wires, headpins, and basic jump rings. It holds its shape well while remaining pliable enough to bend with standard pliers.
- 18-Gauge (1.02mm): Half-hard to full-hard. Ideal for heavy-duty clasps, ear cuffs, and structural jump rings that must support the weight of heavy pendants.
- 16-Gauge (1.29mm): Full-hard. Used for rigid bangles, heavy jump rings, and ring shanks. Requires heavy-duty cutters and significant hand strength to manipulate.
Essential Tools for Clean Finishes
You cannot execute professional-grade costume jewelry crafts with hardware store pliers. Standard steel tools will mar, scratch, and dent soft base metals like brass and copper. To achieve clean, retail-ready finishes, you must invest in specialized jewelry tools.
Nylon Jaw Pliers: These feature replaceable nylon pads that grip the wire securely without leaving tool marks. They are absolutely essential for straightening wire and closing jump rings flush.
Flush Cutters: Brands like Lindstrom or Tronex offer micro-shear cutters that leave a perfectly flat, flush cut on the wire. Standard diagonal cutters leave a sharp 'pinch' point that will scratch the wearer and snag on clothing.
Stepped Ring Mandrel: A steel or nylon mandrel with etched size markings ensures your rings and bezels are perfectly round and accurately sized, preventing the warped ovals that plague beginner wire workers.
Plating, Patina, and Avoiding the 'Cheap' Look
The hallmark of amateur costume jewelry is a shiny, yellow brass finish that quickly turns the wearer's skin green. To elevate your pieces, you must master surface finishing.
Pro Tip: Never use steel wool or harsh abrasives on raw brass if you plan to seal it. Micro-scratches will trap moisture beneath your sealant, leading to sub-surface oxidation that looks like cloudy white spots.
For a vintage look, use Liver of Sulfur to force a dark, antiqued patina, then polish the high points with a brass brush to create dimensional contrast. To preserve the bright golden look of raw brass, tumble your finished pieces in a rotary tumbler with stainless steel shot and a drop of dish soap for 45 minutes. This burnishes the metal, closing the microscopic pores and creating a mirror-like shine. Finally, seal the piece with a jewelry-specific coating like ProtectaClear to prevent tarnishing and skin reactions.
| Material | Alloy Composition | Tarnish Rate | Best Application | Avg Cost per Oz |
|---|---|---|---|---|
| Jeweler's Brass | 70% Cu, 30% Zn | Moderate | Wire wrapping, stamping | $1.50 - $2.50 |
| Red Brass | 85% Cu, 15% Zn | Slow | Casting, heavy forging | $2.00 - $3.00 |
| Pure Copper | 99.9% Cu | Fast | Weaving, patina work | $1.80 - $2.80 |
| Aluminum | 99.0% Al | None (Oxidizes clear) | Statement earrings, cuffs | $0.80 - $1.20 |
Step-by-Step: Crafting a Resin and Brass Statement Ring
To put these concepts into practice, let us walk through a beginner-friendly project that combines structural metalwork with modern resin techniques.
- Cut the Bezel: Using 18-gauge (1.02mm) half-hard jeweler's brass sheet, cut a strip 5mm wide and long enough to wrap around your ring mandrel at your desired size, plus 10mm for overlap.
- Form and Solder: Wrap the brass strip around the mandrel. File the ends perfectly flush. Use silver solder and a butane torch to join the seam. Quench in water and pickle in a mild citric acid bath to remove flux.
- Create the Baseplate: Solder the brass ring onto a flat 20-gauge brass sheet. Once cooled, use a jeweler's saw to trim the excess sheet metal flush with the outer edge of the ring.
- Prep for Resin: Sand the inside of the bezel with 400-grit sandpaper to give the resin a mechanical tooth to grip. Clean thoroughly with isopropyl alcohol.
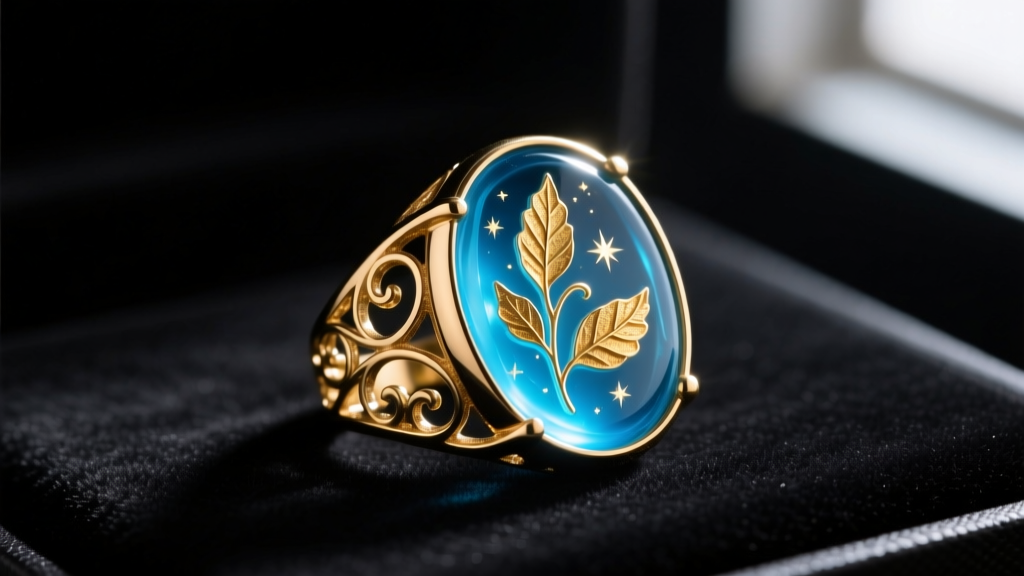
- The Resin Pour: Mix a two-part jewelry-grade epoxy resin (or use UV resin for faster curing). Add a drop of translucent blue alcohol ink and a pinch of imitation gold leaf. Pour carefully into the brass bezel, using a heat gun to pop any micro-bubbles.
- Final Polish: Once fully cured, sand the resin flush with the brass edge using progressive wet-sanding grits (400 to 2000), then polish with a jeweler's rouge.
Sourcing and Pricing Guide for Beginners
Where you source your materials dictates the quality of your final product. Avoid bulk marketplaces like Amazon or AliExpress for base metals, as the alloy compositions are often unverified and may contain nickel or lead, which are severe skin irritants and legally restricted in many markets.
Instead, rely on established, reputable jewelry supply houses. Rio Grande is the industry standard for raw metals, offering certified, nickel-free brass and copper with exact alloy specifications. For findings, pre-made chains, and specialized tools, Halstead Bead provides excellent wholesale pricing even for beginners opening a starter account. Expect to spend roughly $150 to $250 on your initial raw material and tooling setup, which is more than enough to produce your first 20 to 30 retail-ready pieces.
Final Thoughts on Elevating Your Craft
Mastering costume jewelry crafts is not about mimicking fine jewelry; it is about leveraging the unique properties of base metals and alternative materials to create bold, expressive designs that fine jewelry cannot achieve. By respecting the metallurgy of your materials, investing in flush-cutting tools, and implementing professional finishing techniques, you will produce costume pieces that command respect, endure daily wear, and stand out in a saturated market.


