The Beginner's Guide to Fixing Costume Jewelry at Home
Learn the basics of fixing costume jewelry at home. Discover essential adhesives, tools, and step-by-step repairs for rhinestones, clasps, and plating.

Why Costume Jewelry Fails (And How to Diagnose It)
Costume jewelry is often dismissed as disposable fashion, but vintage and designer pieces hold immense sentimental and historical value. Unlike fine jewelry crafted from solid gold or platinum, costume pieces are typically constructed from base metals like brass, pewter, or Zamak (a zinc alloy), and then finished with a thin layer of flash plating. Over time, the adhesives degrade, the plating wears away, and mechanical components like jump rings fatigue.
Before attempting any repair, you must accurately diagnose the failure mode. Is the issue structural (a broken shank or clasp), cosmetic (tarnished or flaking plating), or decorative (missing rhinestones)? Understanding the metallurgy of your piece is critical. For instance, Zamak is highly porous and brittle; applying too much pressure with pliers can cause it to snap cleanly in half. According to the Gemological Institute of America (GIA), proper handling and understanding of material limitations are the first steps in successful jewelry restoration.
The Essential Toolkit for Fixing Costume Jewelry
You do not need a professional jeweler's bench to start fixing costume jewelry, but you do need precision tools. Hardware store pliers will mar soft base metals and crush delicate settings. Invest in the following basics:
- Flush Cutters: For trimming wire and jump rings cleanly without leaving sharp pinched edges.
- Chain-Nose and Flat-Nose Pliers: Ensure they are smooth-jawed (no teeth) to prevent scratching soft gold plating.
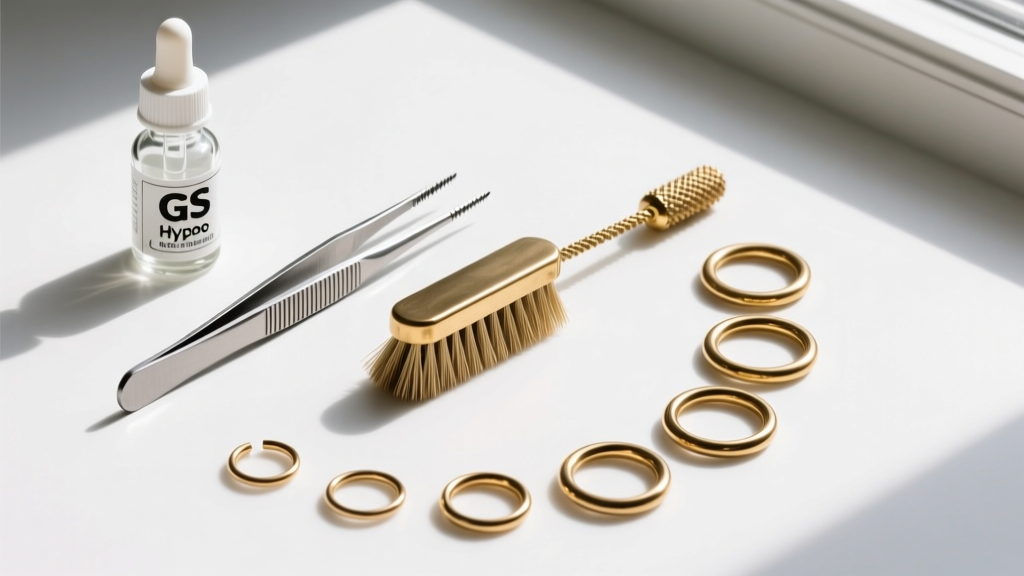
- Fiberglass Scratch Brush: Essential for cleaning out old, hardened glue from rhinestone sockets without damaging the surrounding metal.
- Precision Tweezers: Brass or non-magnetic stainless steel tweezers with a fine point for handling stones under 3mm.
- Isopropyl Alcohol (90%+): For degreasing surfaces before applying adhesive. Never use acetone on costume jewelry, as it will melt plastic stones, pearls, and enamel.
Adhesive Selection Chart: What to Use Where
The most common mistake beginners make is reaching for cyanoacrylate (Super Glue). Cyanoacrylate undergoes an exothermic reaction that causes "blooming"—a permanent white fog that will ruin the clarity of glass rhinestones. Furthermore, it dissolves the delicate metallic foil backing on vintage stones, rendering them dull and gray. Use the chart below to select the correct adhesive for your specific repair.
| Adhesive Type | Best Used For | Drying Time | Flexibility & Notes |
|---|---|---|---|
| GS Hypo Cement | Rhinestones, pearls, foil-backed stones | 10-15 mins (tack), 24 hrs (cure) | Medium flexibility. Precision needle tip prevents flooding the stone's table. |
| E6000 Jewelry & Bead | Metal-to-metal, heavy cabochons, clasp replacements | 10 mins (tack), 72 hrs (cure) | Highly flexible and waterproof. Fumes require ventilation; messy application. |
| Two-Part Jeweler's Epoxy | Structural breaks, bonding base metal to sterling posts | 5-10 mins (working), 24 hrs (cure) | Rigid and extremely strong. Requires mixing; yellows slightly over time if exposed to UV. |
| UV Resin | Securing foils, creating faux enamel drops, coating | 2-3 mins under UV lamp | Hard and glass-like. Does not bond well to oily or highly polished metals without scuffing. |
Step-by-Step Repairs for Common Mishaps
Reattaching Missing Rhinestones and Cabochons
When a stone falls out, the socket is usually caked with decades-old, brittle glue. Do not simply drop new glue on top; the bond will fail. Use a fiberglass scratch brush to gently sweep out the old adhesive. If the socket has prongs, use a needle tool to gently lift them. Apply a microscopic drop of GS Hypo Cement to the floor of the socket, avoiding the prongs. Drop the stone in, and use a wax-tipped pickup tool or a piece of rolled painter's tape to press it flat. Gently push the prongs back over the girdle of the stone using a bezel pusher.
Fixing Broken Clasps and Jump Rings
Base metal jump rings suffer from metal fatigue and often pull apart at the seam. Never pull a jump ring open laterally (side-to-side); this warps the circle and weakens the brass. Instead, use two pairs of smooth-jaw pliers to twist the ring open longitudinally (one hand pushes away, the other pulls toward you). If the original lobster clasp is broken, thread a new brass or stainless steel clasp onto the ring, and twist it shut using the same longitudinal motion. For heavy vintage necklaces, upgrade to a double-spring ring clasp for added security.
Restoring Faux Gold and Silver Plating
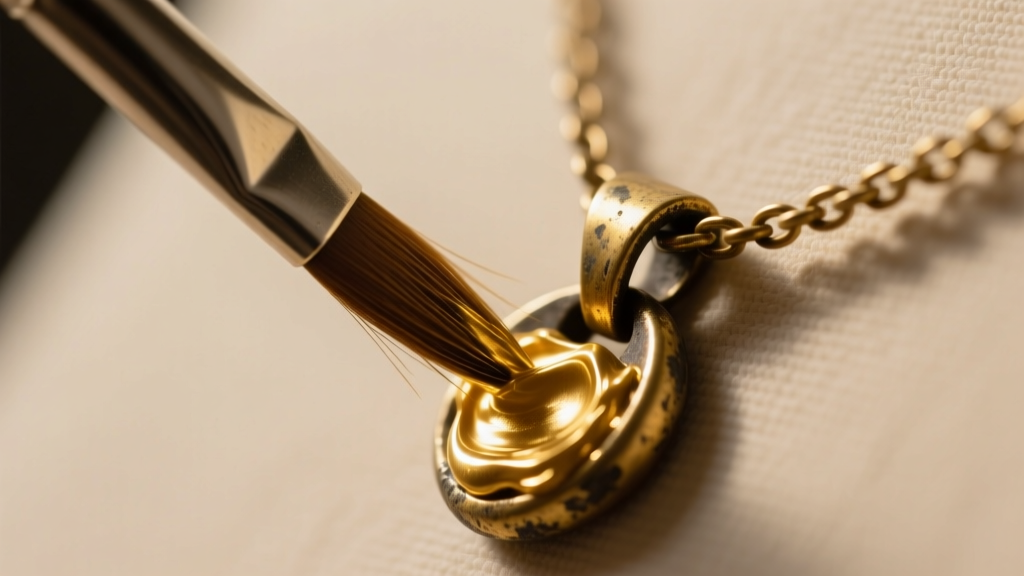
Costume jewelry relies on "flash plating," a microscopically thin layer of gold or silver over a brass or nickel base. When this wears off, the piece looks brassy and dull. While you cannot electroplate at home without hazardous chemicals, you can perform highly effective cosmetic touch-ups. For gold-toned pieces, use a metallic wax paste like Rub 'n Buff. Apply it with a soft silicone brush, let it haze for five minutes, and buff it to a high shine with a microfiber cloth. Seal the repair with a light coat of clear, non-yellowing nail polish or a specialized jewelry shield to prevent the wax from rubbing off on the wearer's skin.
The Soldering Myth: Why Cold Connections Rule
Beginners often wonder if they can solder a broken zinc alloy (pot metal) brooch pin or a snapped brass bangle. The short answer is no. Traditional jewelry soldering requires a jeweler's torch that reaches temperatures exceeding 1,200°F. Zamak and pot metal have melting points as low as 725°F (385°C). Applying a torch to these materials will cause them to melt, bubble, and permanently disintegrate into a porous lump.
Instead, fixing costume jewelry requires "cold connections." This involves using two-part epoxies for structural bonding, or mechanical fasteners like micro-rivets and eyelets to join broken metal components. The Fire Mountain Gems Jewelry-Making Encyclopedia provides excellent visual guides on creating cold connections and wire-wrapping broken components that can no longer be soldered.
Pro-Tip for Storage: The leading cause of costume jewelry degradation is humidity and skin acidity. Always wipe your pieces with a dry microfiber cloth after wearing them to remove sebum and sweat. Store them in individual anti-tarnish ziplock bags with a silica gel packet to halt the oxidation of the base metals beneath the plating.
When to Stop: Repairs Best Left to Professionals
While fixing costume jewelry at home is incredibly rewarding, knowing your limits saves pieces from the trash bin. If a piece features glued-in channel-set baguette stones, attempting to remove them to fix a bent shank will almost certainly shatter the glass. Similarly, if a piece is marked "Trifari" or "Coro" and holds significant collector value, amateur glue jobs and wax polishes will drastically reduce its market appraisal. In these cases, consult a bench jeweler who specializes in vintage costume restoration and possesses the specialized low-heat laser welders required to work on fragile base metals without destroying the original patina.


