How to Make a Durable Seed Beaded Necklace: Step-by-Step Guide
Learn how to craft a professional seed beaded necklace with our step-by-step guide. Master bead sizing, thread tension, and secure clasp finishing.

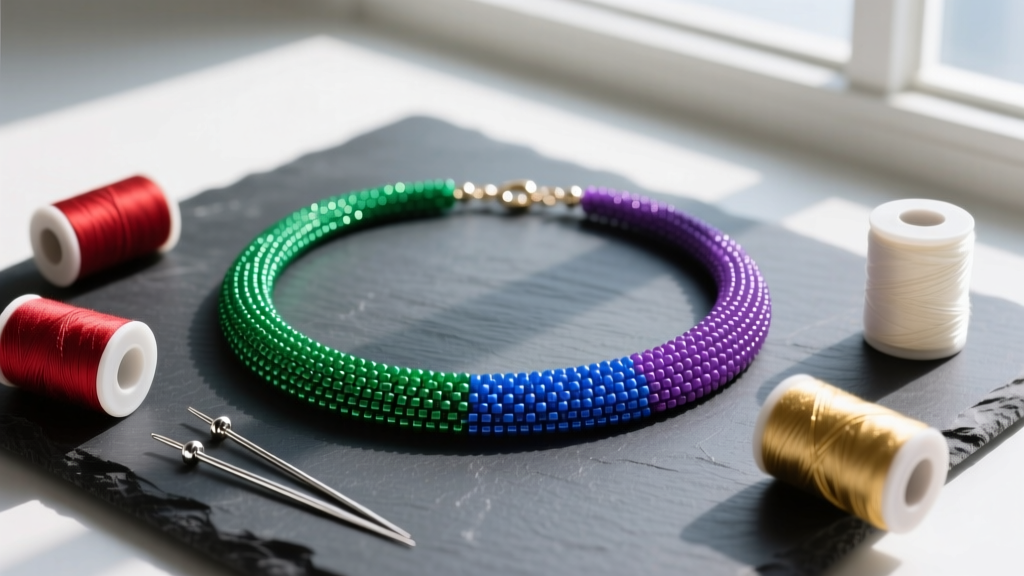
The Anatomy of Seed Beads: Sizing and Selection
Creating a professional-grade seed beaded necklace requires moving beyond generic craft store supplies and understanding the precise engineering of bead sizing. Seed beads are measured using the "aught" system, which indicates how many beads fit into a standard linear inch. For instance, an 11/0 (pronounced "eleven-aught") bead means approximately 11 beads span one inch. According to the Miyuki Beads Official Sizing Guide, the 11/0 size remains the undisputed workhorse of jewelry design, offering an optimal balance between intricate detailing and structural drape.
When selecting materials in 2026, designers primarily choose between two distinct shapes: round seed beads and cylindrical beads (like Miyuki Delicas or Toho Treasures). Round beads offer a softer, organic drape ideal for fluid, multi-strand necklaces. Cylindrical beads lock together with a satisfying click, creating a rigid, fabric-like structure perfect for geometric patterns and tension-heavy designs. For a standard single-strand necklace that rests elegantly on the collarbone, 11/0 or 8/0 rounds are your best starting point.
Essential Tools and Materials for Professional Stringing
The most common point of failure in a seed beaded necklace is not the clasp, but the thread degrading from friction against the bead holes. To prevent this, you must pair your bead hole diameter with the correct high-performance thread.
| Bead Size (Aught) | Avg Diameter | Hole Size | Recommended Thread & Weight | Best Needle Size |
|---|---|---|---|---|
| 15/0 | 1.3mm | 0.7mm | 2lb - 4lb Fireline (UHMWPE) | Tulip Size 12 or 13 |
| 11/0 | 2.1mm | 0.8mm | 6lb Fireline or 0.006" WildFire | Tulip Size 10 or 11 |
| 8/0 | 3.0mm | 1.0mm | 8lb Fireline or 0.008" WildFire | Tulip Size 8 or 10 |
| 6/0 | 4.0mm | 1.2mm | 10lb Fireline or 0.010" WildFire | Tulip Size 5 or 8 |
While traditional nylon threads like Nymo require conditioning with beeswax to prevent fraying, modern thermally bonded polyethylene threads like WildFire (priced around $16 for a 20-yard spool) or braided UHMWPE like Fireline require zero conditioning. They are impervious to stretching, UV damage, and moisture, ensuring your necklace maintains its exact tension for decades.
Step-by-Step: Stringing Your Seed Beaded Necklace
Step 1: Preparing the Thread and Managing Tension
Cut a generous 36-inch length of your chosen thread. Thread your needle, leaving a 6-inch tail. Do not tie a knot at the end of the tail; instead, string a single 11/0 bead and pass the needle back through it twice to create a temporary "stop bead." This prevents your beads from sliding off while you work and can be easily snipped off later. As you begin stringing, maintain a relaxed grip. Pulling the thread too tightly will cause the necklace to stiffen and curl into a rigid hoop, while leaving it too loose will result in unsightly gaps between the beads.
Step 2: Pattern Integration and the Drape Test
String your seed beads using a velvet bead mat to prevent rolling. If you are integrating focal beads or metallic spacer beads, ensure their holes are smooth; sharp metal edges will eventually shear through even the strongest thread. Every 6 inches of progress, remove the stop bead and let the strand fall naturally onto your work surface. This "drape test" reveals tension issues immediately. A properly tensioned seed beaded necklace should pool like liquid rather than holding a stiff, angular shape.
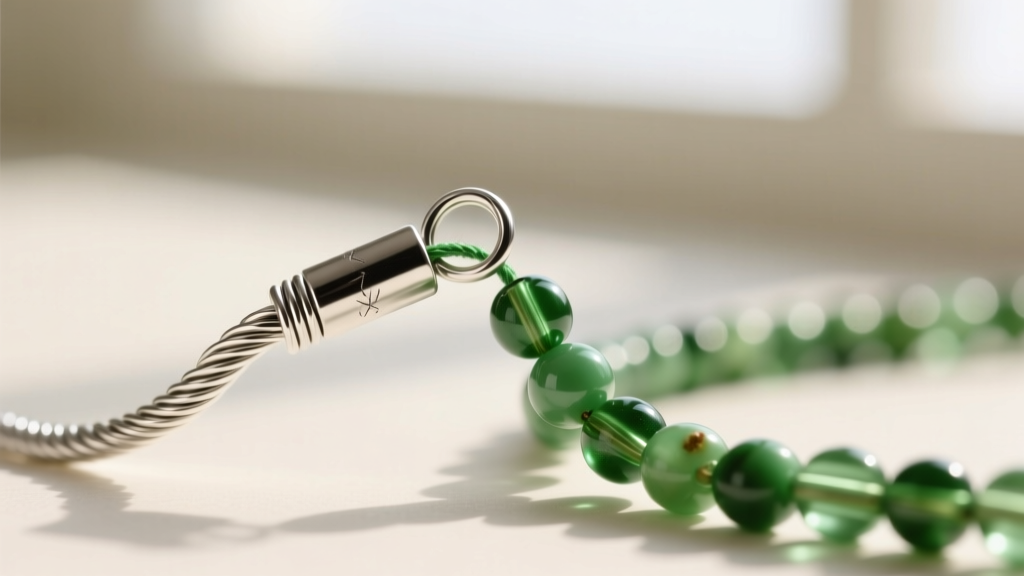
Step 3: Securing the Clasp with Wire Guardians
Never crimp directly onto a polyethylene or nylon thread; the metal crimp tube will eventually act like a guillotine, severing the necklace. Instead, use a wire guardian (also known as a French wire or thread protector). Pass your thread through the wire guardian, loop it through the jump ring of your lobster or toggle clasp, and pass the thread back through the guardian and the last three seed beads. Add a 2mm micro crimp tube over the doubled thread, position it flush against the seed beads, and flatten it securely using the U-shaped notch and oval-forming jaws of a professional crimping plier. This distributes the shear force across the metal guardian, protecting the thread entirely.
Troubleshooting Common Tension and Breakage Issues
Even experienced beaders encounter structural anomalies. Here is how to diagnose and fix the most frequent issues documented in the Fire Mountain Gems Beading Encyclopedia:
- The Necklace Curls or Kinks: This is almost always caused by excessive tension during stringing or using a thread that is too thick for the bead hole, causing internal friction. Unstring a few inches and re-string with a looser grip.
- Needle Breakage: If your Tulip needle snaps at the eye, you are likely forcing a size 10 needle through a 15/0 bead. Always match the needle to the smallest bead hole in your entire pattern, not the largest.
- Visible Thread Gaps: If you see thread between beads near the clasp, your wire guardian loop is too large. Use chain-nose pliers to gently squeeze the loop tighter before crimping.
Care, Maintenance, and Long-Term Storage
Seed beaded necklaces are remarkably durable when constructed with modern threads, but the beads themselves require specific care. Matte-finish and galvanized seed beads can wear down if exposed to harsh chemicals, perfumes, or the natural acidity of sweat over prolonged periods.
Pro Storage Tip: Never hang a heavy, multi-strand seed beaded necklace on a standard jewelry tree. The constant gravitational pull can permanently stretch nylon threads and distort the drape. Always store heavy seed bead pieces flat in a lined jewelry box or coiled loosely in a soft cotton pouch.
By investing in high-tolerance Japanese seed beads and engineered beading threads, your handmade pieces will rival the structural integrity and visual brilliance of high-end boutique jewelry. Mastering the tactile feedback of thread tension is the final frontier in transforming from a hobbyist into a master jewelry artisan.