Restoring 1980s Fashion Jewelry: Fixing Tarnish & Broken Clasps
Learn how to troubleshoot and restore 1980s fashion jewelry. Expert tips on removing verdigris, replacing AB rhinestones, and fixing vintage clasps.

The Unique Material Challenges of 1980s Costume Pieces
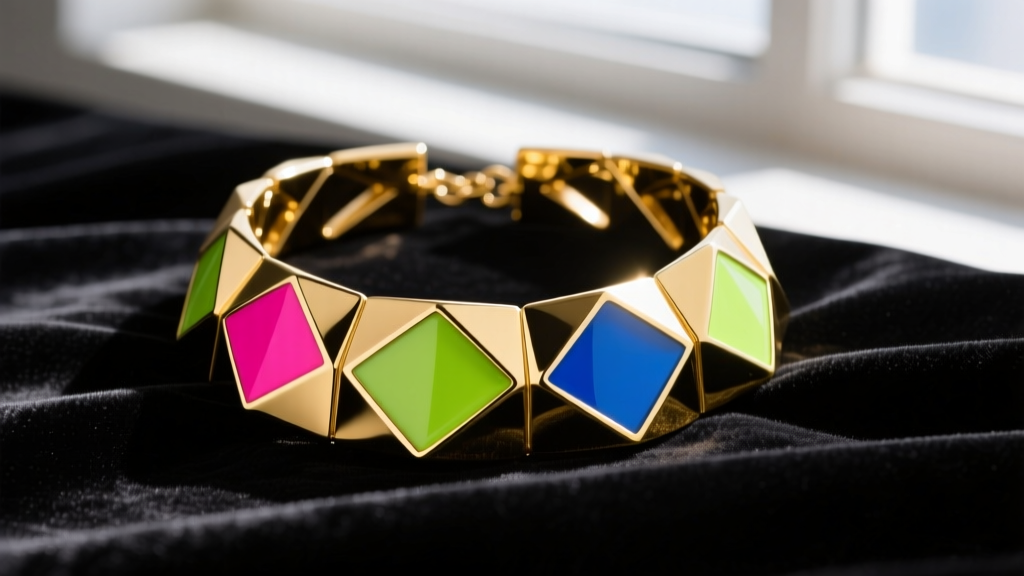
The 1980s was an era of unapologetic maximalism in fashion, and the jewelry of the decade reflected this bold ethos. Oversized geometric earrings, chunky gold-tone collar necklaces, and vibrant neon acrylic bangles dominated the market. However, as we navigate the vintage revival of 2026, authentic 1980s pieces by designers like Chanel, Monet, and Kramer command premium prices, making proper restoration a vital skill for collectors and resellers alike. Restoring 1980s fashion jewelry requires a deep understanding of the specific materials used during the decade, as well as the unique ways those materials degrade over forty-plus years.
Unlike fine jewelry crafted from solid gold or platinum, 1980s costume jewelry typically relied on heavy brass, pewter, or pot-metal bases coated in a thin layer of flash gold or rhodium plating. When this microscopic plating wears away, the underlying base metals are exposed to sweat, humidity, and cosmetics, leading to rapid corrosion. Furthermore, the adhesives used to set the era's ubiquitous Aurora Borealis (AB) rhinestones and faux pearls have long since dried out and turned brittle. Before attempting any repairs, it is crucial to identify the exact failure mode of your vintage piece to avoid causing irreversible damage.
Troubleshooting Verdigris and Base Metal Corrosion
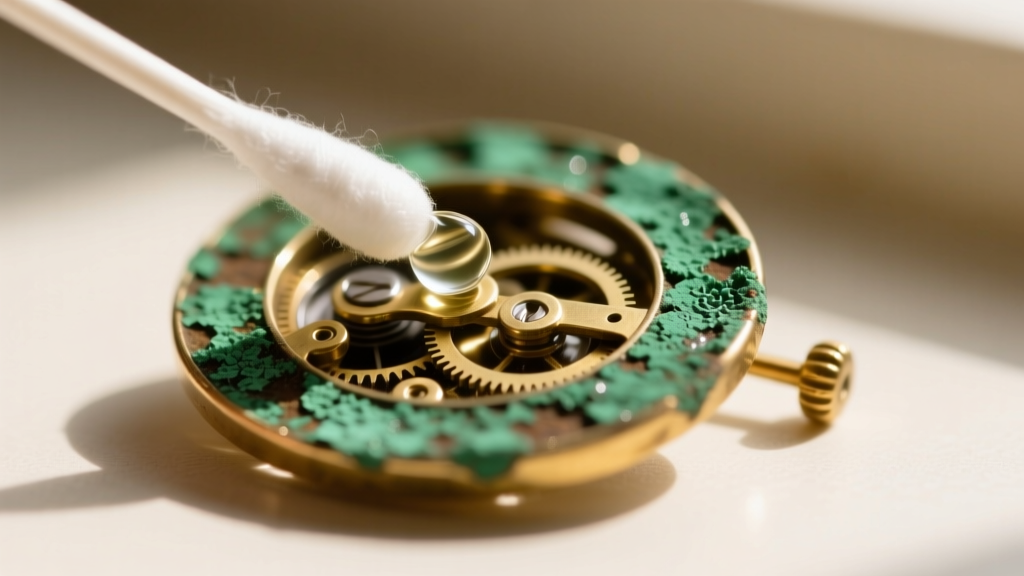
The most common issue plaguing surviving 1980s fashion jewelry is verdigris—a toxic, crusty green or blue-green patina that forms on copper, brass, and bronze alloys. Chemically known as copper carbonate, verdigris occurs when the copper in the base metal reacts with oxygen, moisture, and the acids found in human skin or perfume. If left untreated, verdigris will actively eat through the metal, eventually causing structural failure in pin stems and earring posts.
Step-by-Step Verdigris Removal
Never use ultrasonic cleaners or harsh commercial silver dips on vintage costume jewelry. The high-frequency vibrations will shatter glued-in rhinestones, and the harsh chemicals will strip the remaining gold wash. According to the Gemological Institute of America (GIA), gentle, localized mechanical cleaning is always the safest approach for mixed-material vintage pieces.
- Isolate the Area: Use painter's tape to mask off any adjacent rhinestones, pearls, or cold enamel to protect them from acidic cleaners.
- Apply a Mild Acid: Dip a cotton swab in white vinegar or fresh lemon juice. Gently rub the swab over the verdigris. The mild acid will dissolve the copper carbonate without harming the underlying brass.
- Mechanical Agitation: For stubborn crust, use a soft-bristled fiberglass scratch pen or a wooden toothpick to gently lift the corrosion. Avoid steel wool, which will leave microscopic scratches that rust later.
- Neutralize and Dry: Once the green corrosion is gone, wipe the area with a cotton swab dipped in a baking soda and water paste to neutralize the acid. Finish by drying the piece completely with a microfiber cloth and a blast of compressed air to remove moisture from crevices.
Rescuing Aurora Borealis (AB) Rhinestones and Foil Backing
The 1980s saw a massive surge in the use of Swarovski and Preciosa Aurora Borealis (AB) glass rhinestones. These stones feature a microscopically thin metallic foil backing that creates their signature iridescent rainbow reflection. A frequent troubleshooting nightmare for vintage collectors is the "dead stone" syndrome—where a rhinestone turns opaque, gray, or black. This is not dirt; it is moisture infiltration that has oxidized and destroyed the delicate foil backing.
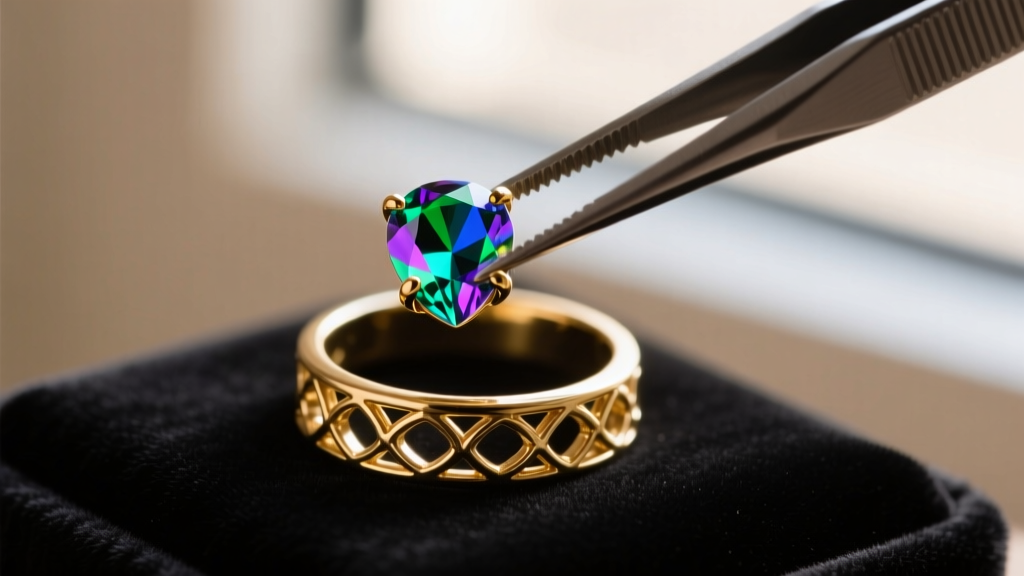
Once the foil is compromised, the stone cannot be cleaned; it must be replaced. To remove a dead stone, do not pry it out with metal tweezers, as this will bend the soft brass prongs. Instead, apply a warm, damp cloth over the stone for three minutes to soften the vintage epoxy. Once the glue yields, gently push the stone out from the back of the setting using a wooden orange stick. Clean the empty prong setting with isopropyl alcohol to remove old adhesive residue before setting a modern replacement stone.
Adhesive Selection Guide for 1980s Materials
Choosing the wrong glue is the fastest way to ruin a vintage restoration. Cyanoacrylate (Super Glue) should never be used on rhinestones, as the fumes will permanently fog the glass, and the brittle bond will snap under pressure. Below is a professional-grade troubleshooting matrix for re-setting stones in 1980s fashion jewelry.
| Adhesive Type | Best Use Case | Cure Time | Pros & Cons |
|---|---|---|---|
| GS Hypo Cement | Tiny prong-set rhinestones, pearl tipping | 10-15 mins (tack), 24 hrs (full) | Pros: Precision needle tip, dries clear, does not fog glass. Cons: Weak shear strength for heavy cabochons. |
| E6000 Jewelry & Bead | Large glass cabochons, heavy metal links | 10 mins (tack), 72 hrs (full) | Pros: Flexible, waterproof, high tensile strength. Cons: Thick viscosity, requires careful cleanup. |
| UV Curing Resin | Quick fixes on non-porous glass and metal | 30-60 seconds under UV lamp | Pros: Instant cure, crystal clear. Cons: Can yellow over time, fails on opaque vintage enamel. |
Upgrading Broken Clasps and Jump Rings
Functionality is just as important as aesthetics. Many 1980s necklaces and bracelets utilized tiny, 5mm or 7mm spring-ring clasps that were notoriously difficult to operate and prone to internal spring failure. When troubleshooting a broken clasp on a heavy 80s collar necklace, upgrading the hardware is often necessary to prevent the piece from snapping during wear.
When replacing a clasp, opt for a modern, 12mm or 15mm solid brass lobster clasp with a high-quality internal steel spring. To attach the new clasp, you must address the jump rings. Vintage jump rings were frequently unsoldered and made of soft, low-gauge wire that pulls apart under the weight of chunky 80s beads. Replace all connecting jump rings with 18-gauge or 20-gauge brass split rings or soldered jump rings. If you must use unsoldered jump rings, ensure you use two pairs of flat-nose pliers to twist the ring open laterally (side-to-side) rather than pulling it apart outward, which distorts the perfect circle and weakens the metal's structural memory.
Caring for 80s Acrylic, Lucite, and Cold Enamel
The 1980s introduced a wave of neon acrylics, Lucite bangles, and vibrant cold enamel (epoxy resin) accents. These materials present an entirely different set of troubleshooting challenges. Acrylic is highly susceptible to micro-fractures and chemical melting. Never clean 1980s acrylic jewelry with alcohol, acetone, or ammonia-based glass cleaners; these solvents will cause immediate crazing (a network of fine cracks) and cloud the plastic permanently.
For cold enamel, the primary failure mode is chipping or lifting from the metal base due to temperature fluctuations. If you encounter a lifted flake of enamel, do not attempt to glue it back down with standard adhesives, as they will leave a visible, cloudy residue. Instead, carefully remove the loose flake with tweezers and fill the recess with a color-matched, two-part jeweler's epoxy, leveling it with a toothpick before it sets.
"The key to preserving 1980s fashion jewelry is understanding that these pieces were engineered for seasonal impact, not generational longevity. As noted by the Vintage Fashion Guild, proactive maintenance—such as keeping pieces away from direct UV light and high humidity—will do more to preserve 80s costume pieces than any reactive repair."
Final Thoughts on Vintage Preservation
Restoring 1980s fashion jewelry is a meticulous balance between preserving the historical integrity of the piece and ensuring it is durable enough for modern wear. By mastering the chemistry of verdigris removal, understanding the delicate nature of AB foil backings, and upgrading structural weak points like clasps and jump rings, you can rescue these iconic statement pieces from the bottom of the jewelry box. Whether you are a dedicated collector or a vintage reseller, applying these targeted troubleshooting techniques will ensure that the bold, unapologetic glamour of 1980s jewelry continues to shine for decades to come.