Tracy Fine Jewelry Repair: Troubleshooting Custom Pieces
Master jeweler's guide to troubleshooting Tracy Fine Jewelry. Learn advanced repair techniques for custom castings, micro-pavé, and designer alloys.

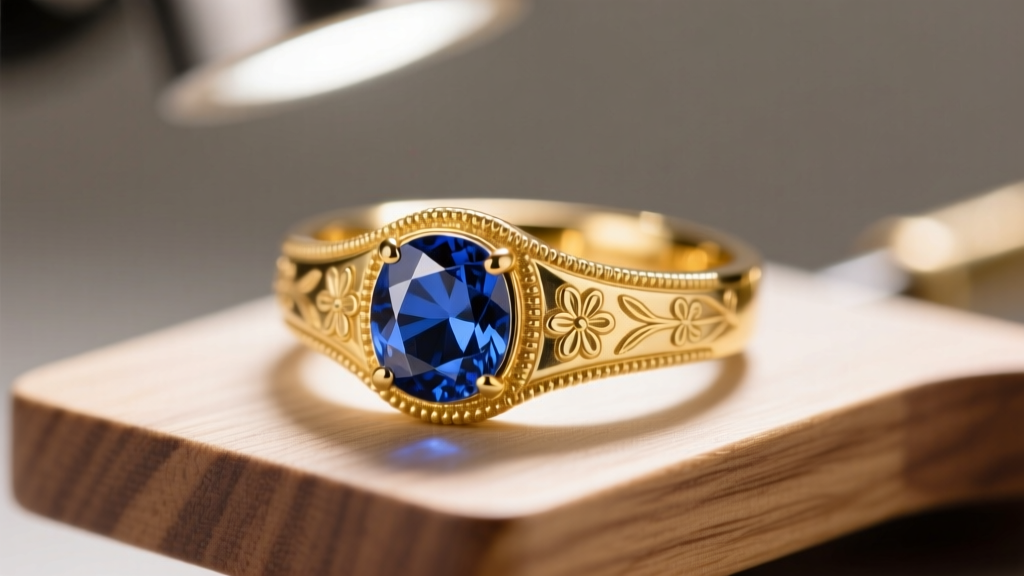
The Unique Anatomy of Tracy Fine Jewelry Designs
Independent designer jewelry offers unparalleled artistry, but repairing bespoke pieces requires specialized bench skills that go far beyond standard retail sizing. When troubleshooting Tracy Fine Jewelry or similar high-end custom collections, master jewelers must account for complex CAD/CAM origins, mixed-metal constructions, and non-standard shank profiles. As we navigate the repair landscape in 2026, the prevalence of direct metal sintering and advanced resin casting has changed how designer pieces are structured at a molecular level.
Tracy Fine Jewelry pieces frequently feature interlocking shanks, hidden halo architectures, and mixed-metal inlays—such as 18k yellow gold rails flush-set into a platinum core. These multi-metal junctions create distinct thermal expansion zones. If a bench jeweler applies a traditional torch solder to resize one of these rings, the disparate melting points and thermal conductivity rates can easily warp the platinum or melt the gold inlay. Understanding the specific metallurgical blueprint of the designer piece is the first step in any successful troubleshooting protocol.
Troubleshooting Casting Porosity in Custom Pieces
One of the most common issues encountered when resizing or repairing custom cast designer rings is subsurface porosity. Because Tracy Fine Jewelry often utilizes intricate wax-injection and 3D-printed casting trees, the cooling dynamics can sometimes trap gases or create shrinkage voids, particularly near the sprue gate (typically located at the 6 o'clock position on the inner shank).
Identifying the Porosity Type
- Gas Porosity: Appears as perfectly spherical voids just beneath the surface. This occurs when trapped air or investment gases fail to escape the molten metal during the casting process. When you file the shank for a sizing cut, these bubbles reveal themselves as tiny, clean pinholes.
- Shrinkage Porosity: Presents as dendritic, jagged, or sponge-like voids. This happens during uneven cooling, usually at the junction where a thick gallery meets a thin shank. It compromises the structural integrity of the ring and will tear if stretched on a mandrel.
To properly troubleshoot this, a master jeweler must use a 10x triplet loupe or a gemological microscope to map the voids. Filling these with standard soft solder is a temporary fix that will eventually fail and discolor. The only permanent solution is to excavate the porous metal using a high-speed carbide bur and rebuild the section using a laser welder with matching alloy wire.
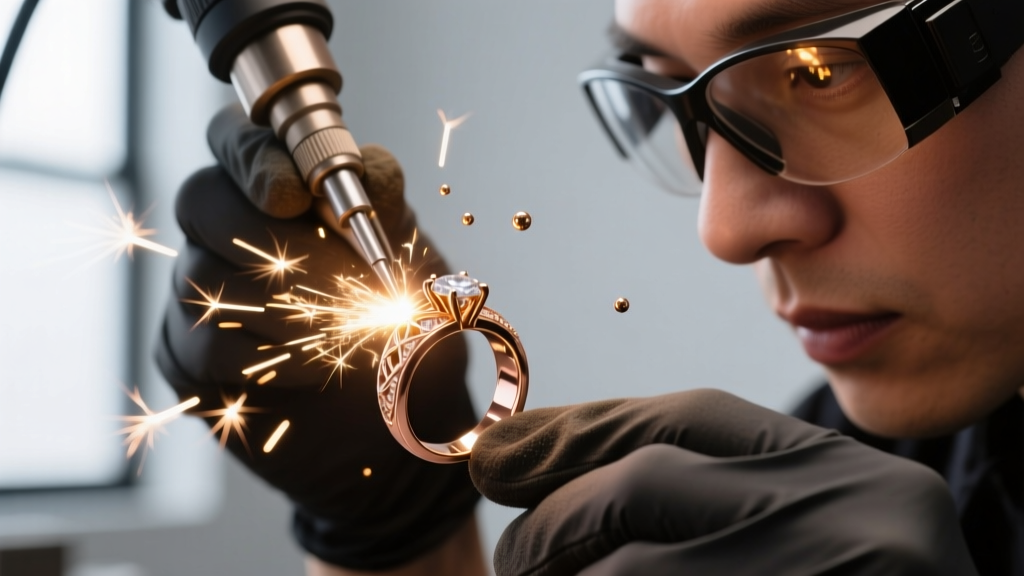
Micro-Pavé and Gemstone Setting Failures
Tracy Fine Jewelry is renowned for its delicate micro-pavé work, often utilizing stones under 1.5mm in diameter. Troubleshooting lost stones in these settings requires an understanding of shared-prong mechanics. Unlike traditional prong settings where each stone has four dedicated prongs, micro-pavé relies on tiny metal beads (usually pushed up with a beading tool) to hold multiple stones simultaneously.
When a stone falls out, the root cause is rarely the impact itself; it is usually the gradual wear of the shared bead. If a bench jeweler attempts to simply push the existing worn metal back over the new stone, the bead will lack the structural memory to hold it, resulting in another lost diamond within months. The correct troubleshooting protocol involves:
- Securing the ring in a GRS BenchMate or similar micro-engraving block to eliminate vibration.
- Using a 105-degree hart bur to carefully undercut the seat, ensuring the new stone sits perfectly level with the adjacent diamonds.
- Re-tipping the worn bead using 0.3mm platinum or 18k palladium white gold wire via laser welding. This adds fresh, high-tensile metal to the setting without risking thermal shock to the surrounding melee diamonds.
- Re-shaping the bead with a precision beading tool and polishing with a fine horsehair brush and rouge.
According to the Gemological Institute of America (GIA), thermal shock from improper torch soldering near pavé settings can cause existing diamonds to fracture or cloud, making laser re-tipping the industry standard for high-end designer repairs.
Clasp and Chain Mechanism Repairs
Designer necklaces and bracelets often utilize custom clasps that prioritize aesthetics over heavy-duty mechanics. Troubleshooting these requires a nuanced approach to avoid compromising the visual flow of the piece. Below is a diagnostic chart for common clasp failures found in fine designer collections.
| Clasp Type | Common Failure Mode | Master Jeweler Troubleshooting Solution |
|---|---|---|
| Custom Box Clasp | The internal tongue loses its tension and slips out of the receiver box. | Remove the tongue, anneal it slightly, and use flat-nose pliers to increase the pitch of the fold. Do not over-work-harden the metal, or it will snap. |
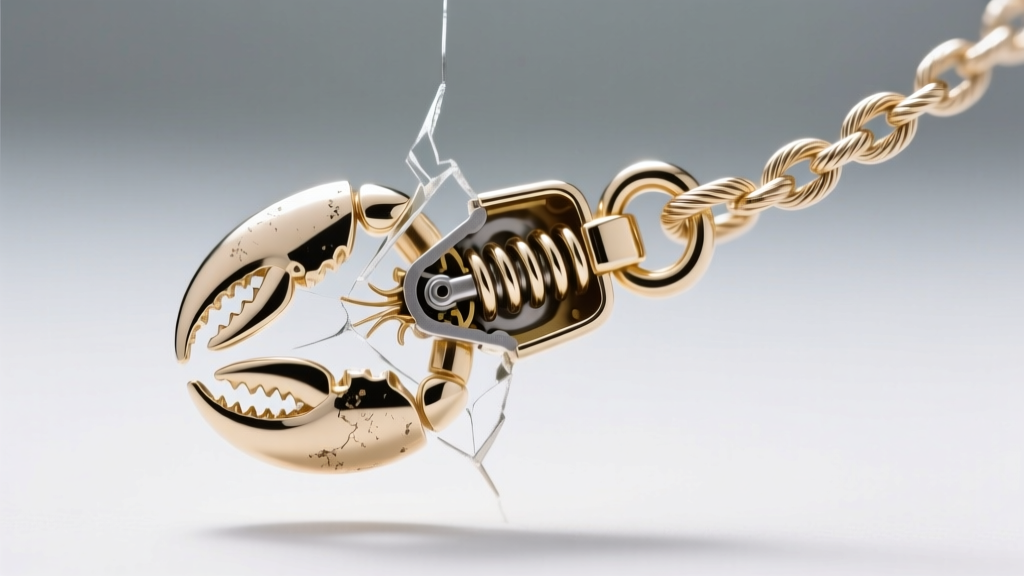
| Micro-Lobster | The internal spring mechanism fails, or the trigger lever detaches from the housing. | Micro-lobsters cannot be reliably repaired. Replace with a premium cast lobster clasp (e.g., Stuller premium line) that matches the exact karat and color of the chain. |
| Hidden Safety Latch | The figure-8 safety wire stretches and no longer catches the bottom button. | Replace the entire safety wire with heavy-gauge (18ga or 16ga) spring-hard wire, ensuring the pivot joint is laser-welded for longevity. |
Soldering vs. Laser Welding for Designer Alloys
One of the most critical decisions when repairing Tracy Fine Jewelry is choosing between traditional torch soldering and modern laser welding. Many contemporary designer pieces utilize 18k palladium white gold rather than the traditional nickel-based white gold. Palladium white gold has a significantly higher melting point and does not require rhodium plating to achieve a bright white color. However, if a jeweler mistakenly uses a low-temperature yellow gold solder on a palladium alloy, the joint will appear as a distinct, unpolishable yellow seam.
Furthermore, torch soldering requires flux, which can trap dirt in intricate milgrain details and necessitates a full pickle bath that might strip specialized patinas applied by the designer. In the 2026 repair environment, pulse-arc and laser welding are the preferred methods for these alloys. For an 18k palladium white gold shank cut, a master jeweler will typically use an Orion laser welder set to approximately 55-65 volts with a 4.5ms pulse width and a 1.0mm spot size. This delivers enough localized energy to fuse the high-melting-point alloy without transferring heat to the gemstone settings located just millimeters away.
For more advanced bench techniques and metallurgical data, the Manufacturing Jewelers and Suppliers of America (MJSA) provides extensive resources on handling proprietary designer alloys and alternative metals. Additionally, sourcing exact matching casting grains or wire from suppliers like Stuller Bench Resources ensures that the laser-welded joint will take a polish identical to the original factory finish.
Sourcing Authentic Replacement Parts and Warranties
When troubleshooting severe damage, such as a crushed gallery or a sheared-off custom head, the question of OEM (Original Equipment Manufacturer) parts arises. While independent master jewelers can fabricate almost any component, maintaining the provenance and warranty of a Tracy Fine Jewelry piece sometimes requires sending the item back to the original atelier. However, this can result in turnaround times of 8 to 12 weeks.
If the client requires an immediate repair, a certified bench jeweler can reverse-engineer the damaged component using 3D scanning and CAD software, printing a new wax model to cast an exact replica in the matching alloy. The key to a successful third-party repair is documentation: always photograph the piece under magnification before and after the repair, noting the exact karat, alloy composition, and gemstone measurements. This ensures that the structural integrity and aesthetic intent of the original designer are preserved for decades to come.


