Troubleshooting WJD Custom Design Fine Jewelry Flaws
Learn how to identify and resolve casting, setting, and ergonomic flaws in your WJD custom design fine jewelry commissions with expert troubleshooting.

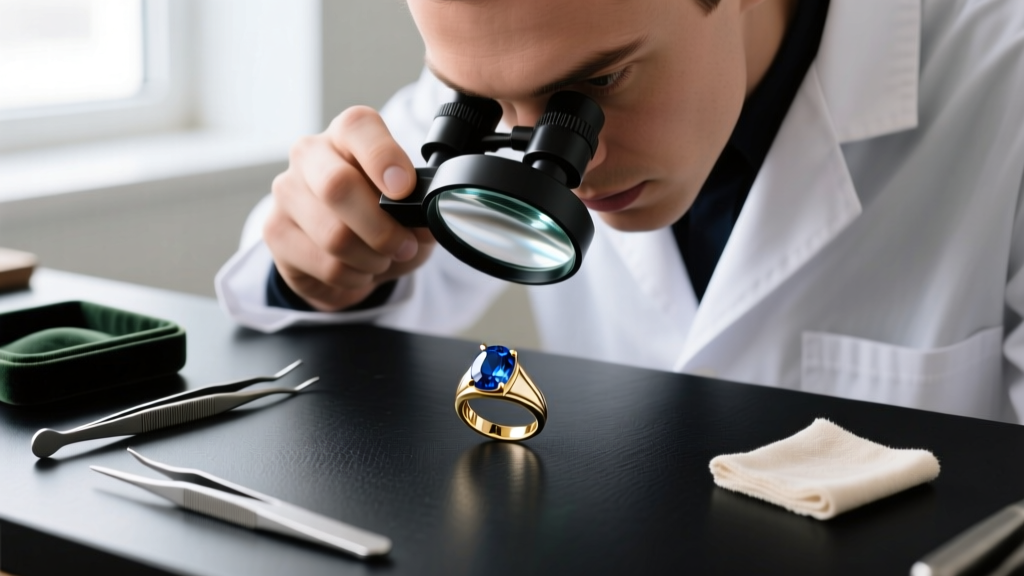
Commissioning a bespoke piece is a thrilling journey, but the transition from a flawless 3D CAD render to a physical metal object is fraught with metallurgical variables. When investing in a premium bespoke experience like WJD custom design fine jewelry, the expectation is absolute perfection. However, even the most masterful jewelers must contend with the realities of casting, alloy behavior, and gemstone setting physics. Understanding how to troubleshoot these discrepancies ensures your final heirloom meets both aesthetic and structural standards.
The CAD vs. Cast Disconnect: Managing Expectations
Computer-Aided Design (CAD) software creates mathematically perfect geometries. Physical casting, however, involves molten metal flowing into an investment mold, cooling, and shrinking. A common issue clients face when receiving their custom piece is that the dimensions feel slightly bulkier or the prongs appear thicker than the digital rendering suggested.
This is not necessarily a flaw; it is a structural necessity. According to the Gemological Institute of America (GIA), digital renders often under-represent the minimum metal mass required for long-term durability. A prong that looks elegant at 0.40mm thick in a CAD file will sheer off within a year of daily wear. Master jewelers intentionally add 15-20% more metal volume to the wax model to account for casting shrinkage and subsequent polishing. If your piece feels overly heavy or the under-gallery lacks the delicate filigree seen in the render, it is crucial to discuss whether this was a structural reinforcement choice or a casting resolution error.
Troubleshooting Metal Alloy & Finish Discrepancies
The choice of alloy drastically affects the final color, weight, and maintenance requirements of your jewelry. White gold, in particular, is a frequent source of client dissatisfaction if the specific alloy composition is not understood prior to casting.
The White Gold Rhodium Dilemma
Standard 14k and 18k white gold alloys are mixed with nickel or zinc to bleach the yellow gold. However, the resulting metal is still inherently pale yellow or grayish. To achieve a stark white finish, it must be plated with rhodium. If you notice your custom ring yellowing after a few months, this is not a defect in the WJD custom design fine jewelry, but rather the natural wear of the rhodium plating. For a permanent, naturally white alternative, request an 18k Palladium White Gold alloy (75% gold, 25% palladium). It requires no rhodium plating and is hypoallergenic.
Identifying Casting Defects in Platinum and Gold
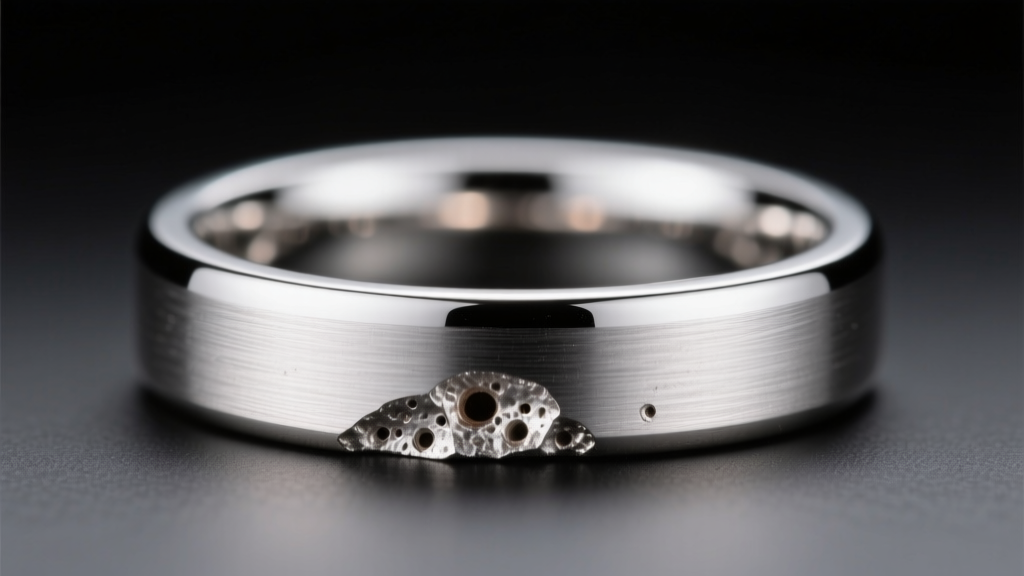
Porosity is the silent killer of custom jewelry. It occurs when gas is trapped in the molten metal or when the metal shrinks unevenly as it cools. Use a 10x jeweler's loupe to inspect the shank and the base of the prongs. Below is a troubleshooting guide for common casting anomalies:
| Defect Type | Visual Symptom | Structural Risk | Required Fix |
|---|---|---|---|
| Gas Porosity | Tiny, perfectly spherical pinholes on the metal surface. | Low to Medium (mostly cosmetic, but weakens prongs if present there). | Laser welding to fill pits, followed by repolishing. |
| Shrinkage Porosity | Dendritic, fern-like voids usually near the sprue base or thick joints. | High (can cause the shank to snap under pressure). | Complete recasting of the piece; cannot be safely welded. |
| Investment Inclusion | Rough, crusty patches or embedded ceramic-like flecks. | Medium (creates weak points and ruins high-polish finishes). | Aggressive polishing or localized laser resurfacing. |
Gemstone Setting Tensions and Prong Failures
The setting process is where the highest risk of gemstone damage occurs. The metal must be deformed to secure the stone, and improper tension can lead to immediate or delayed failures. When evaluating your custom piece, pay close attention to the following setting mechanics:
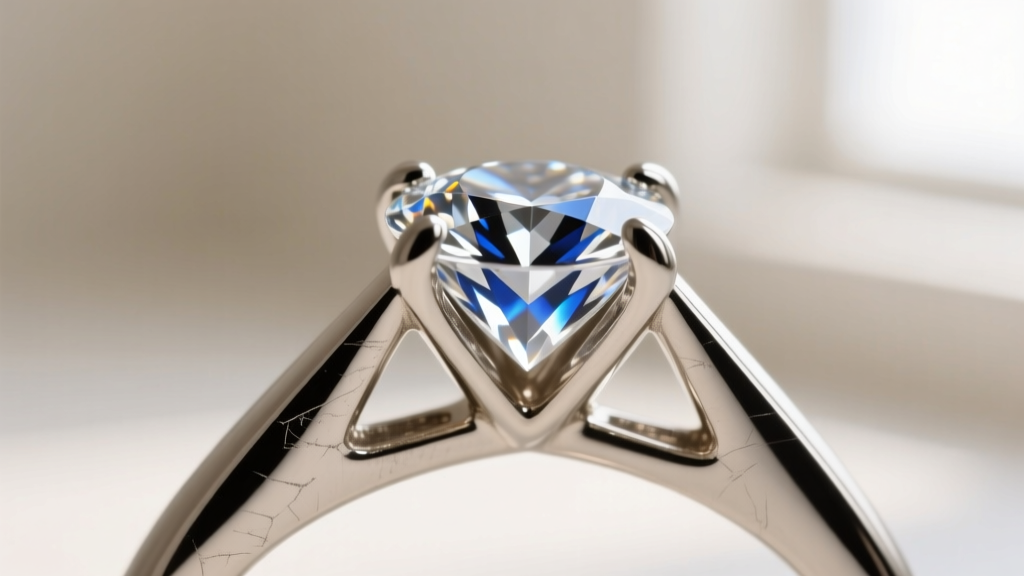
- Prong Thickness and Tension: For daily-wear engagement rings, prongs should never be thinner than 0.70mm. If the prongs are too thin, they will catch on textiles and bend, releasing the stone. Conversely, if the prongs are pushed down with excessive force, they can induce internal stress fractures in diamonds or shatter the girdle of colored gemstones like emeralds.
- V-Prongs for Fragile Cuts: Marquise, pear, and princess-cut gemstones possess acute, fragile tips. The American Gem Society strongly recommends V-prongs for these shapes. A standard rounded prong resting on a sharp tip offers zero protection against lateral impacts, which can cause the diamond to cleave along its natural crystal planes.
- Bezel Setting Gaps: If you commissioned a bezel setting, run your fingernail along the interior edge where the metal meets the gemstone. There should be zero light leakage or physical gaps. A gap indicates the bearing was cut too wide, allowing the stone to rattle and eventually chip against the metal interior.
Ergonomic Flaws: Top-Heavy Rings and Shank Sizing
A frequent oversight in custom design is prioritizing the crown (the top view) while neglecting the ergonomics of the shank. Large center stones, especially those set in high-profile cathedral mountings, create a top-heavy center of gravity.
"A beautifully designed ring that constantly spins on the finger is a structural failure. The metal distribution must counterbalance the carat weight of the crown."
Troubleshooting the 'Spinner' Ring
If your custom ring spins endlessly, the shank is too thin and light at the bottom. To resolve this without altering the ring size, a jeweler can employ a Euro-Shank (a squared-off bottom that prevents rotation) or add internal sizing beads (speed bumps). For future commissions, ensure the jeweler calculates the specific gravity of the chosen alloy against the carat weight of the stones to design a properly weighted shank.
The Final QC Checklist Before Acceptance
Before signing off on your WJD custom design fine jewelry commission and making the final payment, conduct this rigorous quality control inspection:
- The Loupe Test: Inspect the interior of the shank, the under-gallery, and the back of the setting head. High-end custom jewelry is finished to the same mirror polish on the inside as the outside. Rough tool marks indicate rushed bench work.
- The Shake Test: Hold the ring close to your ear and gently shake it. Any clicking or rattling means a gemstone is loose in its bearing and requires immediate tightening.
- The Catch Test: Run the piece over a piece of fine silk or sheer nylon. If the prongs or bezel edges snag the fabric, they are not properly polished or seated, posing a risk to both your clothing and the security of the stones.
- Hallmark Verification: Ensure the interior of the shank is stamped with the correct metal purity (e.g., 750 for 18k, PT950 for platinum) and the maker's mark of the studio.
By understanding the metallurgical and mechanical realities of bespoke jewelry creation, you can effectively troubleshoot discrepancies, communicate intelligently with your master jeweler, and ensure your custom heirloom is engineered to survive generations of wear.


