How to Turn Cremated Ashes Into Jewelry: Step-by-Step Guide
Learn how to turn cremated ashes into jewelry with our step-by-step guide. Compare resin, glass, and metal methods, costs, and expert tips.

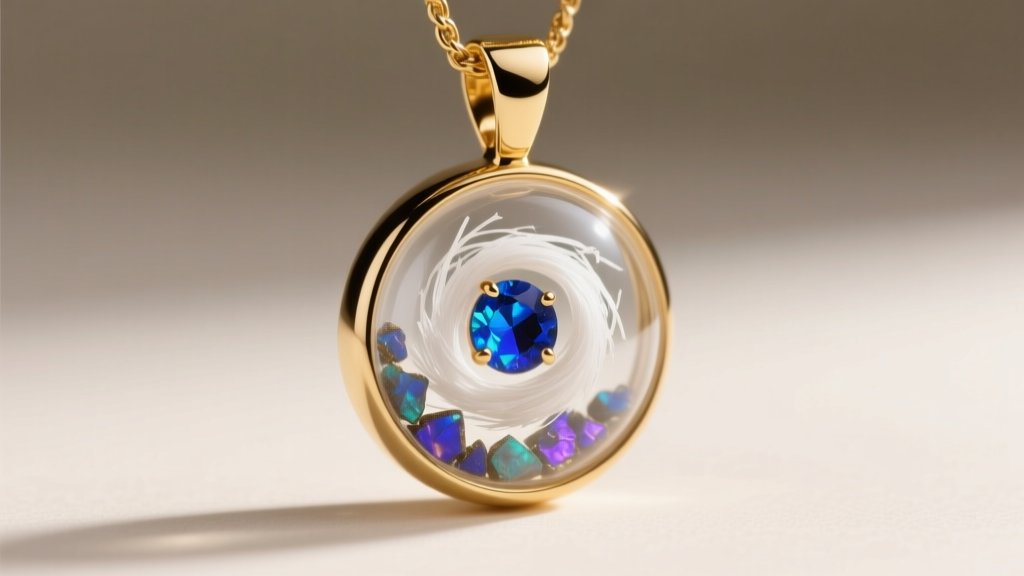
Transforming the physical remains of a loved one into a wearable keepsake is a profound way to maintain a tangible connection. As memorial jewelry continues to evolve in 2026, the techniques for encapsulating cremains have become more refined, offering better durability and aesthetic customization. Whether you are considering a DIY approach or hiring a professional artisan, understanding the material science and logistical requirements is critical. This comprehensive guide will walk you through exactly how to turn cremated ashes into jewelry, detailing the technical specifications, material grades, and step-by-step processes required for a lasting tribute.
Choosing Your Method: Resin vs. Glass vs. Metal Infusion
The first and most crucial decision is selecting the encapsulation medium. Each method interacts with the calcium phosphate and carbon compounds in cremains differently. Below is a technical comparison to help you decide which route aligns with your budget, aesthetic preference, and durability requirements.
| Method | Durability & Hardness | Average Cost (2026) | Turnaround Time | Best For |
|---|---|---|---|---|
| Resin Encapsulation | Moderate (Mohs 2-3) | $80 - $250 | 1 - 2 Weeks | Intricate color swirls, DIY projects |
| Borosilicate Glass | High (Mohs 5.5-6) | $150 - $400 | 3 - 6 Weeks | Heirloom pendants, high-heat resistance |
| Metal Chamber / Sintering | Very High (Mohs 4-8) | $300 - $1,200+ | 4 - 8 Weeks | Everyday wear rings, minimalist designs |
| Memorial Diamond (HPHT) | Extreme (Mohs 10) | $1,500 - $5,000+ | 6 - 12 Months | High-end gemstone settings, ultimate permanence |
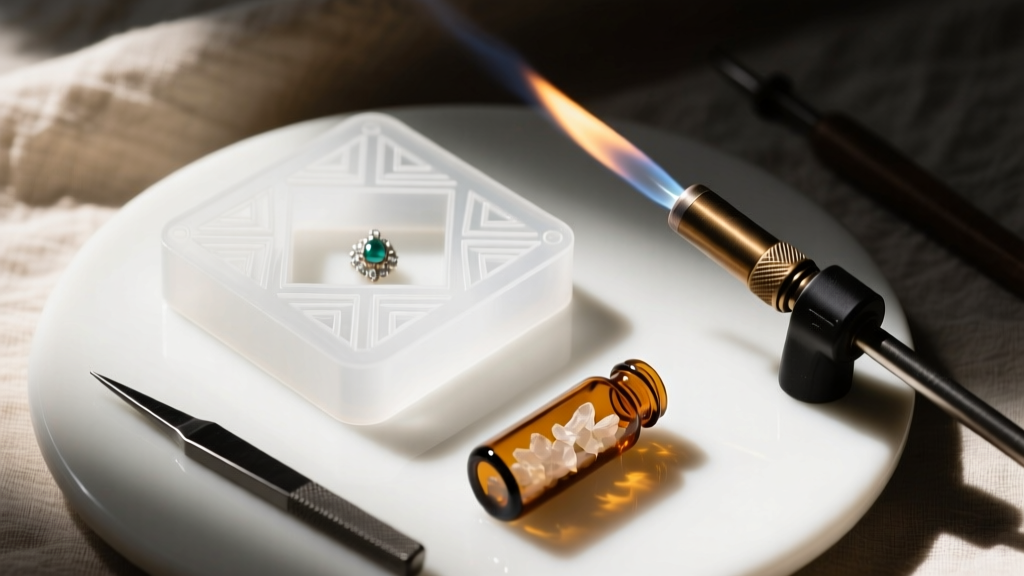
Step 1: Preparing and Measuring the Cremains
Before any encapsulation begins, the ashes must be properly prepared. Cremated remains are not uniform; they consist of fine dust and larger bone fragments. For jewelry making, consistency is key.
- Pulverization: If you are doing this at home, use a dedicated ceramic mortar and pestle to gently grind any larger fragments into a fine, sand-like powder. Professional labs use industrial ball mills for a uniform micron size.
- Measurement: You only need a fraction of the total remains. For a standard 1-inch resin pendant, 1/2 to 1 teaspoon of ashes is sufficient. For glass lampworking, artisans typically require just 1/4 teaspoon because too much carbon in the glass matrix can cause structural weaknesses and bubbling during the melting process.
- Safety Precautions: Always wear an N95 respirator mask and nitrile gloves when handling dry cremains to avoid inhaling fine particulate matter.
Step 2: Selecting the Right Base Metal and Setting
The metal housing your memorial piece dictates its longevity and skin compatibility. When designing a custom setting, avoid porous metals that can trap moisture against the encapsulated ashes.
Recommended Metal Grades
- 316L Surgical Stainless Steel: The best budget-friendly option. It is highly resistant to tarnish, hypoallergenic, and provides a heavy, premium feel.
- 14k or 18k Solid Gold: Ideal for heirloom pieces. 14k offers better scratch resistance due to its higher alloy content, while 18k provides a richer color but is softer.
- Sterling Silver (925): While beautiful, silver is prone to sulfide tarnishing. If choosing silver, ensure the ash compartment is completely sealed with a jeweler's grade UV-cured adhesive to prevent moisture ingress, which accelerates tarnish and can degrade resin inclusions over time.
Expert Note: Never attempt to directly smelt cremated ashes into molten gold or silver. The carbon and calcium in the ashes will ruin the metallurgical integrity of the alloy, causing severe porosity and brittleness. Instead, artisans use a 'lost wax' casting method to create a tiny, hollow chamber in the metal, which is then filled with ashes and sealed with a threaded screw or a laser-welded plug.
Step 3: DIY Resin Encapsulation Walkthrough
If you are taking the DIY route, resin is the most accessible medium. However, preventing the resin from yellowing and avoiding micro-bubbles requires strict adherence to chemical protocols.
Materials Needed
- Jewelry-grade epoxy resin (ensure it contains HALS and UV absorbers to prevent yellowing)
- Silicone pendant molds or pre-made glass bezel trays
- Isopropyl alcohol (99%) and a heat gun
- Mica powders or crushed dried flowers (optional, for aesthetic layering)
The Step-by-Step Process
- Seal the Ashes: Cremains are highly alkaline and can react with certain resins, causing a cloudy halo. Lightly mist the ashes with a clear acrylic spray or mix them with a tiny drop of UV resin and cure it for 60 seconds to seal the particles before introducing them to the main epoxy.
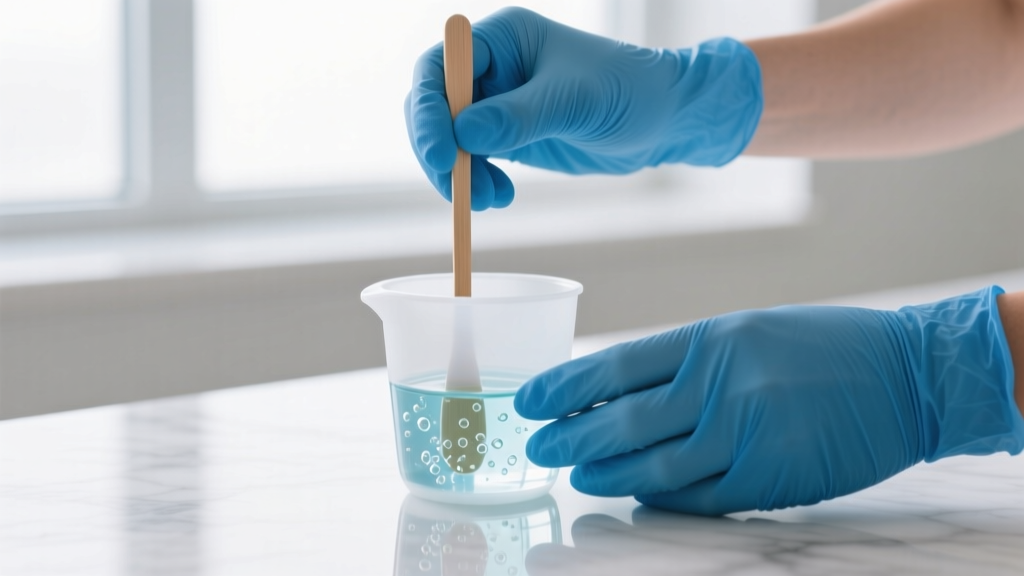
- Mix the Resin: Measure Part A and Part B strictly by volume or weight as dictated by the manufacturer. Stir slowly for 3-5 minutes, scraping the sides and bottom of the cup to ensure a homogenous mix. Incomplete mixing will result in a permanently tacky surface.
- Pour and Layer: Pour a base layer of clear resin into your mold and let it become tacky (about 45 minutes). Sprinkle your sealed ashes onto the tacky layer. This prevents the ashes from sinking to the very bottom or floating to the top.
- Degassing: After the final pour, pass a heat gun or culinary torch quickly over the surface to pop micro-bubbles. Alternatively, place the mold in a pressure pot at 40 PSI for 12 hours to compress any remaining bubbles to an invisible size.
- Cure and Finish: Allow the piece to cure in a dust-free, temperature-controlled environment (72°F - 75°F) for 48 hours. Sand the edges with wet/dry sandpaper from 400 up to 3000 grit, and finish with a plastic polishing compound for a glass-like shine.
Step 4: Working with Professional Artisans and Shipping Rules
If you prefer to hire a professional glass blower or jeweler, you will need to ship the remains. According to the United States Postal Service, USPS is the only legal carrier permitted to transport cremated remains domestically. You must use Priority Mail Express. The ashes must be placed in a sift-proof container (like a sealed glass vial), cushioned with bubble wrap, and placed inside a sturdy outer box. Include a detailed chain-of-custody form and the cremation certificate inside the package to ensure smooth processing and to provide the artisan with verification.
Long-Term Care and Maintenance of Ash Jewelry
Memorial jewelry requires specific care routines to maintain its optical clarity and structural integrity. The Gemological Institute of America (GIA) recommends gentle cleaning protocols for organic and composite inclusions.
- Cleaning: Never use ultrasonic cleaners or harsh chemical dips (like silver polish or ammonia) on resin or glass ash jewelry. The vibrations can fracture glass inclusions, and chemicals will permanently cloud the resin surface. Use a soft, lint-free microfiber cloth and a drop of mild dish soap with warm water.
- Environmental Protection: Remove resin-based memorial jewelry before swimming in chlorinated pools or entering hot tubs. Prolonged UV exposure can also degrade lower-quality resins, so store the piece in a dark, velvet-lined jewelry box when not in use.
- Inspection: For metal chamber rings with threaded screw caps, have a jeweler check the seal and reapply a microscopic drop of jeweler's epoxy to the threads every 3 to 5 years to ensure the compartment remains hermetically sealed.
"Turning cremated ashes into jewelry is as much a science as it is an art. By respecting the chemical properties of the cremains and utilizing high-grade, UV-stable materials, you ensure that the physical memory of your loved one remains pristine for generations."
Whether you choose to carefully craft a resin pendant at your own workbench or commission a master lampworker to fuse the ashes into borosilicate glass, the result is a deeply personal artifact. By following these precise material guidelines and handling protocols, your memorial jewelry will serve as a beautiful, enduring testament to a life well-lived.


