Antique Jewelry University: Troubleshooting Vintage Piece Repairs
Master the Antique Jewelry University approach to troubleshooting vintage repairs, from fragile solder joints to porous gemstone damage.

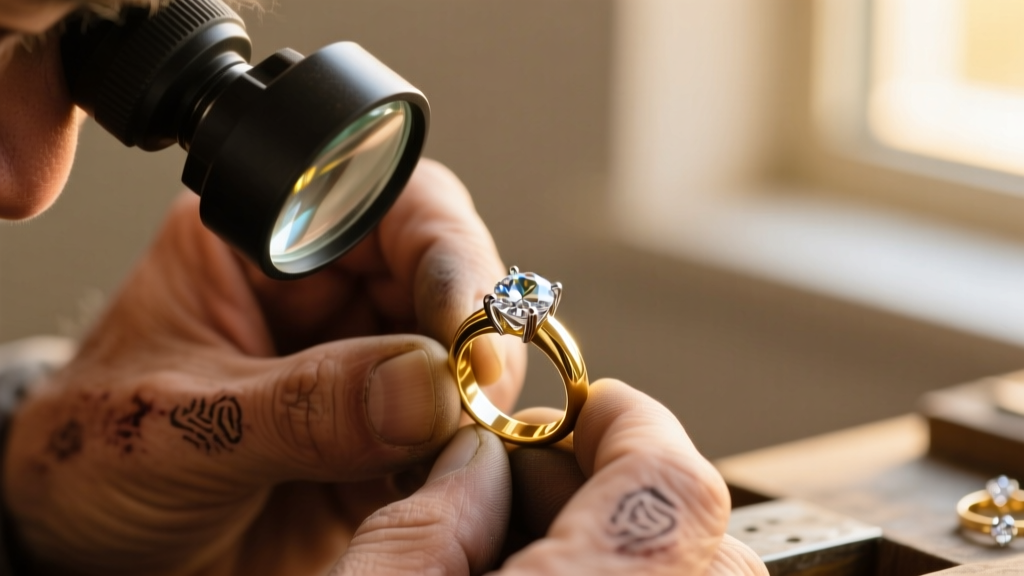
Welcome to the practical side of the Antique Jewelry University curriculum. When you acquire estate jewelry, you are not merely purchasing an object; you are inheriting a century of wear, tear, environmental exposure, and, quite frequently, botched repairs. The transition from a collector to a true custodian of vintage jewelry requires shifting your mindset from basic aesthetic appreciation to rigorous structural diagnostics. Applying the principles taught in premier educational hubs like the Antique Jewelry University allows collectors and bench jewelers to identify hidden vulnerabilities before they result in catastrophic gemstone loss or irreversible metallurgical damage.
In this comprehensive troubleshooting guide, we will dissect the three most critical failure points in pre-1950s jewelry: historical solder degradation, porous gemstone destruction via modern cleaning, and hallmark misidentification. By understanding the exact material grades and historical construction methods, you can develop a reliable framework for diagnosing and preserving antique pieces.
Diagnosing Metal Fatigue and Solder Failures in Pre-1920s Pieces
One of the most common disasters in vintage jewelry repair occurs when a modern bench jeweler applies standard torch techniques to a Victorian or Georgian piece without first conducting a solder analysis. Prior to the widespread standardization of jewelry solders in the mid-20th century, many repairmen utilized heavy, lead-based soft solders to fix broken clasps or resize shanks.
The Lead-Solder Trap and Thermal Shock
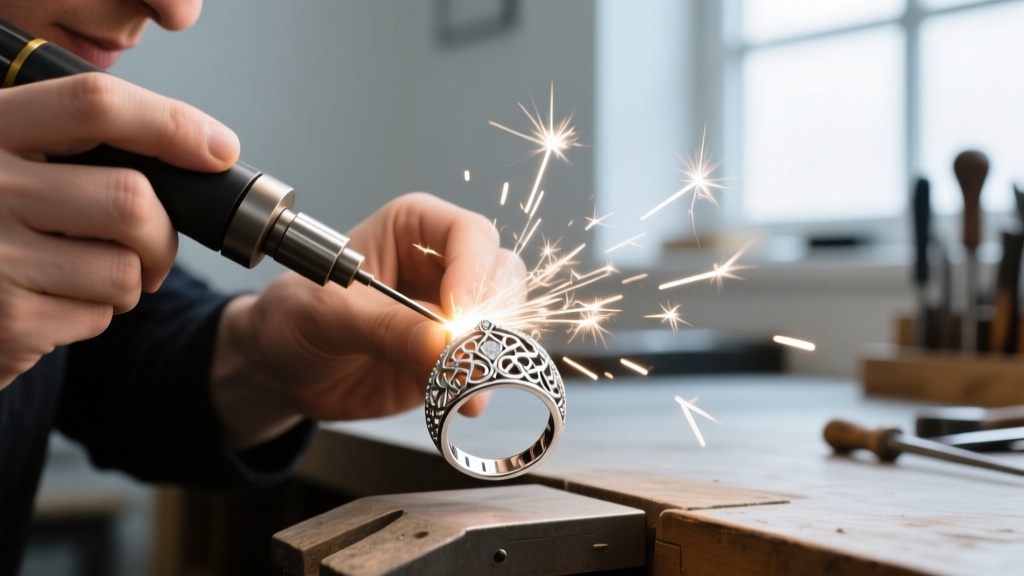
Modern hard, medium, and easy silver solders melt between 1,250°F and 1,450°F. However, historical soft solders used in the 1800s often melt at temperatures as low as 400°F to 500°F. If a jeweler hits a Victorian brooch with a standard butane or oxygen-acetylene torch to retip a prong, the low-melting-point lead solder will liquefy instantly. This causes the structural joints to collapse, often dropping foil-backed garnets or rose-cut diamonds into the quench tank and destroying their delicate foil backings.
Troubleshooting Protocol: Always inspect antique joints under 10x magnification. Lead-based soft solder appears as a dull, greyish, globular mass, unlike the smooth, bright flow of modern hard solder. If soft solder is detected, the piece must be repaired using a laser welder. Laser welding concentrates heat into a microscopic 0.5mm focal point, allowing the jeweler to fuse platinum or gold findings without raising the ambient temperature of the surrounding antique metal or melting historical soft solders.
The Porous Stone Dilemma: Troubleshooting Gemological Damage
Modern jewelry maintenance heavily relies on ultrasonic cleaners and steamers. While highly effective for contemporary diamonds and sapphires, these tools are the absolute enemy of antique porous and included gemstones. According to GIA News & Research, ultrasonic cleaners operate at frequencies around 40kHz, creating microscopic cavitation bubbles that implode with immense localized force. In heavily included antique emeralds, these shockwaves will fracture the stone along its natural 'jardin' inclusion planes.
| Gemstone | Mohs Hardness | Ultrasonic Safe? | Common Antique Setting | Troubleshooting Fix |
|---|---|---|---|---|
| Opal | 5.5 - 6.5 | No (Causes Crazing) | Bezel or Rub-over | Rehydrate in distilled water; avoid heat. |
| Emerald | 7.5 - 8.0 | No (Strips Oils) | Prong with foil backing | Clean with camel-hair brush & lukewarm water. |
| Turquoise | 5.0 - 6.0 | No (Discoloration) | Silver bezel (Native American) | Wipe with dry, untreated microfiber cloth. |
| Pearl | 2.5 - 3.0 | No (Dissolves Nacre) | Post and cup / Riveted | Damp cloth only; check silk knotting integrity. |
| Garnet (Foil) | 7.0 - 7.5 | No (Ruins Foil) | Closed-back collet | Never submerge; clean face-up only. |
Actionable Insight: If you acquire an Edwardian emerald ring that looks cloudy, do not attempt to steam it. The original 19th-century cedarwood or linseed oil treatments have likely dried out. The correct troubleshooting step is to have a specialist lapidary gently re-oil the emerald using a vacuum chamber and uncolored Opticon resin or natural cedar oil, restoring its translucency without compromising the antique platinum setting.
Hallmark Hallucinations: Verifying Authenticity When Markings Contradict
A significant portion of troubleshooting in the estate market involves verifying authenticity when a piece's physical characteristics contradict its stamped hallmarks. The secondary market is flooded with 'pseudo-hallmarks'—stamps applied by modern manufacturers to mimic antique assay marks, or genuine antique pieces that have been illegally altered and re-stamped to inflate their karat value.
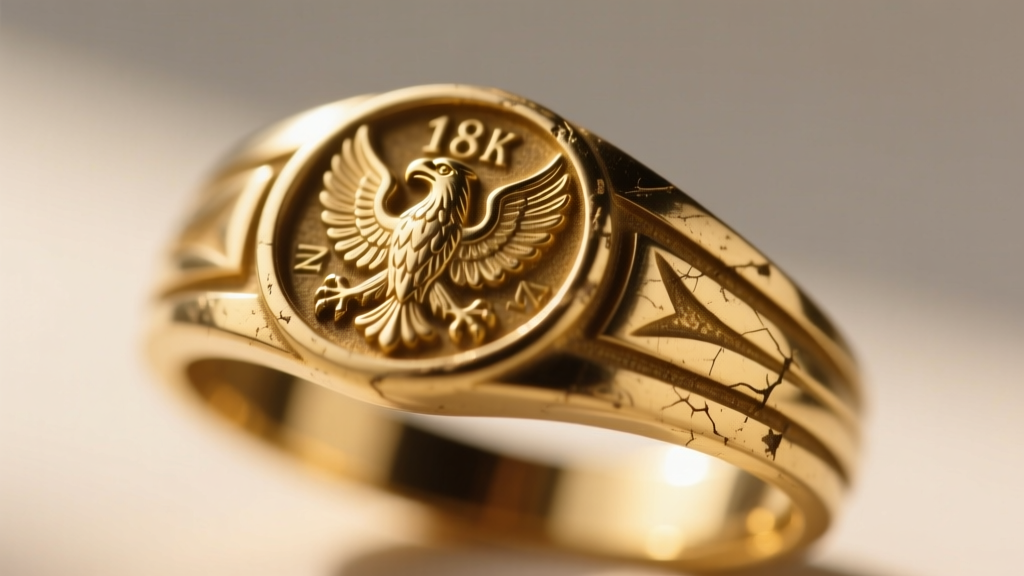
For example, the French eagle head mark indicates 18k gold, but only if it has been assayed in France since 1838. However, a common troubleshooting red flag occurs when you find an eagle head mark alongside a modern laser-engraved serial number or a contemporary CAD-cast porosity pattern under the microscope. According to The British Hallmarking Council, a genuine historical hallmark should show signs of age, tooling, and wear consistent with the rest of the shank. If the hallmark is crisp and sharp while the surrounding metal shows heavy, century-old abrasion, the mark was likely stamped recently.
"The true test of an antique piece is not just the presence of a hallmark, but the metallurgical consistency of the alloy, the casting method, and the tooling marks left by the original bench jeweler."
Sourcing the Right Findings: A Framework for Period-Correct Restoration
When a component of an antique piece is irreparably broken, the final troubleshooting hurdle is sourcing period-correct findings. Replacing a broken Victorian clasp with a modern safety catch destroys the piece's historical integrity and significantly lowers its appraisal value. Use this framework to ensure accurate restorations:
- Pre-1901 (Victorian): Use a simple 'C-catch' clasp and a 'T-bar' hinge. The pin stem should extend slightly past the edge of the brooch, as early pins did not lock into place and relied on tension and the C-catch to hold the fabric.
- 1901-1920 (Edwardian): Look for early tube hinges and slightly shorter pin stems. The introduction of the 'trombone clasp' (a push-pull locking tube) began appearing in European pieces around 1910.
- 1920s-1930s (Art Deco): The modern 'safety catch' (the rolling lever lock) became standard. If your Art Deco brooch has a simple C-catch, it may have been repaired incorrectly in the past, or it is a transitional piece from the very early 1920s.
- Diamond Melee Sourcing: If you must replace missing accent stones in an Art Deco platinum piece, never use modern full-cut (58 facet) diamonds. You must source Single-Cut (17 or 18 facet) diamonds, which were the standard for melee stones prior to the 1940s. The visual difference in light return between single-cut and full-cut diamonds under candlelight or low indoor lighting is immediately apparent to a trained eye.
Final Diagnostic Checklist for Estate Acquisitions
Before finalizing any restoration or repair on vintage jewelry, run the piece through this final Antique Jewelry University-inspired diagnostic checklist:
- Magnet Test: Pass a strong neodymium magnet over the piece. While gold and platinum are non-magnetic, a magnetic reaction in the clasp spring is normal for modern pieces, but indicates a post-1950s repair in a supposed Victorian item.
- Blacklight (UV) Test: Shine a 365nm UV light over the piece. Many modern synthetic rubies and sapphires will fluoresce differently than natural, unheated antique stones. Additionally, UV light will reveal modern epoxy adhesives used in recent, undocumented repairs.
- Prong Wear Assessment: Check the gallery wire and prong bases. In platinum Art Deco pieces, look for 'knife-edge' prong wear. If the prongs are rounded and heavily polished, the piece has likely been over-serviced, stripping away original milgrain detailing.
Troubleshooting antique jewelry is an exercise in historical empathy and metallurgical science. By respecting the original manufacturing limitations and applying modern, low-impact diagnostic tools, you ensure these wearable artifacts survive for another century of wear.


