How to Select and Change Sternum Piercing Jewelry Safely
Learn how to safely select, size, and change sternum piercing jewelry with our step-by-step guide on surface bars, dermal tops, and healing care.

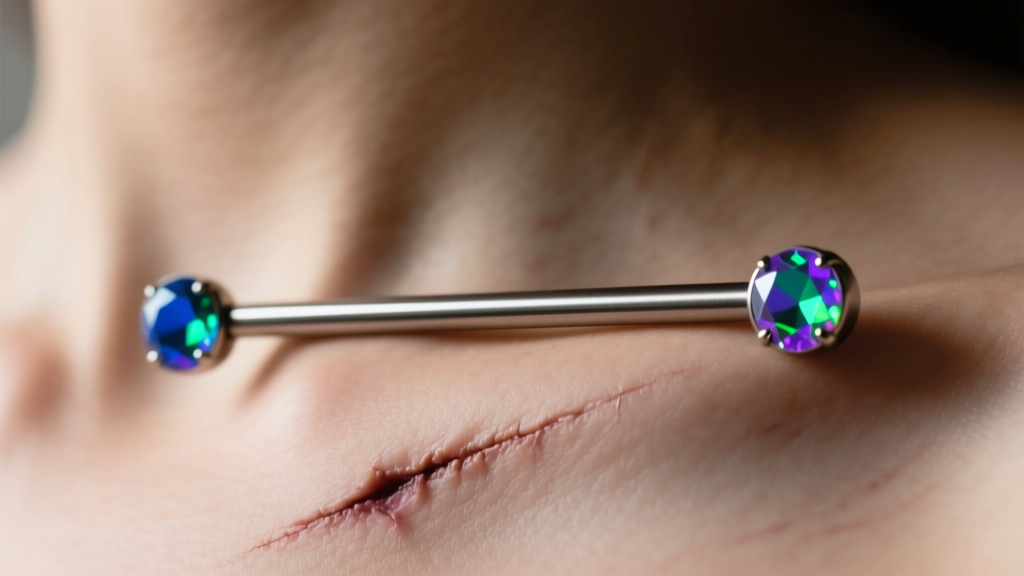
Sternum piercings are undeniably striking, offering a unique and elegant aesthetic that draws the eye. However, as any experienced body modification artist will tell you, the sternum is a high-movement, high-tension area. This makes it notoriously prone to rejection if the wrong jewelry is used or if improper aftercare is followed. Choosing the correct sternum piercing jewelry is not just about aesthetics; it is a critical anatomical decision that dictates whether your piercing will heal beautifully or reject within months.
In this comprehensive, step-by-step guide, we will break down the exact specifications for surface bars and dermal anchors, how to measure for the perfect fit, and the precise mechanical steps to safely change your jewelry once fully healed.
Understanding Sternum Piercing Anatomy and Jewelry Types
Before selecting jewelry, you must understand the mechanics of a sternum piercing. Unlike a standard lobe piercing that goes entirely through a distinct flap of tissue, a sternum piercing is a surface piercing. The jewelry sits just beneath the dermis, with only the entry and exit points (or the single top of a dermal) visible.
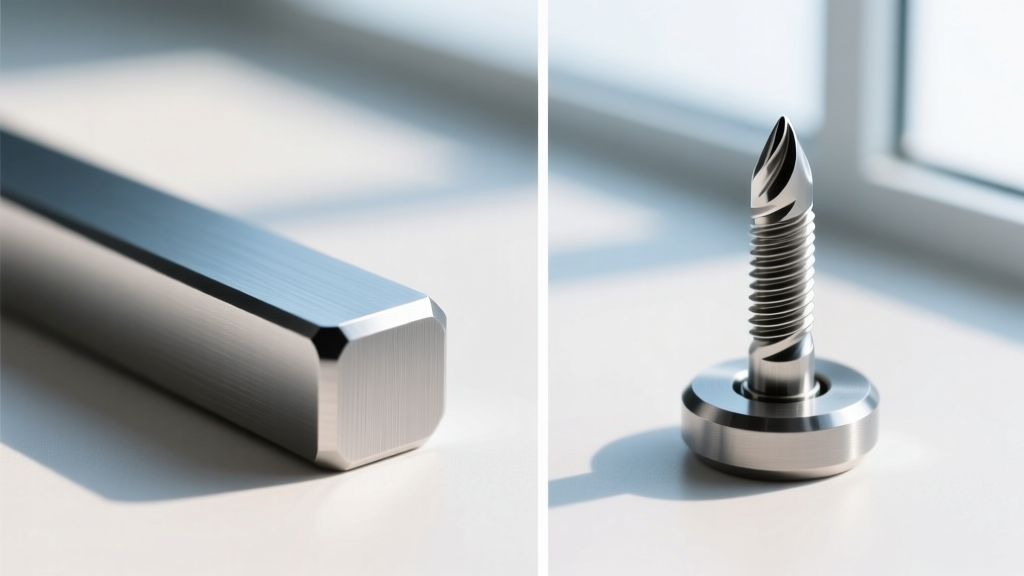
There are two primary types of jewelry used for the sternum:
- Surface Bars: Shaped like a staple or a barbell with a 90-degree bend at each end. The bar sits under the skin, while the two ends protrude. This is the gold standard for linear sternum placements.
- Dermal Anchors (Single-Point Piercings):strong> A small titanium base plate with holes that allow tissue to grow through it, anchoring it beneath the skin. A single threaded post protrudes to hold a decorative top. These are often used for curved or multi-point sternum constellations.
Pro Tip: Never use a standard curved barbell or a circular barbell (horseshoe) for a sternum surface piercing. The constant rotational pressure and outward curve will almost guarantee the 'cheese-cutter effect,' where the jewelry slowly slices through the skin and rejects.
Step-by-Step: Sizing Your Sternum Surface Bar
If you are wearing a surface bar, getting the dimensions exactly right is paramount. A poorly fitted bar will either press into the skin (causing necrosis and rejection) or sit too high (inviting snagging on clothing). You must evaluate three metrics: gauge, rise, and width.
The Three Metrics of a Surface Bar
| Metric | Standard Sizing | Purpose & Notes |
|---|---|---|
| Wire Gauge | 14g (1.6mm) or 12g (2.0mm) | Thicker wire prevents the cheese-cutter effect. 14g is standard; 12g is used for larger surface areas. |
| Rise | 3mm, 4mm, or 5mm | The distance from the bottom bar to the top of the threaded end. Determines how much swelling room you have. |
| Width | Custom measured | The distance between the two vertical posts. Must match the exact distance between your entry and exit holes. |
Initial vs. Healed Rise: When first pierced, your artist will use a 4mm or 5mm rise to accommodate severe swelling. Once the swelling subsides (usually around 4 to 8 weeks), you must downsize to a 3mm or 4mm rise. Leaving a 5mm rise in a healed piercing leaves the ends protruding too far, creating a lever that clothing can catch and pull.
How to Change a Surface Bar (Step-by-Step Guide)
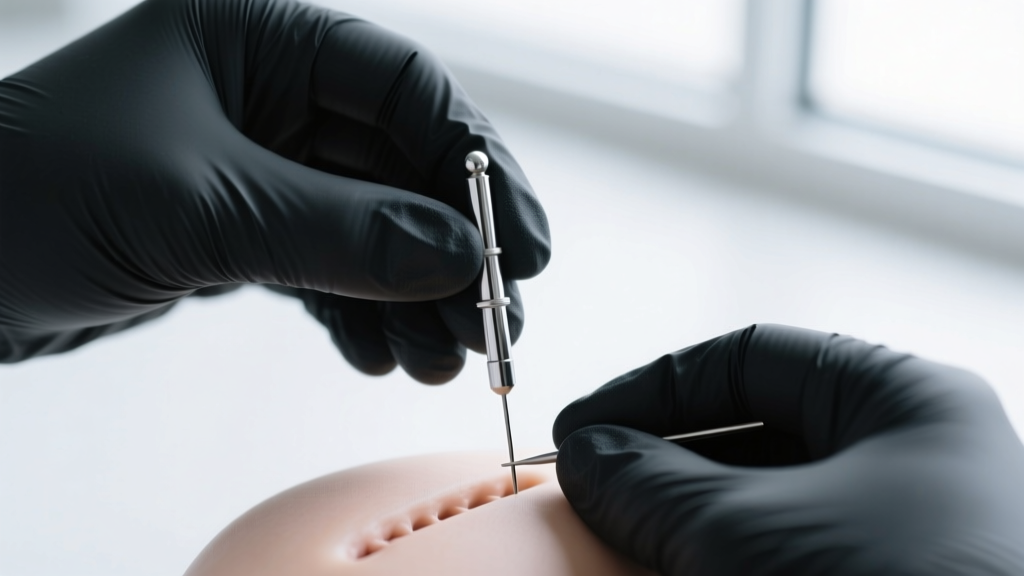
Changing a surface bar is more complex than swapping a standard straight barbell. Because the jewelry is bent, you cannot simply pull it out. You must use a sterile insertion taper to guide the new bar through the fistula without causing micro-tears.
Preparation and Tools
- Wash your hands thoroughly and put on a pair of disposable nitrile gloves.
- Sterilize your new surface bar and the insertion taper using a piercing-safe disinfectant or by boiling the metal components (ensure gems are heat-safe or remove them first).
- Have a sterile 4x4 gauze pad and a small amount of water-based lubricant (or sterile saline) ready.
The Removal and Insertion Process
- Remove the Ends: Using a pair of rubber-grip jewelry pliers, unscrew the decorative ends from both sides of your current surface bar. Leave the bare bar inside the piercing.
- Attach the Taper: Thread your insertion taper onto the end of the old bar that is still inside the piercing. Ensure the taper's base matches the gauge of your jewelry (e.g., a 14g taper for a 14g bar).
- Push the Old Bar Out: Gently push the old bar out of the exit hole, allowing the taper to follow seamlessly behind it. Do not force it; if you hit resistance, adjust the angle of the skin to align with the fistula channel.
- Pull the Taper Through: Once the taper's tip emerges from the exit hole, grasp it and continue pulling until the new surface bar is centered under the skin.
- Attach the New Ends: Wipe away any excess lubricant or lymph, and screw your new decorative ends onto the threaded posts. Tighten securely with your pliers.
Dermal Anchor Tops: A Quick Swap Guide
If your sternum piercing consists of dermal anchors, changing the jewelry is significantly easier because you are only swapping the visible top, not the anchor beneath the skin. However, you must know your threading size.
Most high-quality dermal anchors, such as those from NeoMetal or Anatometal, use M2 or M3 internal threading. M2 is standard for 14g anchors, while M3 is common for 12g anchors.
- Removal: Grip the base of the dermal top firmly with your thumb and forefinger. Twist counter-clockwise. If it is stuck, wrap a piece of latex glove around the top for extra grip, or use a specialized dermal torque tool.
- Insertion: Align the new top's post with the anchor's internal thread. Turn clockwise until snug. Do not overtighten, as this can strip the microscopic threads or cause the anchor to spin under the skin.
Material Grades and Rejection Prevention
The sternum is highly sensitive to nickel and microscopic metal impurities. According to the Association of Professional Piercers, the only acceptable materials for initial healing and long-term wear in high-rejection-risk surface piercings are Implant-Grade Titanium (ASTM F136) and solid 14k/18k gold (nickel-free, alloyed for body safety).
Avoid 'surgical steel' at all costs for sternum piercings. Surgical steel contains nickel and has a microscopic surface porosity that can harbor bacteria and irritate the fistula, triggering the body's immune response to push the foreign object out (rejection).
Aftercare and Troubleshooting Rejection Signs
Even with perfect jewelry, sternum piercings require meticulous aftercare. The APP Aftercare Guidelines recommend spraying the area twice daily with a sterile, additive-free 0.9% sodium chloride wound wash.
Recognizing the Early Signs of Rejection
Because sternum jewelry sits in a high-tension zone, you must monitor for rejection weekly. Look out for these specific failure modes:
- Shallowness: You can see more of the surface bar beneath the skin than you used to, or the skin between the holes is thinning and turning translucent.
- Migration: The distance between the two holes is visibly shrinking, or the jewelry has shifted to the left or right of its original placement.
- Persistent Flaking: The skin around the entry and exit points is constantly dry, flaky, and red, despite proper saline cleaning.
If you notice any of these signs, remove the jewelry immediately or consult a professional piercer. Leaving a rejecting surface bar in place will result in severe scarring. Once removed, the tissue can heal, and the area can often be re-pierced by a skilled professional after a few months.


