Forward Helix Earrings Care: Cleaning Tips & Healing Guide
Master forward helix earrings care with our expert cleaning guide. Learn saline routines, titanium grades, and how to avoid cartilage bumps.

The Anatomy of Forward Helix Healing
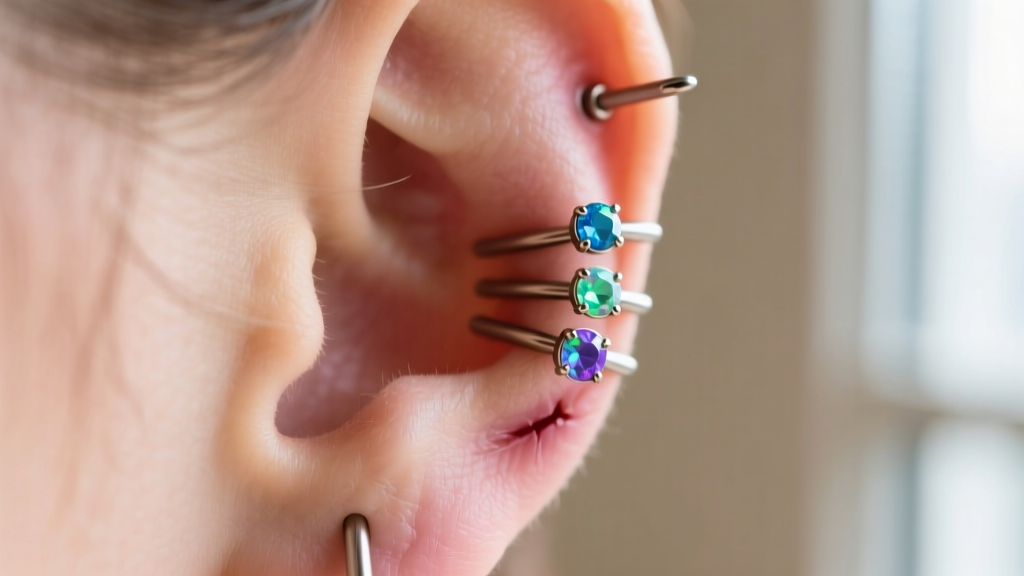
The forward helix is located on the outer rim of the ear cartilage, closest to your face and temporal region. Unlike the fleshy earlobe, which is highly vascular and heals in a matter of weeks, the forward helix is composed of dense, avascular cartilage. Because cartilage lacks a direct blood supply, it relies on surrounding tissues for oxygen and nutrients, resulting in a significantly longer healing timeline. According to the Mayo Clinic, cartilage piercings can take anywhere from six to twelve months to fully heal, and in some cases, up to a year or more for multi-piercing setups like a forward helix stack.
Understanding this biological reality is the first step in mastering forward helix earrings care. Impatience during the healing phase is the primary culprit behind irritation bumps, prolonged crusting, and premature jewelry rejection. The angle of the piercing also plays a critical role; a skilled piercer will follow the natural curve of the helix ridge to ensure the jewelry sits flush, minimizing the risk of snagging on hair or clothing.
Daily Cleaning Protocol for Forward Helix Earrings
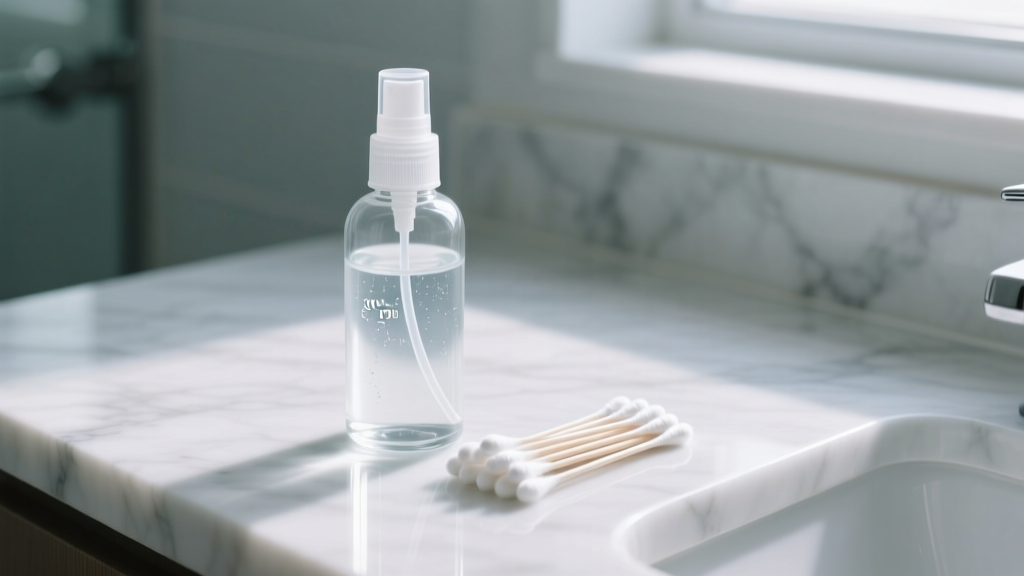
When it comes to cleaning your forward helix, the golden rule is less is more. Over-cleaning can strip the skin of its natural microbiome and cause contact dermatitis, while under-cleaning allows dead skin cells and sebum to accumulate around the post. The Association of Professional Piercers (APP) strongly recommends a sterile saline solution as the only necessary cleaning agent for fresh cartilage piercings.
The Sterile Saline Standard
Your daily cleaning routine should consist of the following steps, performed exactly twice a day (morning and night):
- Spray: Apply a sterile, 0.9% sodium chloride wound wash directly to the front and back of the piercing. Ensure the product contains no additives, preservatives, or fragrances.
- Soak: Allow the saline to sit for 30 to 60 seconds. This softens any lymphatic fluid (commonly referred to as 'crusties') that has dried around the jewelry post or decorative end.
- Wipe: Using a piece of sterile, non-woven gauze, gently wipe away the softened debris. Never use cotton balls or cotton swabs, as the loose fibers can wrap around the earring post and introduce bacteria or cause micro-tears in the fistula (the piercing channel).
- Dry: Pat the area dry with a fresh piece of non-woven gauze or use a hair dryer on the lowest, coolest setting. Moisture trapped behind the ear is a leading cause of irritation bumps.
The Chemical Blacklist: What to Avoid
Never apply harsh chemicals to your forward helix. The cartilage is highly sensitive, and chemical burns can lead to permanent scarring. Avoid the following at all costs:
- Rubbing alcohol and hydrogen peroxide (these destroy newly forming cells).
- Antibacterial soaps, tea tree oil, and ointments like Neosporin (these trap bacteria and block oxygen flow).
- Sea salt soaks made from kitchen salt (these are not sterile and the iodine content can cause severe irritation).
Jewelry Material & Gauge: Preventing Irritation Bumps
Proper aftercare is useless if the jewelry itself is causing an allergic reaction or mechanical irritation. The initial jewelry chosen for your forward helix earrings must meet strict biocompatibility standards.
| Material Grade | Biocompatibility | Best For | Price Range (USD) |
|---|---|---|---|
| ASTM F-136 Titanium | Excellent (Implant Grade) | Initial piercings, sensitive skin | $40 - $120+ |
| ASTM F-67 Titanium | Very Good (Commercial Pure) | Healed piercings, budget upgrades | $25 - $60 |
| 14k or 18k Solid Gold | Excellent (Nickel-Free) | Fully healed piercings only | $80 - $300+ |
| Surgical Stainless Steel | Poor (Contains Nickel) | Avoid entirely for cartilage | $10 - $30 |
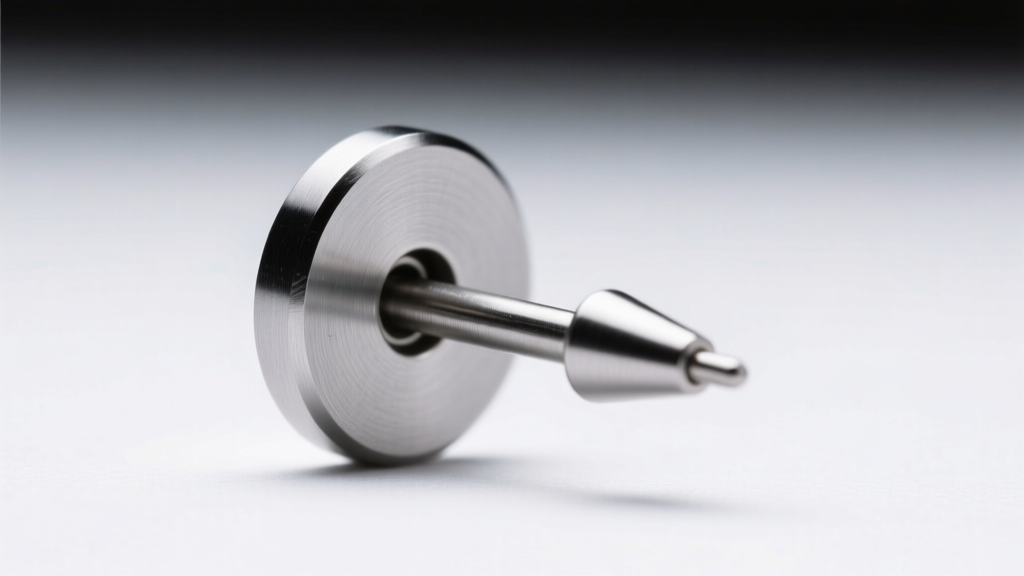
For the forward helix, a 16-gauge (1.2mm) flat back labret is the industry standard. While some studios use 18-gauge (1.0mm) jewelry, the thinner post acts like a wire cheese cutter in delicate cartilage ridges, increasing the risk of migration and tearing. Furthermore, the jewelry should be internally threaded or threadless (push-pin). Externally threaded jewelry has sharp threads that scrape and damage the fragile fistula every time the jewelry is inserted or removed.
The Crucial Downsizing Appointment
When you are first pierced, your piercer will use a longer post (typically 5/16" or 8mm) to accommodate the initial swelling. Once the swelling subsides—usually between weeks 4 and 8—you must return to the studio to have the post downsized to a shorter length (1/4" or 6mm). Failing to downsize leaves excess post protruding behind the ear, which catches on pillows, hairbrushes, and headphones, leading to chronic angle shifts and irritation bumps.
Troubleshooting: Bumps, Snags, and Sleep Pressure
Even with meticulous care, the forward helix is uniquely prone to environmental hazards due to its location near the hairline and jaw. Here is how to troubleshoot common issues using the LITHA (Leave It The Hell Alone) methodology.
Managing Irritation Bumps
If you notice a small, flesh-colored or red bump adjacent to the jewelry, it is likely a hypertrophic scar (an irritation bump), not a keloid. These bumps are the body's response to localized trauma or moisture. To resolve them:
- Identify the source of pressure (sleeping on that side, tight hats, or over-ear headphones).
- Switch to a sterile saline spray if you are currently using any soap or tea tree oil.
- Ensure the jewelry post is properly downsized so it does not move back and forth.
- Apply a warm, sterile saline compress for 5 minutes to encourage lymphatic drainage, then dry completely.
Expert Insight: Never attempt to pop, lance, or puncture a cartilage bump. This introduces staph bacteria into an avascular environment, rapidly escalating a minor irritation into a severe perichondritis infection requiring oral antibiotics.
Navigating Sleep and Audio Gear
Sleeping on a fresh forward helix is strictly prohibited. The sustained pressure alters the piercing angle and starves the tissue of oxygen. Invest in a U-shaped travel neck pillow and sleep with your ear in the center hole. Additionally, avoid over-ear headphones for the first 6 months; the clamping force of the ear cups will directly compress the forward helix ridge. Opt for wireless earbuds, but ensure they do not press upward against the lower cartilage.
Long-Term Maintenance After Full Healing
Once your forward helix has been fully healed for over a year, the daily saline routine can be retired. However, cartilage piercings still require periodic maintenance to prevent sebum buildup and odor. During your normal shower routine, let warm water and a mild, fragrance-free liquid soap gently wash over the area. Use your fingertips to lightly massage the tissue around the post, breaking down any dead skin cells.
When swapping out your threadless ends or clickers for new designs, always sanitize the new jewelry before insertion. An ultrasonic jewelry cleaner filled with distilled water and a drop of mild dish soap is the most effective way to deep-clean complex gemstone settings and titanium posts without scratching the metal. By respecting the biology of the cartilage and maintaining strict hygiene standards, your forward helix stack will remain a pristine, lifelong accessory.


