Authenticating and Converting Antique Button Earrings: An Expert Guide
Master the technical details of antique button earrings. Learn authentication, shank removal, post soldering, and metal testing for vintage pieces.

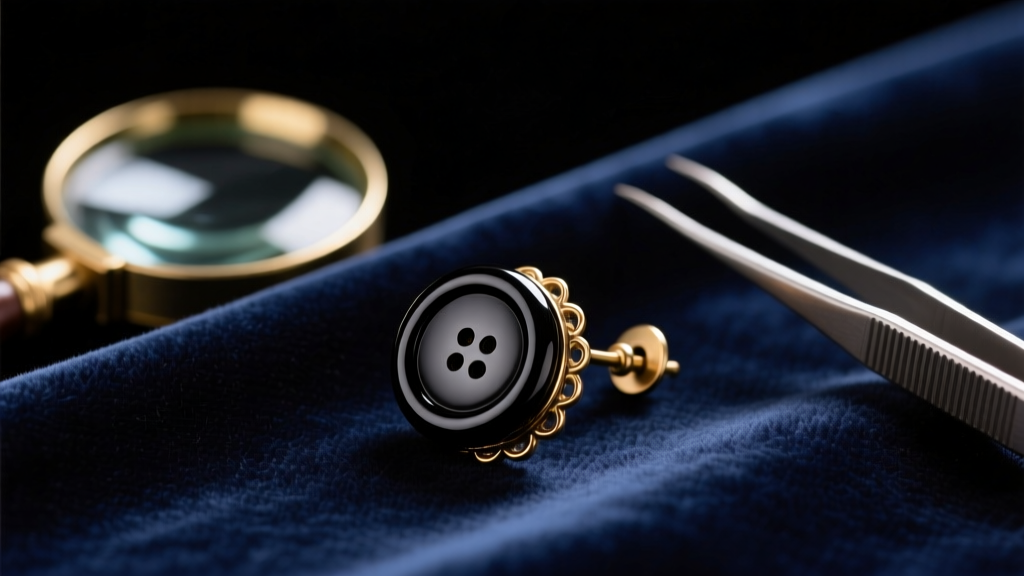
The Anatomy of Antique Button Earrings
As we navigate the 2026 vintage jewelry market, collectors and bench jewelers are increasingly turning their attention to antique button earrings. Originally manufactured as functional haberdashery for heavy wool and velvet garments between the 1850s and 1930s, these intricate pieces possess a level of craftsmanship rarely seen in modern mass-produced jewelry. However, transforming a historical button into a wearable, ergonomic earring requires a deep understanding of metallurgy, historical manufacturing techniques, and precision bench work.
Before any conversion begins, a jeweler must understand the anatomy of the button back. Antique buttons typically feature one of three shank types:
- Loop Shank: A single wire loop soldered or embedded into the button back. Common in early Victorian brass and pinchbeck buttons.
- Ring Shank: A circular wire that allows the button to pivot on the sewing thread. Frequently found in mid-19th-century cut-steel and marcasite buttons.
- Staple Shank: A U-shaped piece of pressed steel or brass pushed through the glass or ceramic button face and bent flat against the back. This is the most common shank on late 19th-century Czechoslovakian glass buttons, but it is also the most prone to rust and structural failure.
The base metals used in these shanks and backplates also dictate the conversion approach. You will frequently encounter Pinchbeck (an 18th-century copper-zinc alloy containing roughly 89% copper and 11% zinc), Tombac (a high-copper brass), and early gold-filled rolled plate. Identifying these metals is critical, as they react differently to heat and chemical patinas during the soldering process.
Authentication: Metal Testing and Material Identification
Authenticating antique button earrings requires moving beyond visual inspection. The market is flooded with 1970s reproduction buttons masquerading as Victorian originals. According to the Lang Antiques University, understanding the specific hallmarks and material compositions of different jewelry periods is essential for accurate dating.
Distinguishing Whitby Jet from French Jet
One of the most common challenges in antique button authentication is differentiating genuine Whitby Jet (a fossilized wood from the Early Jurassic period) from "French Jet" (a term used for black glass). Genuine Whitby Jet is remarkably lightweight, possesses a lower thermal conductivity (it feels warm to the touch), and will leave a light brown streak on unglazed porcelain. French Jet, conversely, is heavy, cold to the touch, and will not leave a streak. For definitive identification, the GIA Gem Encyclopedia recommends checking the refractive index and specific gravity, though non-destructive thermal testing is usually sufficient for bench jewelers.
Testing Gold-Filled vs. Solid Gold Backs
Many high-end Victorian buttons feature a gold-washed or gold-filled brass backplate. A standard nitric acid test on a discreet area of the shank will reveal the truth. If the acid turns milky green, you are dealing with a copper-heavy brass or pinchbeck base. If the reaction is delayed and yields a faint brown tint, it is likely a gold-filled layer over brass. Solid gold backs on antique buttons are exceedingly rare and are usually reserved for custom-commissioned miniature portrait or enamel buttons.
The Conversion Process: Shank Removal and Soldering
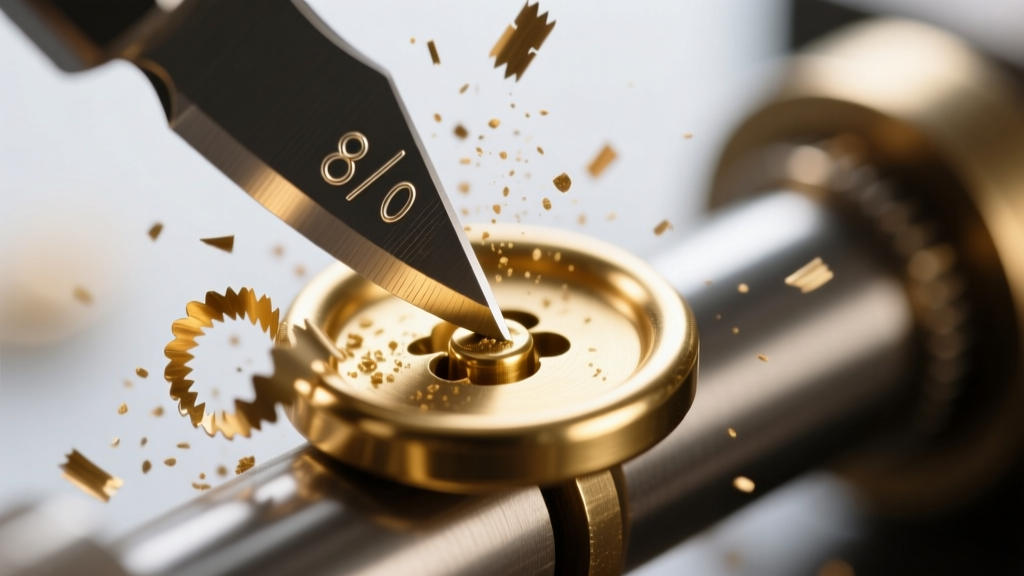
The most critical phase in creating antique button earrings is the removal of the original shank and the attachment of a modern earring post. This process carries significant risk; applying too much heat or mechanical force can shatter glass, melt the foil backing of paste stones, or crack delicate micro-mosaic cement.
Step-by-Step Shank Removal
Never use flush cutters or wire snips to remove a shank. The compressive force will almost certainly crack the button's backplate or the glass face. Instead, secure the button face-down in a warm thermoplastic bench block (like GRS Thermoloc) to absorb vibrations. Using a jeweler's saw equipped with a 3/0 or 4/0 blade lubricated with beeswax, carefully cut through the base of the shank. Once removed, use a fine-cut flat needle file to smooth the backplate flush, finishing with 600-grit sandpaper to create a slightly textured surface for optimal solder adhesion.
Soldering the Earring Post
Soldering to antique brass or pinchbeck requires strict temperature control. Standard silver solders melt at temperatures that can easily cause thermal shock to antique glass or melt the lead-based cements used in 19th-century paste stones. Below is a technical breakdown of solder grades used in button conversion:
| Solder Grade | Approx. Melting Point | Best Application in Button Conversion |
|---|---|---|
| Hard | 1450°F (788°C) | Avoid; too hot for most antique button backplates. |
| Medium | 1300°F (704°C) | Suitable for solid brass buttons with no stone inlays. |
| Easy | 1200°F (649°C) | Standard choice for gold-filled backs and simple glass buttons. |
| Extra Easy / Repair | 1100°F (593°C) | Mandatory for foil-backed paste, enamel, and micro-mosaics. |
Always apply a borax-based paste flux to the brass backplate before heating. Use a micro-torch with a pinpoint flame, heating the backplate indirectly until the solder flows. Quench in water and pickle in a warm citric acid solution to remove oxidation.
Ergonomics and Wearability Challenges
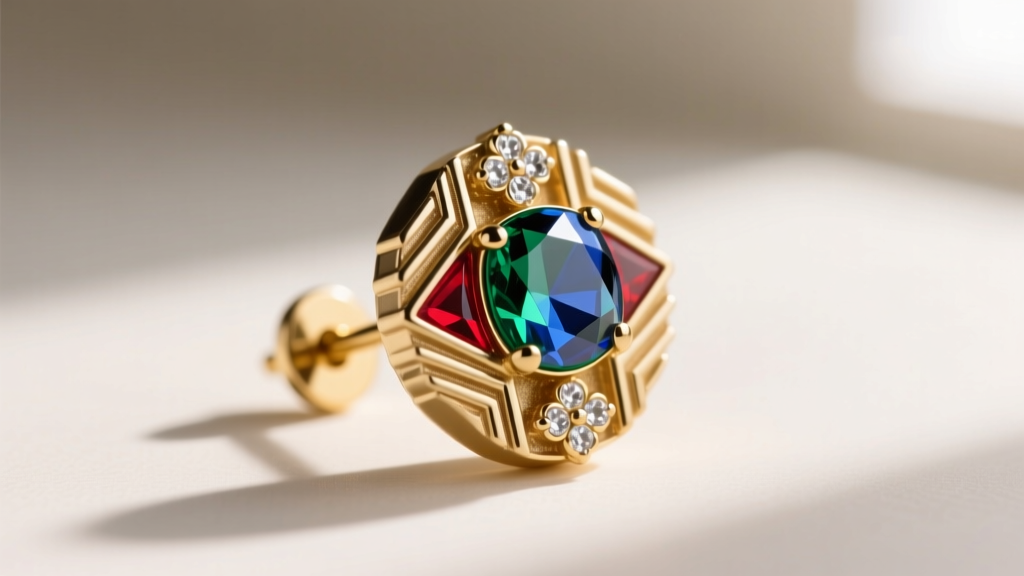
The primary failure mode of poorly converted antique button earrings is ergonomic. Buttons are inherently flat, wide, and often top-heavy. When mounted on a standard earring post, the center of gravity pulls the button forward, causing it to droop uncomfortably on the earlobe.
Post Gauge and Weight Distribution
Standard commercial earring posts are 20-gauge (0.81mm thick). This is entirely insufficient for an antique button weighing more than 5 grams. The post will bend under its own weight, and the sheer stress will eventually snap the solder joint. For antique button earrings, you must use custom-fabricated 18-gauge (1.02mm) or 16-gauge (1.29mm) posts. Furthermore, the post should be soldered slightly above the absolute center of the button back—usually about 15% higher than the true center of mass. This counteracts the forward tilt, allowing the button to sit flush against the earlobe.
Clutches and Backings
Standard butterfly clutches will fail to secure heavy glass or jet buttons, leading to lost earrings. For pieces exceeding 10 grams, bench jewelers should utilize oversized silicone friction discs or convert the button to an omega-clip or screw-back mechanism. Screw-backs, while vintage in appearance, provide the most secure mechanical lock for heavy, flat-faced antique buttons, distributing the weight across a wider area of the earlobe.
Preservation and Care Protocols
"The greatest threat to antique button jewelry is not wear, but improper cleaning. Modern ultrasonic technology will destroy historical integrity in seconds."
Once converted, antique button earrings require specialized care. Never place foil-backed paste stones, micro-mosaics, or cut-steel buttons in an ultrasonic cleaner. The high-frequency cavitation will strip the silver foil backing and dislodge the tiny glass tesserae. Similarly, commercial silver dips will strip the intentional patina from cut-steel and marcasite buttons, leaving them looking flat and artificially bright.
For routine cleaning, use a soft, dry makeup brush to dislodge dust from the crevices of stamped brass or pinchbeck buttons. If the glass face requires degreasing, apply a tiny drop of mild dish soap to a damp cotton swab, carefully wiping only the glass surface while avoiding any contact with the metal backplate or the newly soldered post joint. By respecting the metallurgical and historical boundaries of these artifacts, jewelers can successfully preserve the legacy of antique button earrings for the next century of wearers.


