How to Authenticate Real Victorian Turquoise Earrings
Learn how to authenticate Victorian turquoise earrings with our step-by-step guide covering gold hallmarks, stone analysis, and wire conversions.

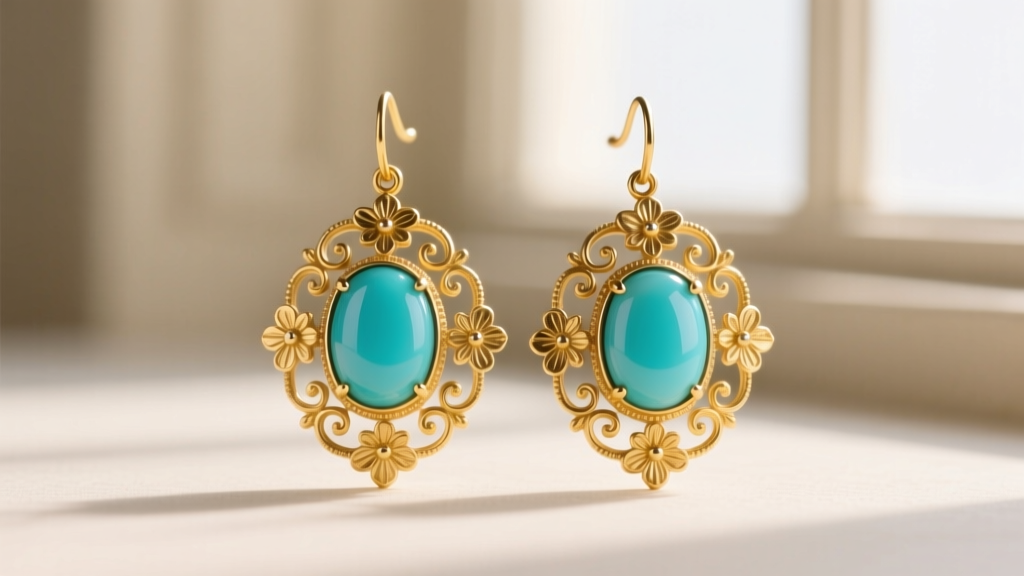
The secondary market for antique jewelry has seen a massive resurgence, and Victorian turquoise earrings remain one of the most highly sought-after categories among collectors and investors. However, this high demand has spawned a flood of sophisticated reproductions and heavily altered pieces. Authenticating these earrings requires moving beyond basic visual appraisal and understanding the specific metallurgical, gemological, and mechanical markers of the 1837-1901 era. Whether you are evaluating a potential auction lot or verifying an estate inheritance, this step-by-step guide provides the exact technical frameworks needed to separate genuine Victorian artifacts from modern pastiches.
The Allure and Symbolism of Victorian Turquoise
During the Victorian era, jewelry was deeply intertwined with sentimentality and the 'language of flowers.' Turquoise, prized for its vibrant, matrix-free robin egg blue hue, was heavily associated with the forget-me-not flower. According to the Victoria and Albert Museum, gifting turquoise jewelry was a romantic gesture symbolizing true love and remembrance. Unlike modern preferences for heavily veined American turquoise, Victorian jewelers predominantly sourced Persian turquoise, which was prized for its uniform, unblemished sky-blue color. Understanding this historical preference is the first critical step in authentication; if a piece marketed as early Victorian features heavy brown or black spiderweb matrix, it is likely a later Edwardian piece, a Native American revival reproduction, or an outright fake.
Step 1: Decoding the Gold and Hallmarks
The metal composition of Victorian earrings provides some of the most reliable authentication data. British Victorian jewelry frequently utilized 15k gold (62.5% pure), a standard that was officially recognized in the UK in 1854 and discontinued in 1932. If you test the metal and find it is exactly 15k, or if it bears a '15' or '.625' stamp, you have a strong indicator of British Victorian origin.
However, many genuine Victorian pieces are entirely unmarked. In these cases, you must look for the wear patterns of rolled gold or gold-filled overlays, which were common in middle-class pieces. Examine the high-friction areas under a 10x jeweler's loupe. If you see a brassy or coppery undertone bleeding through the yellow surface, the piece is likely gold-filled or pinchbeck (a copper-zinc alloy), which is historically accurate for non-aristocratic Victorian jewelry but must be priced accordingly. Modern reproductions, conversely, are often cast in 10k or 14k yellow gold and artificially oxidized to mimic age.
Step 2: Evaluating the Turquoise Cabochons
Genuine Victorian turquoise was almost always cut into smooth, high-domed or flat-backed cabochons and set in closed-back bezels. Jewelers of the era frequently used 'foiling'—placing a piece of colored metallic foil behind the stone in a closed setting to enhance its color and brilliance.
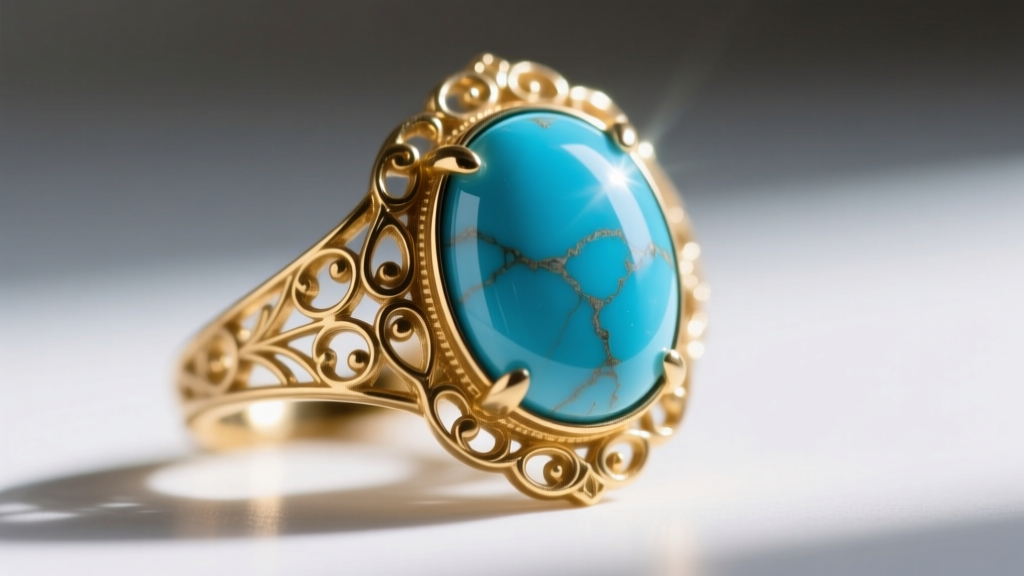
To verify the stones, use a gemological loupe to inspect the surface and the setting. According to the Gemological Institute of America (GIA), natural turquoise is a porous phosphate of copper and aluminum, ranking between 5 and 6 on the Mohs hardness scale. Over 150 years, genuine stones will exhibit microscopic surface pitting, minor crazing (a network of fine cracks), or slight color shifts due to prolonged exposure to skin oils and cosmetics. Modern reproductions often use stabilized turquoise (injected with epoxy) or dyed howlite. Dyed howlite will show concentrated dye pooling in the natural gray veins of the stone, while stabilized turquoise will appear unnaturally perfect and glass-like under magnification.
Step 3: Analyzing Earring Findings and Conversions
The earring findings—the wires and clasps that attach the piece to the ear—are the most common point of failure in authentication. Original Victorian earrings were designed for non-pierced ears or simple pierced lobes. The most common original finding was the 'shepherd hook' or simple kidney wire, typically soldered directly to the top of the earring drop. These original wires were usually thin, around 20 to 22 gauge.
Because shepherd hooks are prone to falling out, many genuine Victorian earrings were converted in the mid-20th century to leverbacks or screw-backs. Screw-backs were patented in 1894, making them historically plausible for late Victorian pieces. However, if you see a modern post-and-butterfly-clutch fitting, the piece has been definitively altered. Look closely at the solder joint where the wire meets the body of the earring. A modern conversion will often show a thicker 18-gauge wire attached via a modern jump ring, with a slightly different solder color (often brighter or more silver-toned) than the original Victorian gold solder, which was typically lower-karat and blended seamlessly with the body.
Step 4: The Loupe and UV Light Test
To uncover hidden repairs or modern stabilizing agents, a long-wave (365nm) ultraviolet light is an indispensable tool. When you shine a UV light on the turquoise cabochons, observe the fluorescence. Natural, untreated historical turquoise typically exhibits a weak to moderate greenish-yellow or brownish fluorescence. If the stones glow a bright, unnatural blue or milky white, they have likely been treated with modern epoxy resins or polymers, indicating a 20th-century stabilization process.
Furthermore, use your loupe to inspect the prongs or bezel walls. Victorian bezels were pushed over the stone by hand using a burnishing tool, resulting in slightly uneven, organic metal edges. Modern cast reproductions will feature perfectly uniform, machine-milled bezels with sharp, identical edges.
Authentic vs. Reproduction: A Quick Reference Table
| Feature | Authentic Victorian (1837-1901) | Modern Reproduction / Fake |
|---|---|---|
| Gold Purity | 15k, 18k, or rolled gold / pinchbeck | 10k, 14k, or gold-plated brass |
| Turquoise Origin | Persian (matrix-free, robin egg blue) | American (heavy matrix) or dyed howlite |
| Bezel Setting | Hand-burnished, slightly uneven edges | Cast, perfectly uniform, sharp edges |
| Earring Wires | Thin (20-22g) shepherd hooks, soldered | Thick (18g) leverbacks, jump-ring attached |
| UV Fluorescence | Weak green/yellow or inert | Bright blue/milky (indicates epoxy) |
Step 5: Safe Cleaning and Maintenance Protocol
Once authenticated, proper care is paramount. Turquoise is highly vulnerable to chemicals, heat, and dehydration. Never place Victorian turquoise earrings in an ultrasonic cleaner; the high-frequency vibrations can shatter the stone, and the chemical baths will strip the natural patina and potentially dissolve the historical foil backing.
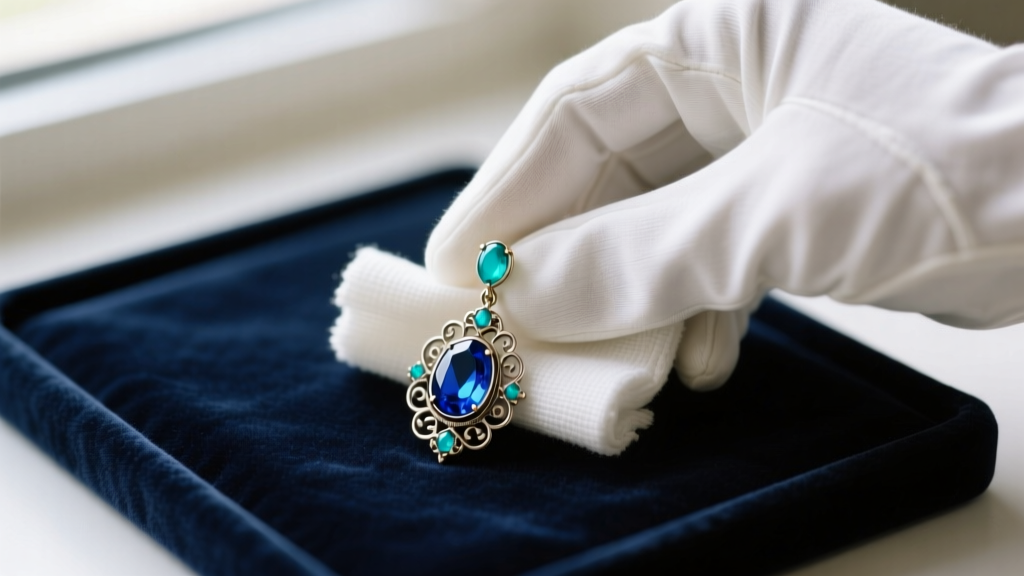
According to the conservation guidelines outlined by Antique Jewelry University, the safest cleaning method involves a dry, untreated microfiber cloth. Gently wipe the gold settings to remove surface oils. If the gold requires deeper cleaning, use a soft-bristled baby toothbrush dipped in a mild solution of lukewarm water and a single drop of pH-neutral dish soap, carefully avoiding the turquoise stone and the closed-back seam. Dry immediately with a lint-free cloth. Store the earrings in a dark, climate-controlled environment, as prolonged exposure to direct sunlight can cause the copper-rich turquoise to fade or turn green over time.
By systematically evaluating the metallurgy, gemology, and mechanical findings, you can confidently navigate the antique market. Authenticating Victorian turquoise earrings is not just about protecting your financial investment; it is about preserving a tangible piece of 19th-century artistry and romantic history.


