Beginner Guide to Earrings That Go Up the Ear: Climbers & Cuffs
Discover how to wear earrings that go up the ear. Learn about ear climbers, cuffs, gauge sizes, materials, and troubleshooting slips.


The Allure of Earrings That Go Up the Ear
If you have been browsing jewelry collections in 2026, you have likely noticed a dominant trend: the illusion of jewelry scaling the ear. Earrings that go up the ear offer a striking, architectural look without the commitment or healing time of multiple cartilage piercings. Whether you are drawn to the delicate sparkle of an ear crawler, the edgy wrap of an ear cuff, or the fluid motion of a threader, these pieces bridge the gap between minimalist studs and maximalist curated ear stacks.
However, many beginners struggle with how these pieces actually stay in place, what materials are safe for prolonged cartilage contact, and how to prevent them from slipping down the earlobe. This comprehensive guide breaks down the mechanics, materials, and styling secrets behind upward-traveling earrings, giving you the exact specifications needed to shop and wear them with confidence.
The Anatomy of Upward Earrings: How Do They Defy Gravity?
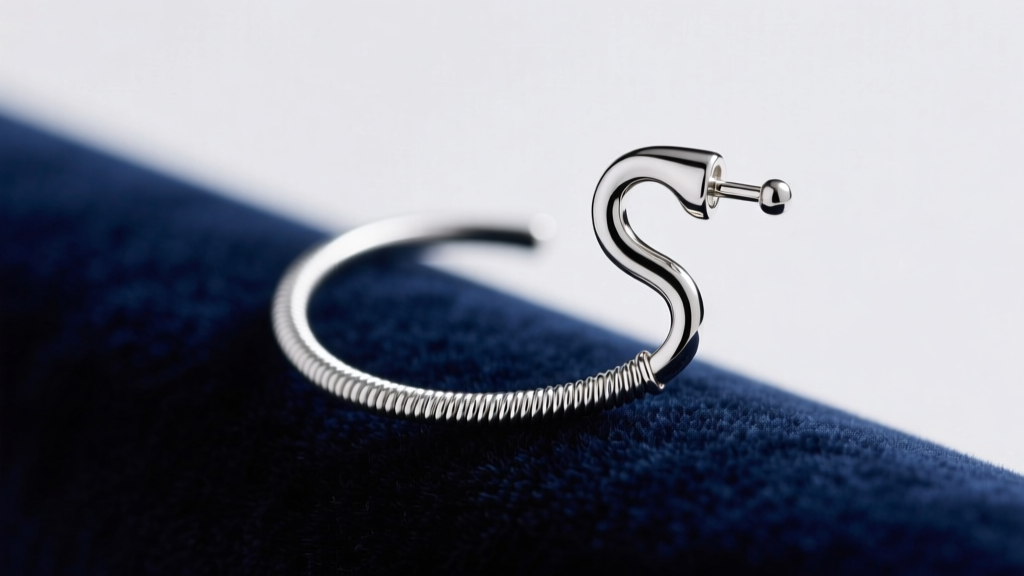
Unlike standard stud earrings that rely entirely on a friction back or screw-back to secure a single point, earrings that go up the ear utilize a combination of structural tension and anatomical contouring. The most common mechanism is the S-wire or tension curve.
Here is how the mechanics work: A standard earring post (usually 20-gauge) passes through your earlobe piercing. Instead of a straight backing, the rear of the earring features a curved wire that hooks up and over the back of your earlobe, emerging on the front side of the ear. This front-facing wire is shaped to follow the natural ridge of your cartilage. The tension between the back wire and the front decorative element creates a gentle pinch, holding the earring flush against the ear without requiring additional piercings.
Types of Earrings That Go Up the Ear
Not all upward-traveling earrings are built the same. Understanding the distinctions will help you choose the right piece for your anatomy and lifestyle. Below is a comparison of the four primary styles.
| Style | Piercing Required? | Standard Gauge | Security Level | Avg. Price Range |
|---|---|---|---|---|
| Ear Climber / Crawler | Yes (Single Lobe) | 20g Post / 16g Wire | High | $45 - $350 |
| Ear Cuff | No | N/A (Adjustable) | Medium | $25 - $180 |
| Threader Earring | Yes (Single Lobe) | 22g Chain / 20g Post | Low to Medium | $30 - $250 |
| Ear Jacket (Upward) | Yes (Single Lobe) | 20g Post | High | $50 - $400 |
Ear Climbers are the most secure because they anchor through a piercing. Ear Cuffs rely entirely on pinching the cartilage, making them great for temporary wear but prone to snagging on hair. Threaders use a delicate chain that pulls through the piercing and drapes upward or downward, offering a fluid, bohemian aesthetic but lacking structural rigidity.
Step-by-Step: How to Put on an Ear Climber
Many first-time buyers assume their ear climber is broken because it arrives looking bent or asymmetrical. In reality, the S-curve is designed to be manipulated to fit your unique lobe thickness. Follow these steps for a secure fit:
- Insert the Post: Thread the 20-gauge post through your earlobe piercing just like a standard stud earring. Do not attach a backing yet.
- Rotate and Align: Gently rotate the earring so the decorative front element points upward along your ear's natural curve. The S-wire on the back should now be resting against the rear of your earlobe.
- Apply Tension: Using your thumb and index finger, gently pinch the front decorative wire and the back S-wire together. You want a snug fit that feels secure but does not cause pain or restrict blood flow.
- The Silicone Disc Trick: If your earlobes are particularly thin and the climber droops, slide a clear silicone earring disc (clutch) onto the post from the back. Push it forward to act as a spacer, forcing the climber to sit flush and upright against your ear.
Material Grades and Gauge Specifications
Because the tension wire of an ear climber rests directly against the delicate skin of your cartilage and the back of your lobe, material choice is critical. Friction can wear away cheap platings, exposing base metals that cause contact dermatitis.
What to Look For:
- ASTM F136 Implant-Grade Titanium: The gold standard for sensitive skin. According to the Association of Professional Piercers, this specific titanium alloy contains zero nickel and is highly resistant to corrosion. It is lightweight, which prevents the ear climber from dragging down your lobe.
- 14k or 18k Solid Gold: Ideal for longevity. As noted by Jewelers of America, solid gold will not flake or tarnish where the tension wire rubs against the skin. Avoid gold-plated brass for the S-wire component, as the friction point will inevitably wear down to the brass core within months.
- Niobium: A fantastic, hypoallergenic alternative to titanium that can be anodized into vibrant colors without using surface dyes or platings.
Gauge Thickness Matters:
While the post that enters your piercing is almost universally 20-gauge (0.81mm) or 18-gauge (1.02mm), the decorative wire that travels up the ear should be thicker. Look for climbers where the front wire is 16-gauge (1.29mm) or 14-gauge (1.63mm). This thicker wire provides the necessary rigidity to hold its shape; a 20-gauge front wire will bend and warp the first time you pull a sweater over your head.
Troubleshooting: Why Your Earring Keeps Slipping
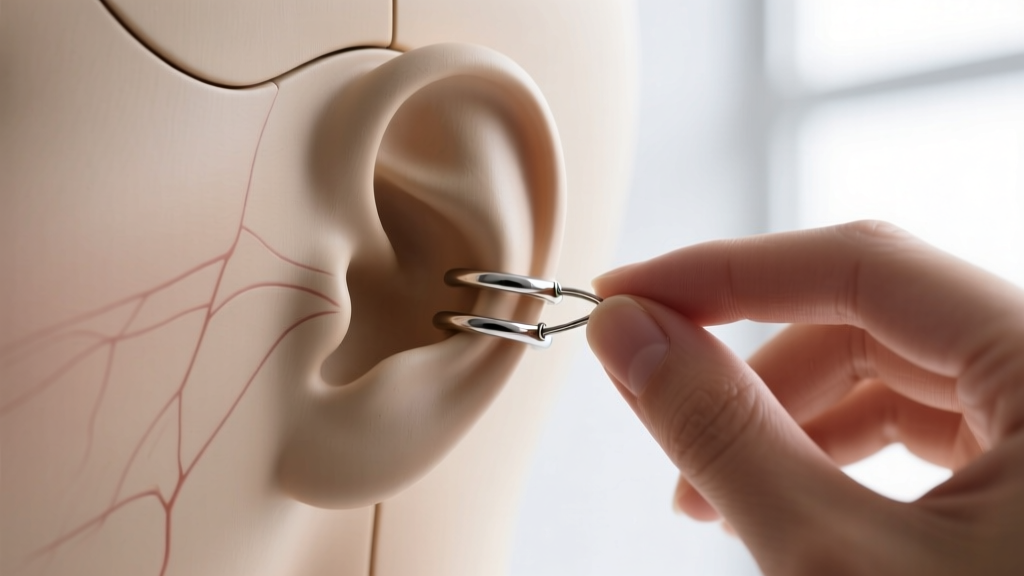
Even high-quality earrings that go up the ear can succumb to gravity if not properly calibrated. Here are the most common failure modes and how to fix them:
Pro Tip: Never adjust the tension wire while the earring is on your ear. You risk pinching the skin or warping the post, which can damage your piercing fistula.
- The Droop: If the top of the climber leans away from your ear, the S-wire is too loose. Remove the earring and gently squeeze the back wire closer to the front element.
- The Pinch: If the cartilage feels sore after an hour, the tension is too high, or the curve of the wire does not match the radius of your ear. Gently bend the decorative wire outward to widen the gap.
- Snagging on Hair: Ear cuffs and climbers with open prongs or exposed gemstone settings will catch on loose hair. If you wear your hair down, opt for 'bezel-set' climbers where the gemstones are encased in smooth metal borders.
Styling Your Upward Journey
When styling earrings that go up the ear, balance is key. Because climbers draw the eye vertically, they are exceptionally flattering for round and square face shapes, as the upward line creates an elongating illusion. Conversely, if you have an already long face shape, pair a short, wide ear cuff with a voluminous hoop to add horizontal width.
For a modern 2026 aesthetic, mix textures rather than matching sets. Pair a diamond-encrusted 14k gold ear crawler on one side with a minimalist, high-polish titanium huggie hoop on the other. The contrast between the intricate upward climb and the grounded circular hoop creates a curated, intentional look that feels both effortless and highly designed.


