How to Clean Newly Pierced Earrings: Budget Aftercare Guide
Discover how to clean newly pierced earrings without overspending. We compare branded sprays, DIY saline, and jewelry costs for maximum healing value.

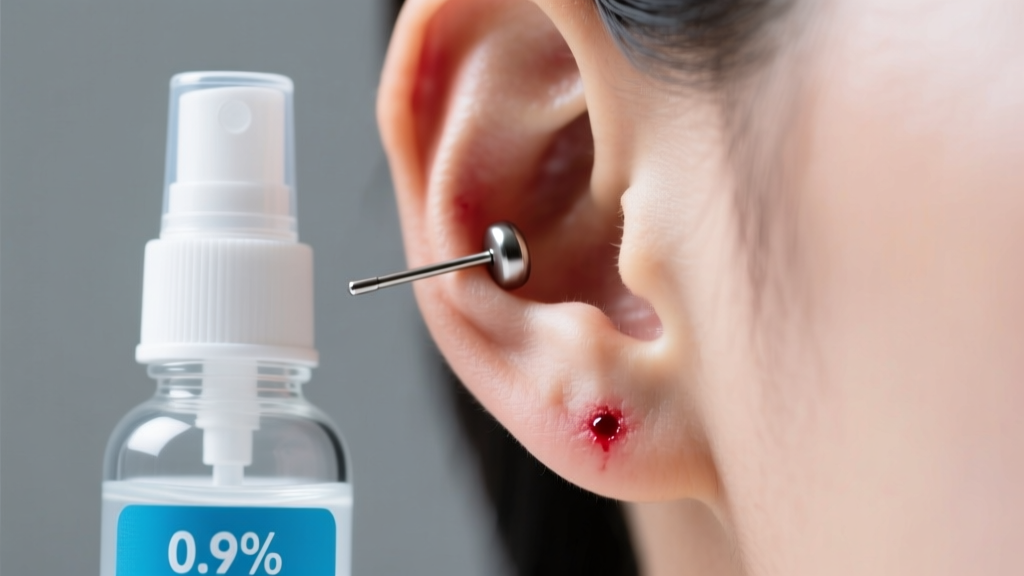
Getting your ears pierced is an investment in your personal style, but the aftercare process shouldn't drain your wallet. When figuring out how to clean newly pierced earrings, consumers are often bombarded with expensive, branded aftercare sprays and upsells at the piercing studio. As a budget-conscious jewelry enthusiast, you need to separate marketing gimmicks from medical necessities. The truth is that optimal piercing aftercare relies on basic, inexpensive chemistry rather than luxury branding. This guide breaks down the true cost of healing your earlobes and cartilage, helping you maximize value without compromising your health or the longevity of your new piercings.
The True Cost of Piercing Aftercare: Branded vs. Generic
Walk into any mall piercing kiosk or high-end studio, and you will likely be offered a branded aftercare spray for $12 to $25. These products are heavily marked up. The active ingredient in almost all of these premium sprays is simply 0.9% sodium chloride (sterile saline). By opting for generic, pharmacy-brand sterile wound wash, you can achieve the exact same clinical results for a fraction of the price.
However, budget-conscious buyers must avoid the trap of homemade sea salt soaks. The Association of Professional Piercers (APP) explicitly advises against mixing your own salt water at home. It is virtually impossible to achieve the exact 0.9% isotonic ratio in a home kitchen. A solution that is too salty will draw moisture out of your healing tissue (hypertonic), causing severe irritation bumps, while a solution that is too weak can introduce non-sterile tap water bacteria into an open wound.
| Product Type | Brand Examples | Avg. Price (per bottle) | Bottles Needed (6 Weeks) | Total Cost |
|---|---|---|---|---|
| Premium Branded Spray | H2Ocean, NeilMed Piercing Aftercare | $14.00 | 2 | $28.00 |
| Generic Sterile Saline (0.9%) | CVS Health, Equate, Walgreens Wound Wash | $3.50 | 2 | $7.00 |
| Homemade Sea Salt Mix | Unrefined Sea Salt + Distilled Water | $6.00 (materials) | N/A | $6.00 (High Risk) |
How to Clean Newly Pierced Earrings on a Budget (Step-by-Step)
Saving money doesn't mean cutting corners on hygiene. The goal of cleaning a fresh piercing is not to aggressively disinfect the area, but rather to gently soften and remove crusties (dried lymph and plasma) while maintaining a healthy moisture balance for cellular regeneration. Here is the most cost-effective, APP-approved method for daily maintenance:
- Wash Your Hands: Always use a mild, fragrance-free antibacterial soap before touching your ears or the jewelry.
- Apply Sterile Saline: Spray the generic 0.9% sterile saline wound wash directly onto the front and back of the piercing site. You only need 1 to 2 sprays per side.
- Let it Soak Briefly: Allow the saline to sit for 30 to 60 seconds to soften any dried lymph crusties.
- Wipe Gently: Use a sterile, non-woven gauze pad to gently wipe away the softened debris. Never use cotton balls or swabs, as they shed microscopic fibers that can wrap around the jewelry post and cause severe irritation.
- Dry the Area: Moisture trapped behind the earlobe breeds bacteria. Gently pat the area dry with a fresh piece of gauze, or use a hair dryer on the lowest, coolest setting to dry the area without touching it.
The False Economy of Harsh Chemicals
When trying to save money or speed up healing, many people turn to household antiseptics like rubbing alcohol, hydrogen peroxide, witch hazel, or tea tree oil. This is a massive financial and biological mistake. These harsh chemicals are cytotoxic—they actively destroy fibroblasts, the very cells your body needs to rebuild tissue and close the fistula (the piercing hole).
By killing off healthy new cells, alcohol and peroxide prolong the healing process by weeks or even months. A prolonged healing phase increases the window of vulnerability for bacterial infections. Treating a severe cartilage infection (perichondritis) can result in urgent care copays, prescription oral antibiotics, and in worst-case scenarios, permanent cartilage deformation (cauliflower ear). The $4 you saved by using bathroom rubbing alcohol could easily cost you hundreds in medical bills and the loss of the piercing itself.
The Hidden Value of Implant-Grade Titanium Starter Studs
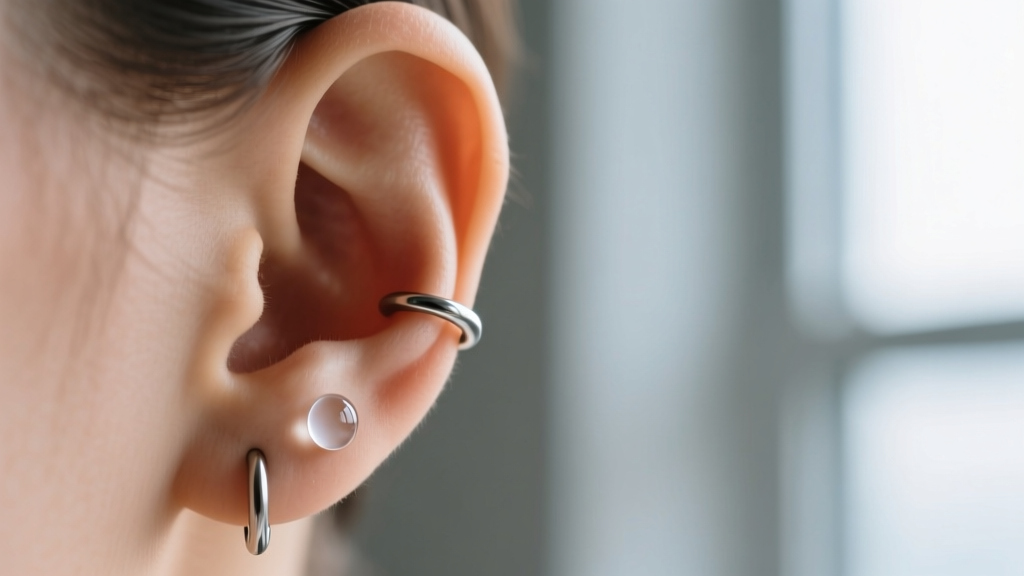
When assessing the budget of a new piercing, the jewelry itself is the most critical variable. Many budget piercing studios advertise "$20 Piercings," but this low price relies on using cheap, bulk-purchased "surgical steel" jewelry. Surgical steel is an unregulated marketing term, not a metallurgical standard. Most cheap jewelry is made from 316L stainless steel, which contains 8% to 10% nickel to prevent rust.
When 316L steel is worn in a fresh, open wound, the nickel leaches into the bloodstream. According to the American Academy of Dermatology, nickel is the most common cause of contact dermatitis. A nickel allergy reaction causes intense itching, redness, swelling, and weeping sores that mimic a bacterial infection. To avoid this, always budget an extra $15 to $30 upfront for Implant-Grade Titanium (ASTM F-136). Titanium is entirely nickel-free, biocompatible, and significantly reduces the risk of irritation bumps, making it the highest-value investment for your initial piercing.
Budgeting for Complications: Infection vs. Normal Healing
Part of financial planning for a new piercing is knowing when to stop DIY aftercare and seek professional medical help. Piercings go through an "ugly duckling" phase where they may appear slightly red, tender, or produce a pale yellowish fluid (lymph). This is normal. However, you must know the signs of a true infection to avoid costly long-term damage.
When to see a doctor: If you experience radiating heat, severe throbbing pain, dark green or foul-smelling pus, or if you develop a fever, bypass the piercing studio and go to an urgent care clinic. Piercing studios are not licensed to diagnose or treat medical infections.
For minor irritation bumps (often caused by sleeping on the piercing or using harsh chemicals), the most budget-friendly solution is to apply a warm, sterile saline compress and ensure your jewelry is internally threaded or threadless titanium. Downsizing the jewelry post after 4 weeks (once initial swelling subsides) is also crucial; a post that is too long will snag on hair and clothing, causing repetitive trauma that no amount of cleaning spray can fix.
Final Verdict: Where to Spend and Where to Save
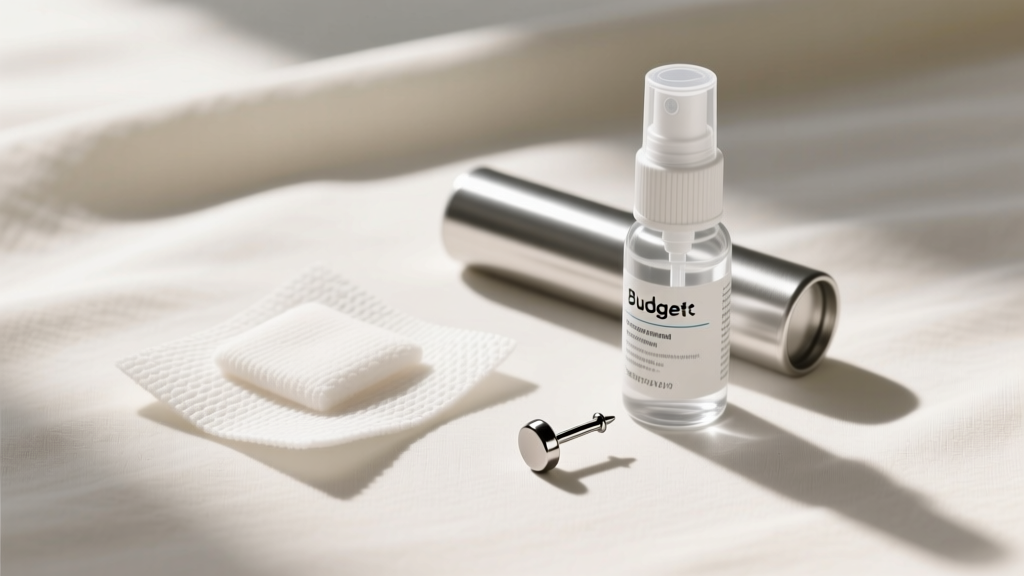
Mastering how to clean newly pierced earrings on a budget is all about allocating your funds toward biological compatibility rather than marketing hype. Here is your ultimate value-assessment checklist:
- Save Money On: Branded aftercare sprays. Buy generic 0.9% sterile saline wound wash from the pharmacy instead.
- Save Money On: Cotton swabs. Swap them for non-woven sterile gauze pads to prevent fiber-snagging.
- Spend Money On: Implant-Grade Titanium (ASTM F-136) starter jewelry. Never put 316L surgical steel in a fresh wound.
- Spend Money On: Professional piercing services from an APP-certified piercer who uses single-use, sterilized needles rather than piercing guns.
By understanding the science of wound care and the metallurgy of body jewelry, you can achieve a flawless, bump-free healing process while keeping your hard-earned cash exactly where it belongs: in your wallet.


